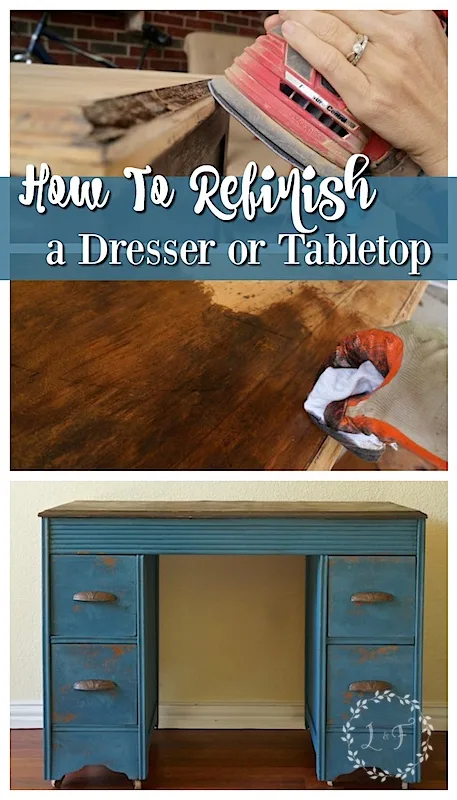
A few days ago we started our walk through the process of refinishing a wooden top (to a dresser, table, etc.).
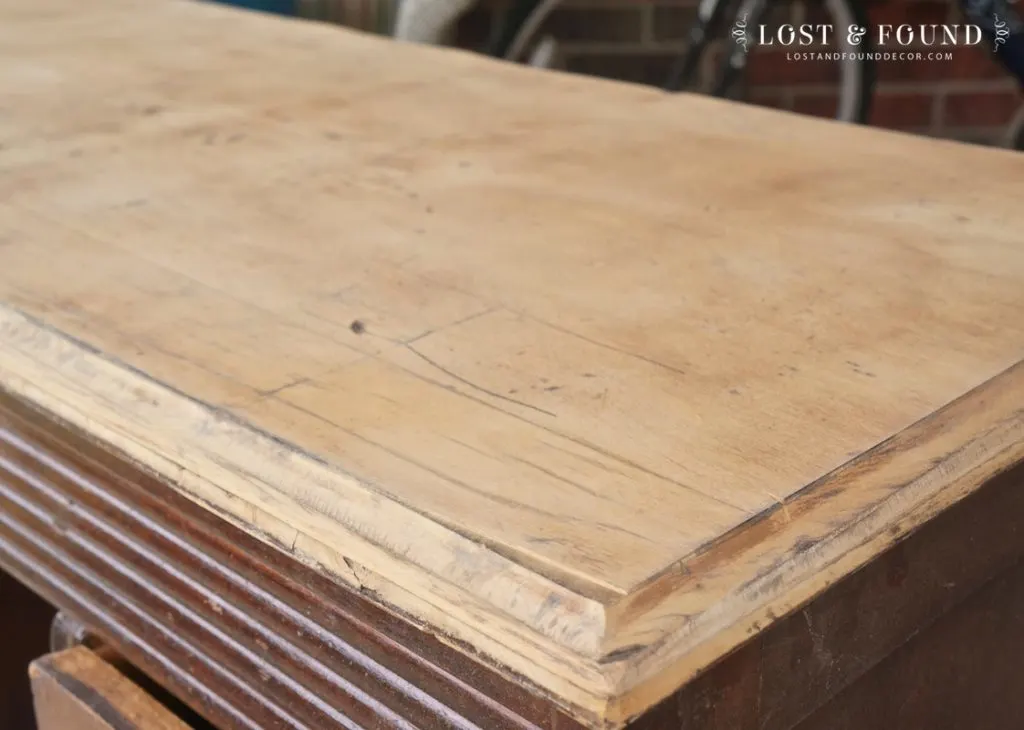
I left you with this:
the sanded down top to this cute little vanity I am trying to salvage.
So, we’re ready to move onto the next part of the refinishing process, which is when I think it starts to get really fun–staining!
Here are our steps to finishing out the top:
1. Wipe down the entire sanded surface with a wet cloth.
You want to make sure your top is clean and free of any sanding dust. Give it a few minutes to dry, then you’re ready to move on.
2. Apply the pre-stain conditioner
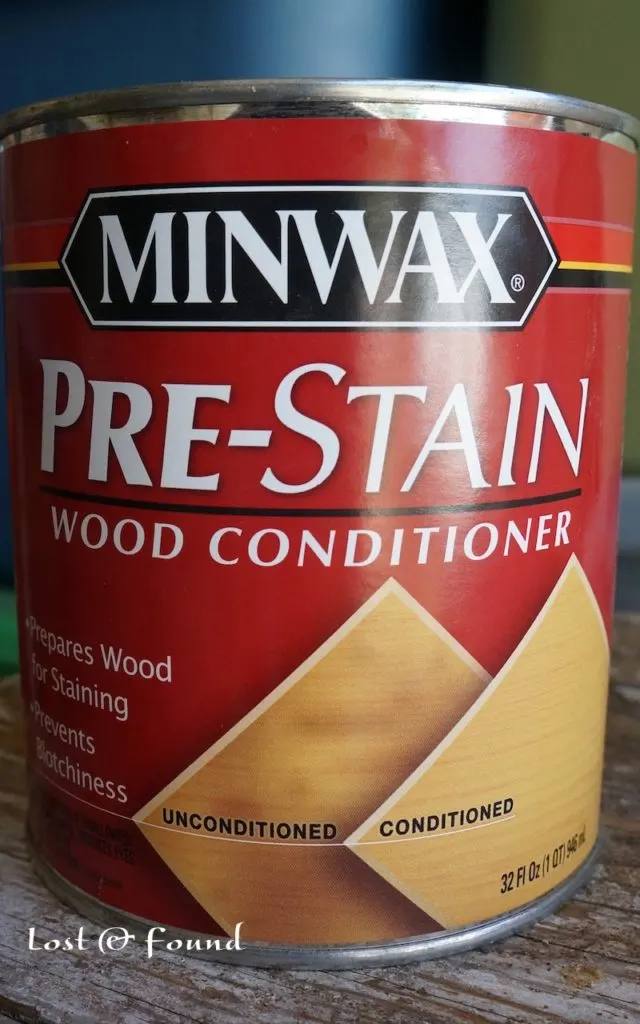
I ALWAYS apply the Minwax conditioner before I stain anything. It helps prepare the wood to accept the new stain and will go a long way towards evening out the finish. It’s a simple product to use, and also affordable.
I just wipe mine on, going in the direction of the wood grain, with an old rag, t-shirt, or foam brush (whatever clean one of those I have lying around).
Then I let the wood soak it in for 15-ish minutes and wipe away any excess. Generally, the wood soaks it in well and I don’t have any to wipe off. It will slightly tint your wood orange, but don’t worry, that doesn’t affect the final color of your stain.
3. Apply your choice of stain.
After you let the wood soak in the conditioner (Follow the manufacturer’s instructions to determine right length of time), you are ready for your stain.
My go-to stain products are Minxwax Wood Finish Interior Stain in Classic American and Dark Walnut. Both are rich, deep colors that don’t have much orange-ish undertones in them (I try to avoid that old honey oak look). For this project I chose the Dark Walnut color.
Make sure to read the instructions on the can before you start. You also want to make sure you are wearing waterproof gloves as the stain will, well, stain your hands 🙂
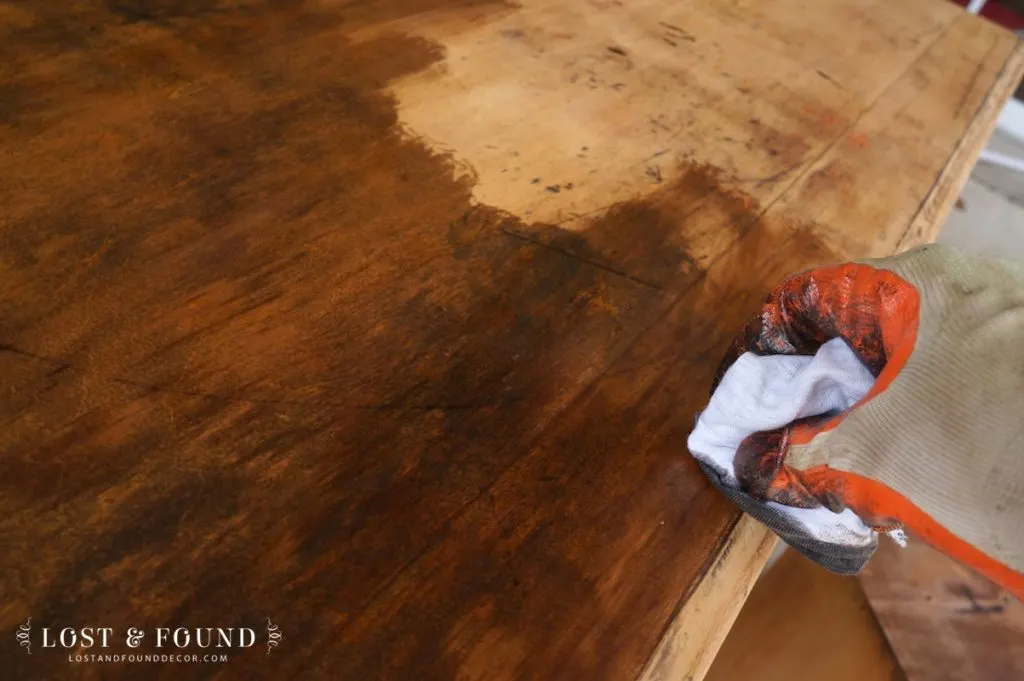
I have applied my stain using both a foam brush and a rag. I have decided that I prefer wiping it on with a rag, rather than brushing it on, because I use less stain and have more control over where it goes.
An old t-shirt will do the trick–just make sure it’s clean and lint free. Wipe the stain in the direction of the wood grain, doing your best to apply it evenly. This is really an art more of a science though, so just wipe until you are satisfied.
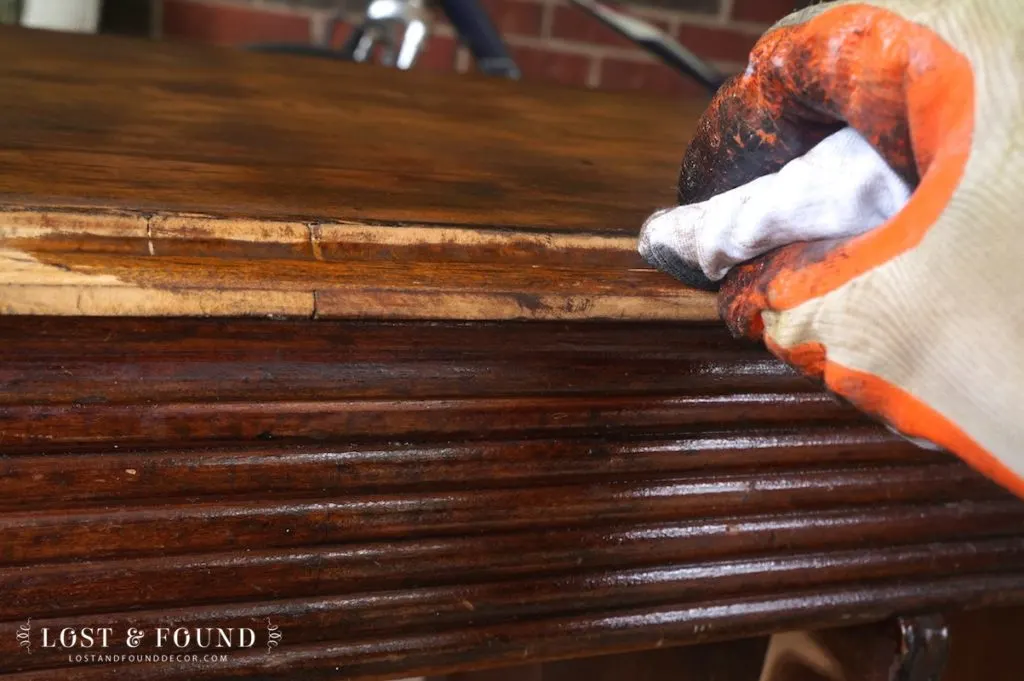
After wiping the top, wipe stain onto the edges.
After staining the edges, it’s good to go back along the edge of the top piece once more to wipe any excess stain that leaked onto the top.
Once the top is covered, you will let the stain dry for 5-20 minutes.
The longer you leave it, the darker it will get, so keep that in mind! Once the time is finished, go back and wipe off any excess that is still on top of the wood. Generally, when I use a rag I don’t have any excess stain to wipe off, especially on the first coat.
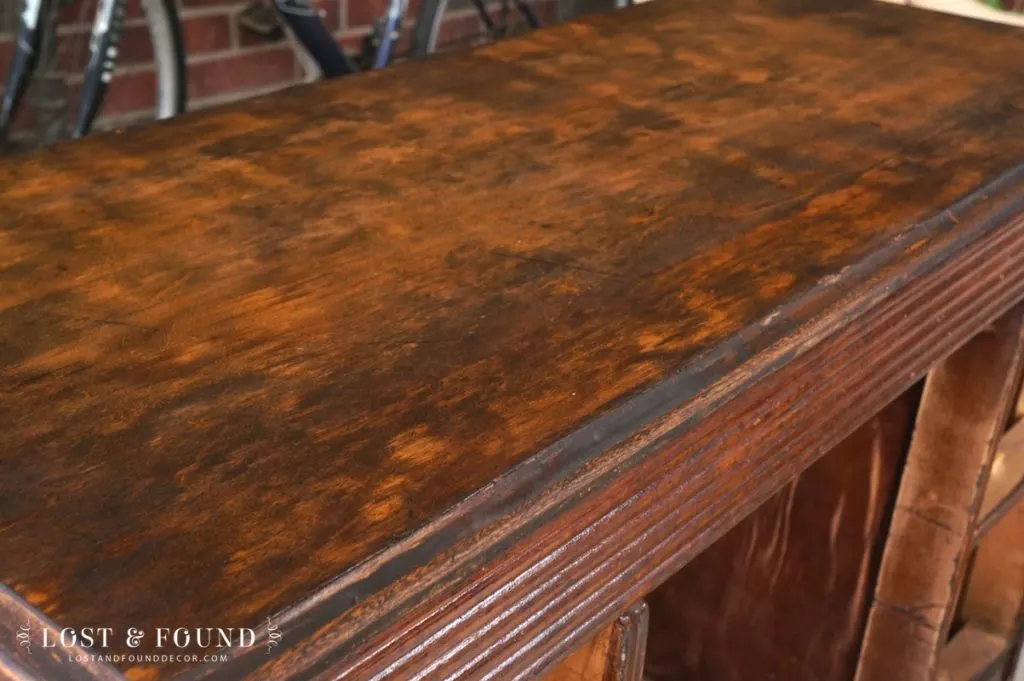
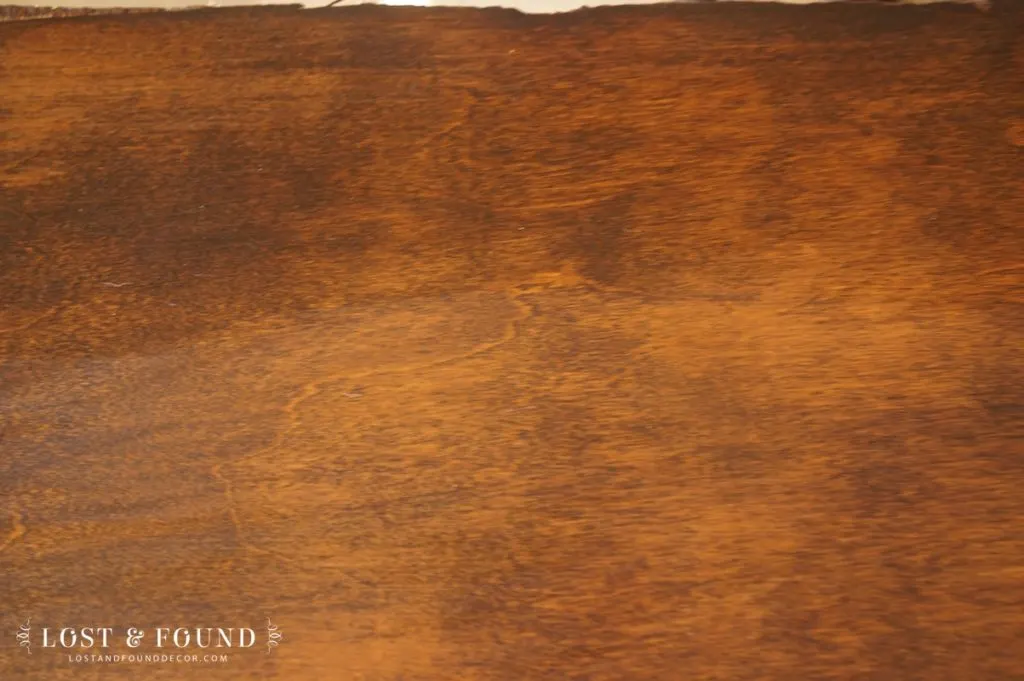
Here is the top after the first coat. It’s a little uneven, but that’s ok! Additional coats will help that out.
Follow the instructions on the can for how long to wait before applying a second coat, taking into account if it is especially hot or humid (it will take longer for the stain to dry).
You will apply additional coats just like the first, wiping them on in the direction of the wood grain and then wiping off any excess.
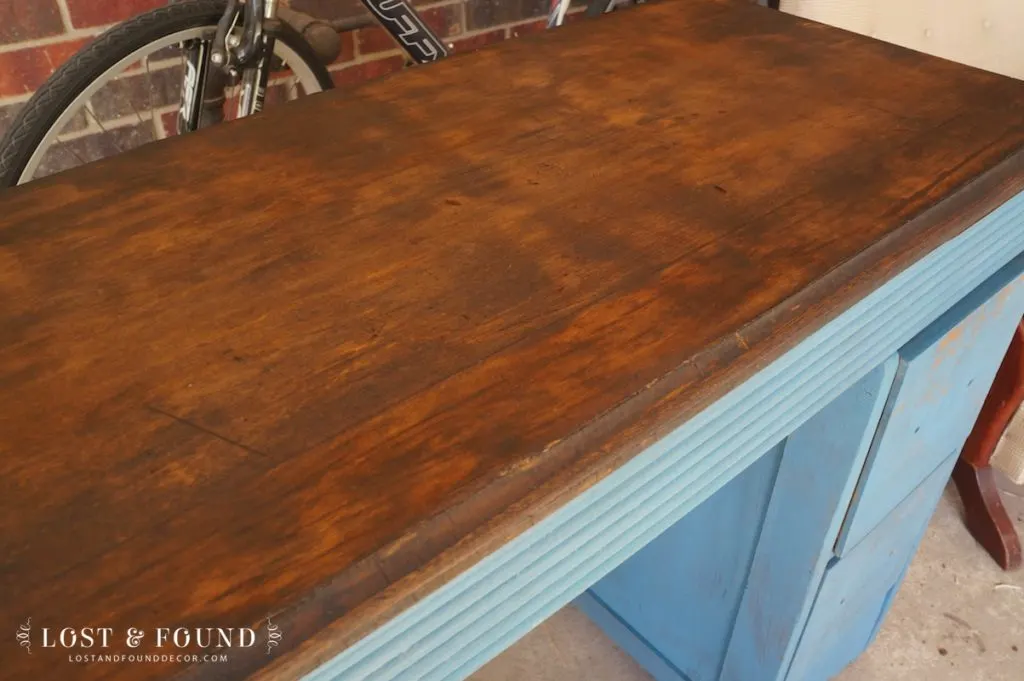
Here is the top after a second coat.
See? Much better. This is not the smoothest top I have worked on, but I think it still refinished really well. And remember, it’s much better than it was to start with!
4. Apply your topcoat of choice.
Give the stain a good 24 hours to dry well, then you are ready to apply your top coat. For smaller projects like dressers and chests, I use a paste wax for my top coat.
For dining table tops, I will use a polyurethane for added protection.
I generally don’t use a poly for smaller projects like this vanity because I don’t think it’s necessary, and honestly, I can’t get it to not be streaky! The paste wax is so much easier to apply, and when done properly, will still provide a durable finish.
**Update 7-18-15** I have found a fantastic product to use now that functions like a polyurethane but doesn’t streak and is non-yellowing–Fusion Mineral Paint Tough Coat. That is now my go-to topcoat for stained surfaces.
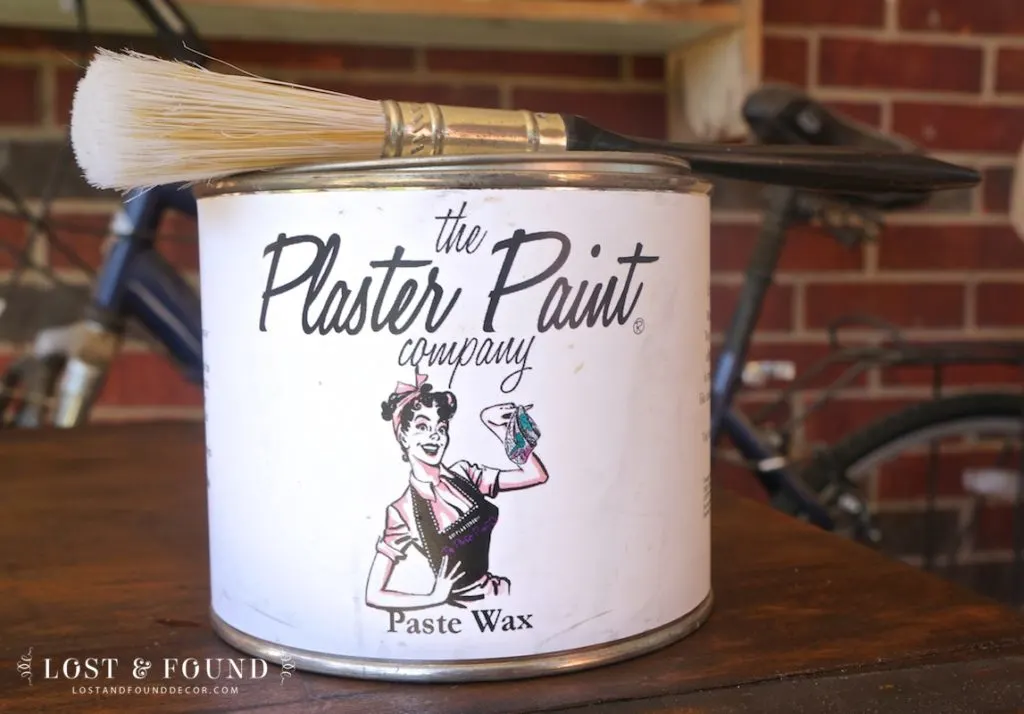
The paste wax sold by The Plaster Paint Co. is my wax of choice. I love this stuff! If you are an Annie Sloan wax user, you have to give this wax a try. It goes on so smoothly, smells heavenly, and dries quickly–a cinch to use.
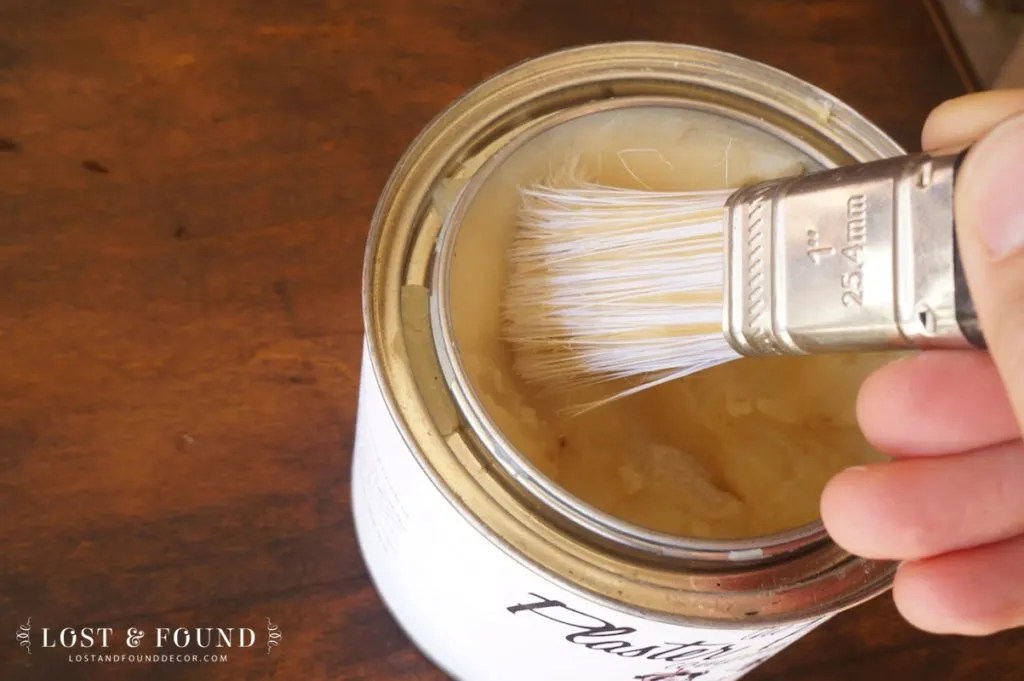
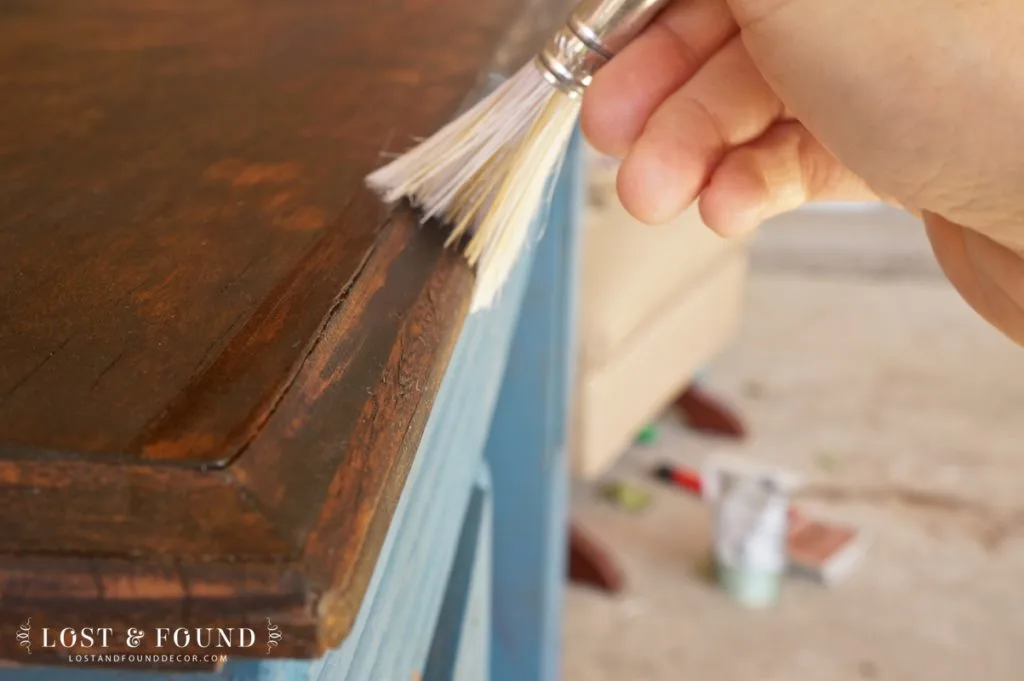
You can apply your wax using a brush or a rag. I chose to apply it using a cheap, unused paint brush I had on hand.
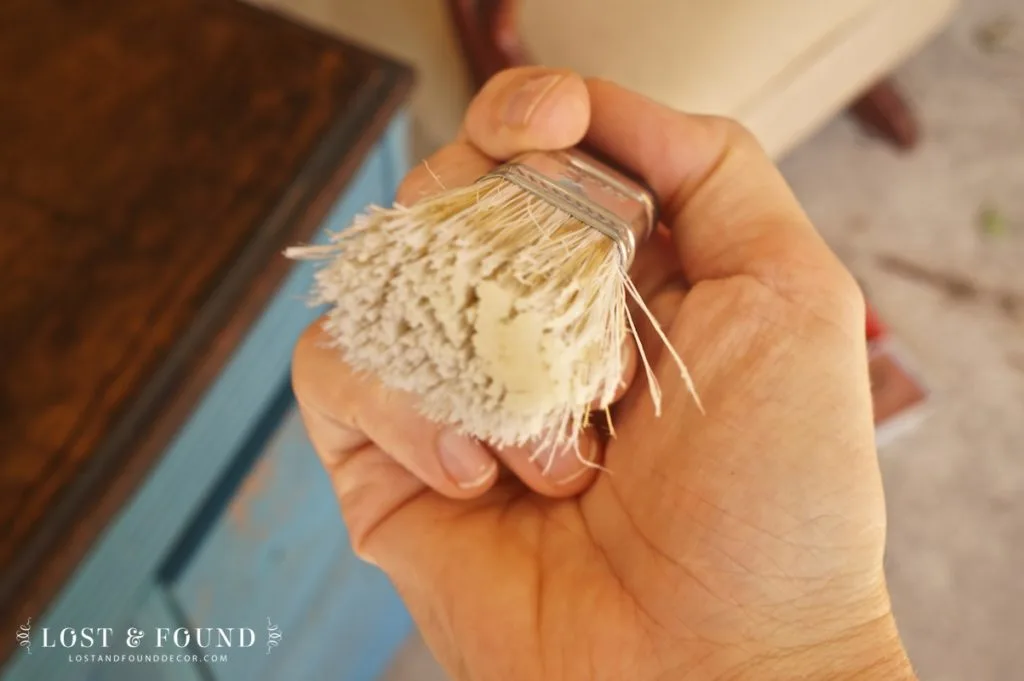
The key to wax is to use very little. Look closely and you can see how little I have on my brush.
Two or three thin coats of wax works much better than one, heavy coat. So apply it lightly.
Using my brush, I brushed on the wax in long strokes, starting in the corner and working my way over the whole top.
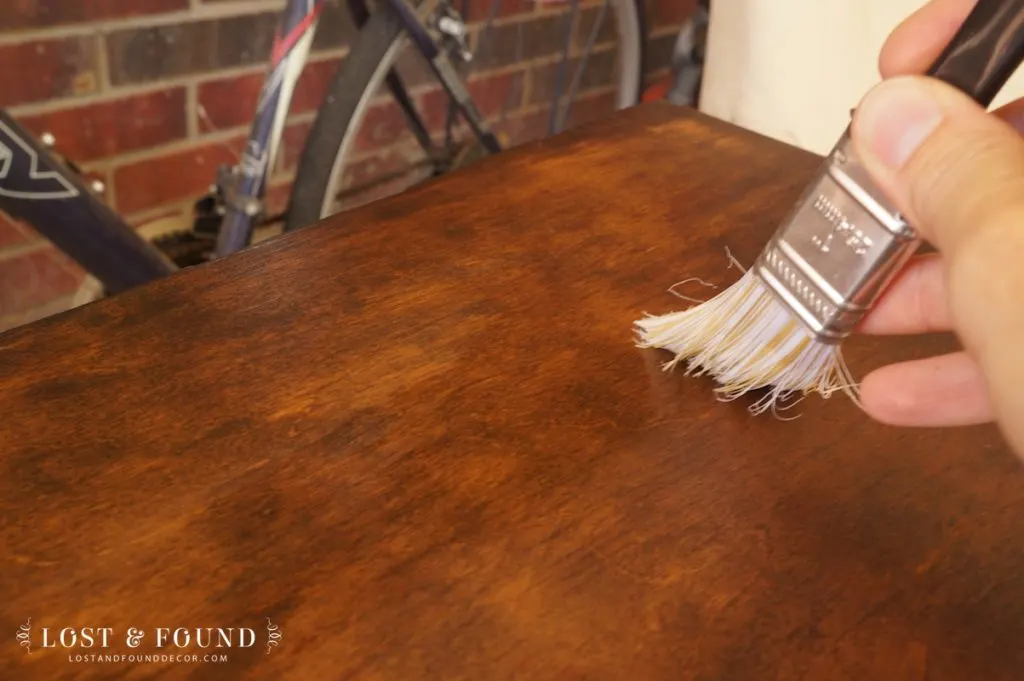
As you’re applying it, the wax will leave a little bit of sheen to help you see where you have already brushed.
The wood in the top of this picture has been waxed, but the bottom has not. Can you see the subtle sheen on the top? As the wax dries that sheet will turn more matte.
Once you’ve done the top, brush the wax on the edges.
I usually keep a rag on hand to wipe off any excess wax that I may have brushed on. Again, this step is more of art than science–they key is to apply it lightly.
Before the wax dries though, it is very forgiving so you can mess with it as much as you need without worrying. Sometimes little pieces of dust or bristles from my brush will fall off into the wax, and I just scrape it out with my fingernail or brush it off with my hand, then apply more wax. Don’t over think it!
Apply two or three coats of wax, allowing them to dry well in between coats (2-3 hours, unless it’s super hot or humid). Then your last step is to buff it with a rag.
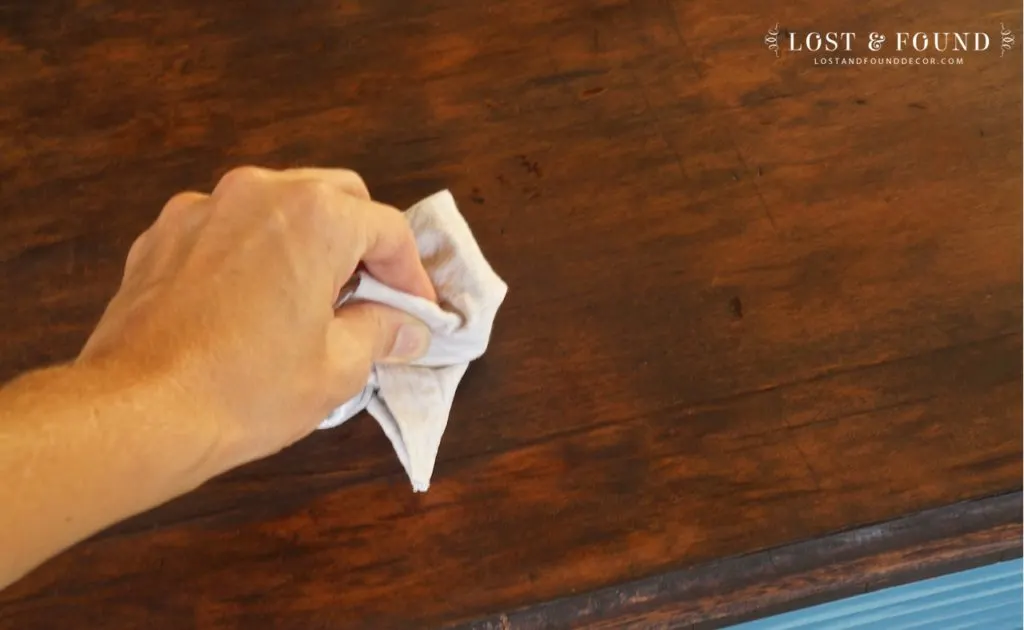
Here I’m using an old t-shirt, and just rubbing the wax in a circular motion all over the top. Buffing will help smooth out the finish and shine it up a little.
When it’s all finished, you want the top to feel dry and not tacky or waxy–if it feels either of those things, you have applied too much wax and you should try to wipe some off.
The Plaster Paint Co. wax will dry nice and hard, unlike the Annie Sloan which sometimes stays tacky for quite awhile.
And you’re done! From start to finish, working quickly this can be a 2-day project (including drying times). Again, the new stained top isn’t perfect, but it’s clean, smooth, and brightened up, and looks amazing against the flow-blue milk paint base.
I hope you all feel more confident now to take on your own refinishing project.
Please feel free too comment or email with any other questions you may have, and I will do my best to help!
If you missed Part 1 of this series which covers sanding, you can read it here.
And if you would like to see the full reveal of this refinished desk, you can see that here.


Norma O'Meara
Wednesday 9th of November 2016
Melanie thank you for your generous sharing on this site. I have an old chest of drawers in pine, never been painted. I'd like to clean it, sand it by hand and stain it to keep the colour of the original pine look. I have a tin of wax by Annie sloan and wonder could I finish it off using this? And what shade would give me as good colour for this piece? It's very a simple style, probably 100 years old and would have been used in a fairly typical kitchen in Ireland. Thank you.
Magda
Sunday 6th of November 2016
Hi! I am wondering what is your preferred order of applying stain and paint in projects like this one where the top is to be stained and the rest of the furniture is supposed to be painted. Do you apply all the coats of the stain first and then move to the painting? or do you do both things simultaneously (first coat of stain, paint, another coat of stain)? Do you use masking tape to get a sharp edge between stain and paint? I'm in the middle of painting my first desk (stain top, mineral fusion paint on the rest) and wondering what is the best way to go..and I'm also not super great with straight lines :P that's why I think maybe a masking tape would help.
Melanie
Monday 7th of November 2016
That is a great question Magda! I usually refinish the top first (sand down, stain, and topcoat), then work on painting the base. I don't really know why though . . . I guess that just makes sense in my head, to work from top down. Plus the sanding process is so messy, I would prefer to not get my painted finish dirty, so I make the mess first :) I typically don't tape when I am only painting the base bc I am comfortable using my brush to get clean lines. But if you want to use tape you certainly may. I would love to see your desk when you finish!
Lynsie
Sunday 4th of September 2016
What brand/color did you paint the bottom part of the desk? Did you sand down to bare wood down there too? I am working on a desk now (taking longer than I hoped because I STUPIDLY started taking off veneer when I could have just repaired it, you live and you learn) but I want a similar look to your desk when done.
Melanie
Sunday 4th of September 2016
Hi Lynsie. I painted the base of the desk in a milk paint color and did not sand it down at all. You can actually see more about that color and paint in the final post showing the photos of the desk, here. Thanks so much for stopping by!
Kathleen
Wednesday 24th of February 2016
Hi thanks so much for this information. Do you ever lightly sand in between applying the stains? Could this or should this be done? I am about to start my very first re-do. I just love how you have the top wood exposed and NOT painted. Thanks so much in advance for any reply on sanding in between coats.
Melanie
Wednesday 24th of February 2016
Hi Kathleen! First off, yay for you to trying out a refinishing project! I typically do not make a habit of sanding in between coats of stain, but you can with a fine grit (220+) sandpaper if you would like to. I have not found it essential to the process though. The biggest tip I can say is for sure use the Pre-Stain Wood conditioner!
How to Refinish a Table Top or Dresser - Part 1 | Lost & Found
Tuesday 23rd of February 2016
[…] You can now read Part 2 here! […]