I am so excited to show you this project! Normally, I am not one to go for painting a piece all white, but I love how this piece turned out.
I met my lovely client via a referral from another client (the white China Cabinet client). She had this great buffet piece in her dining room, but wasn’t happy with how the wood tone was working with her new dining table.
This is a quick cell phone picture my client took for me before I picked up the piece from her house.
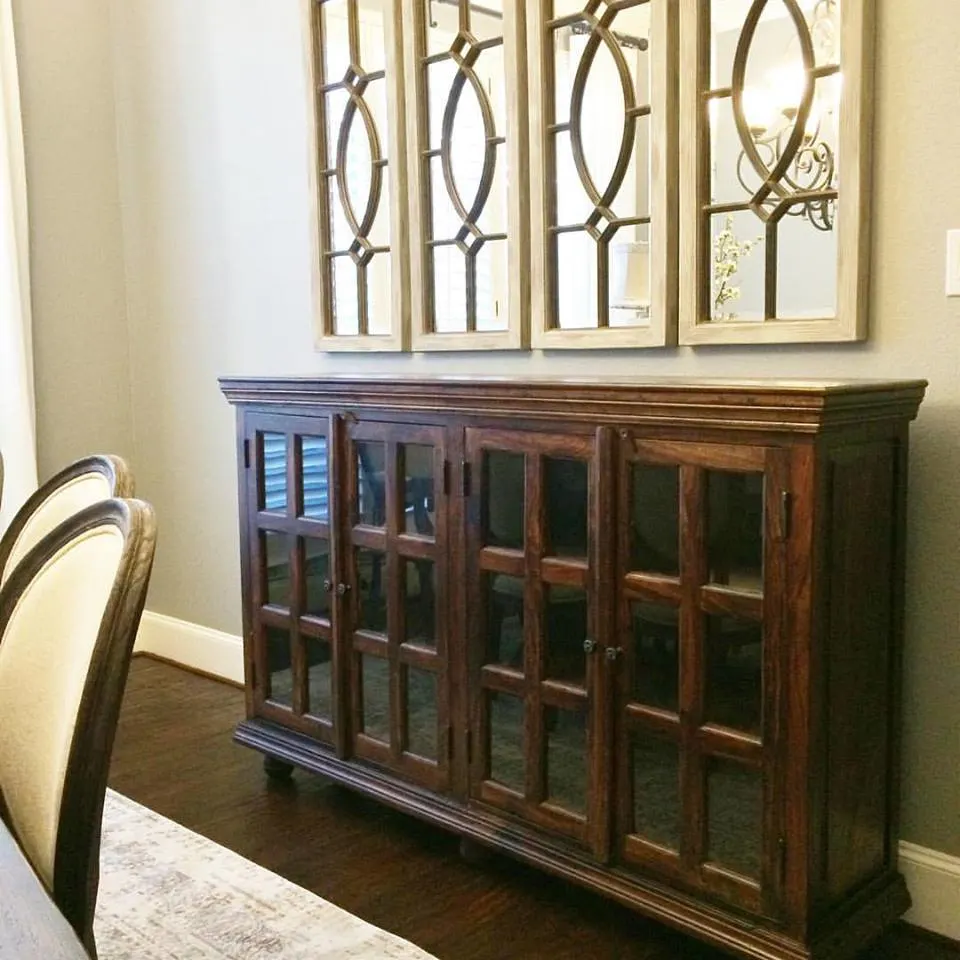
My client decided she really wanted this piece to look just like her friend’s white china cabinet, so that is the direction I went. She wanted to make sure this piece stood out and that it would have a new “Fixer Upper-farmhouse” vibe, as she described it 🙂
Here is a little better before photo of the cabinet once it made its way to my back porch–that’s where the magic happens, btw.
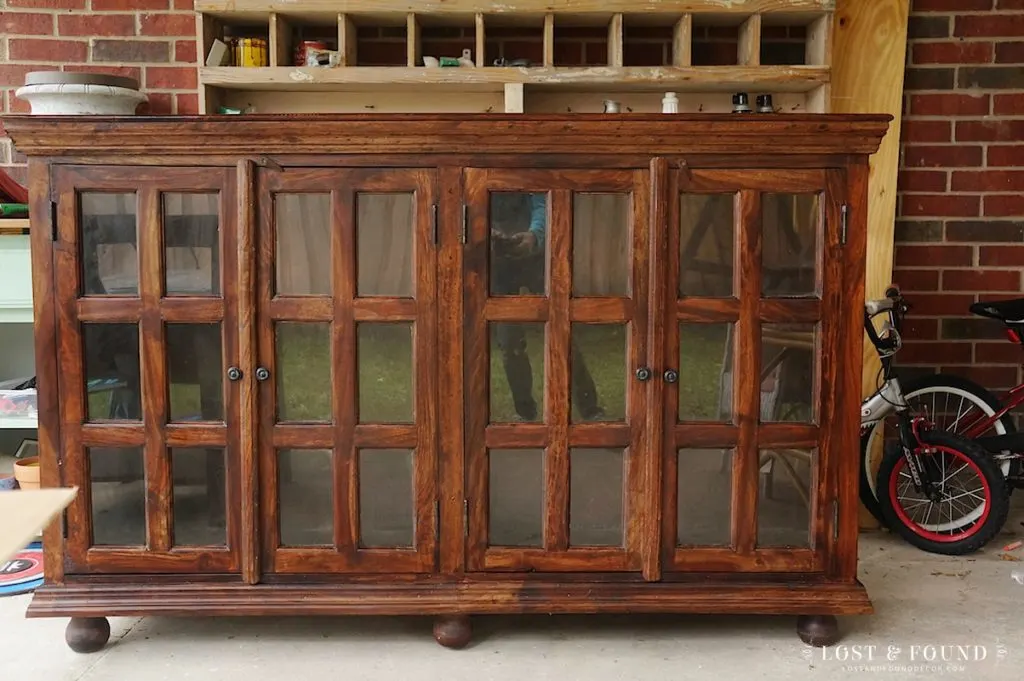
Please ignore my reflection in the glass 🙂
It’s a newer piece, and I was interested to see how Fusion would work with the newer, factory-finish topcoats that are on all furniture pieces these days. The finish wasn’t very glossy, but in my experience any modern piece that has a factory-finish topcoat on it needs some sanding to have the paint perform well–the chemicals used in modern furniture finishing are often like kryptonite to paint!
So I gave the whole piece a very quick once over with 120 grit sandpaper.
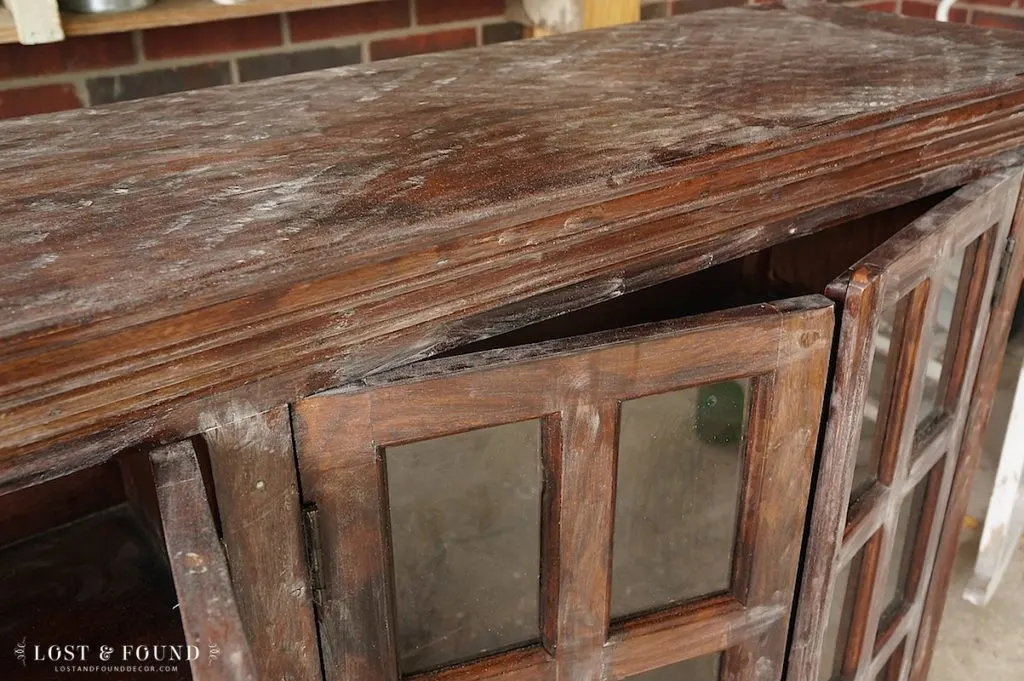
See all that white? That’s the factory-finish topcoat coming off. When I tell people a piece needs a light sanding, they tend to get this “oh no!” look in their eyes. But I really do mean a light sanding–like 5 minutes or less. Super duper quick; just enough to open up that surface.
Here is what the piece looked like with the dust wiped off:
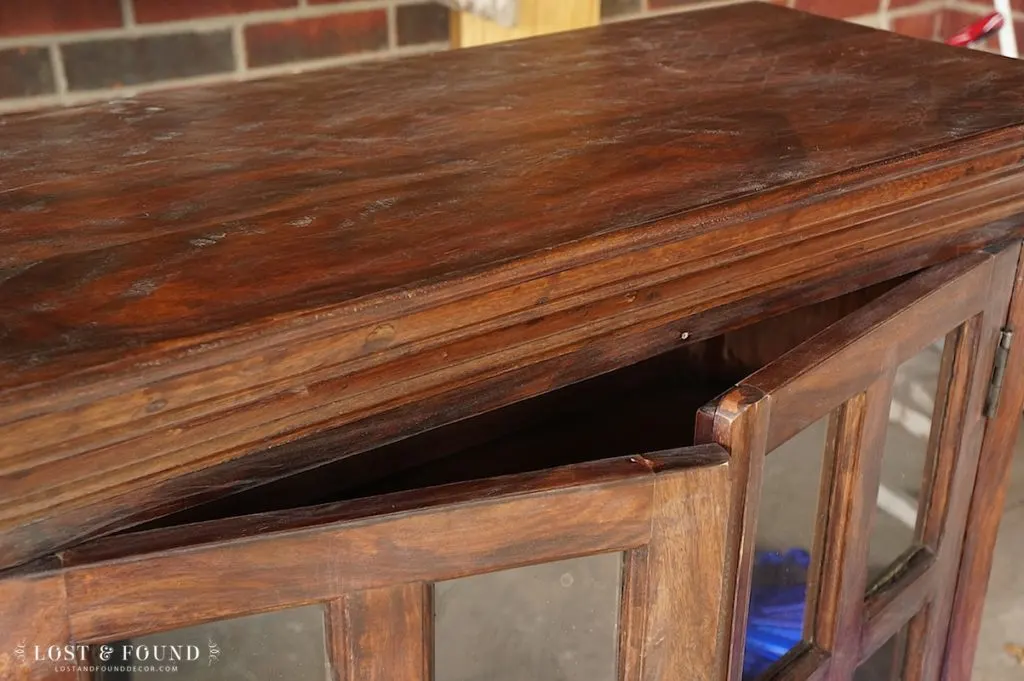
See? It doesn’t really even look sanded. So moral of the story is, don’t be afraid of taking 5 minutes to sand down a piece before you start to paint.
The last bit of prep I did before starting to paint was to rub the edges of the piece with one of Fusion’s Beeswax Blocks.
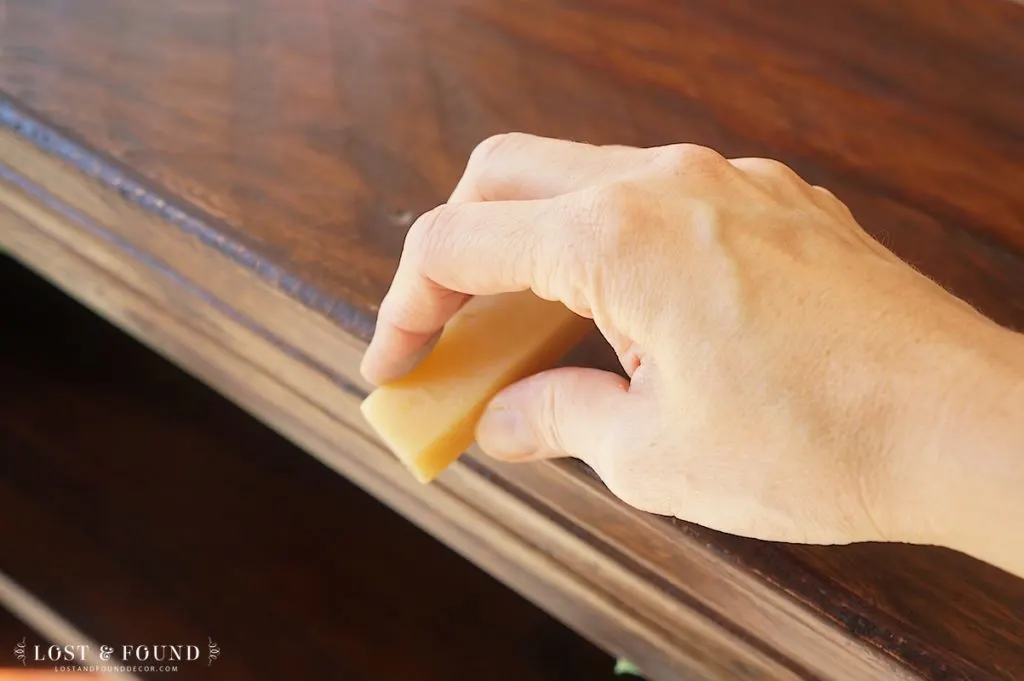
Because of the grip of the acrylic in Fusion, it doesn’t distress as easily as a chalk-type paint. Coarse sandpaper and a little extra elbow grease usually does the trick, but to save myself some energy I used this method with the wax block. Any place where the wax is rubbed on will resist the paint, and therefore those areas will distress very easily. Before painting each coat I quickly and lightly rubbed the wax block on all the edges I knew I would want to distress, and it worked like a charm. Distressing at the end of the project was super easy–the paint rubbed right off with a light wipe of fine grit sandpaper. So I’m sold on the wax block now!
Fusion’s Champlain is the perfect off-white, and my go-to color for anyone who wants “white” furniture.
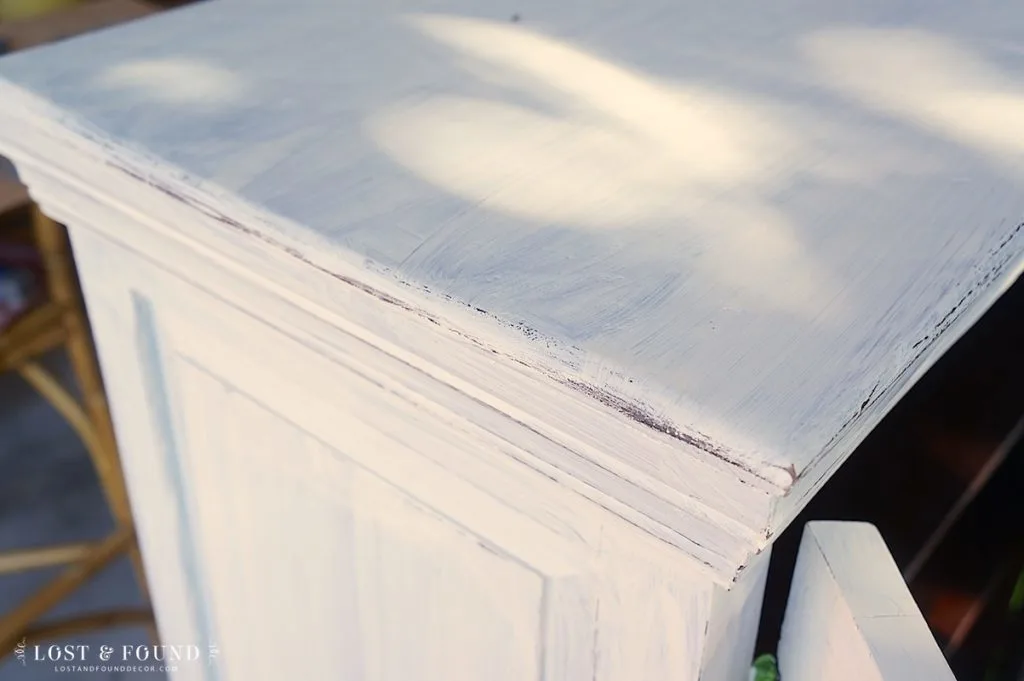
One coat is still pretty streaky and lots of the dark wood tone still shows through. Don’t worry though! The first coat of white almost always looks pretty terrible.
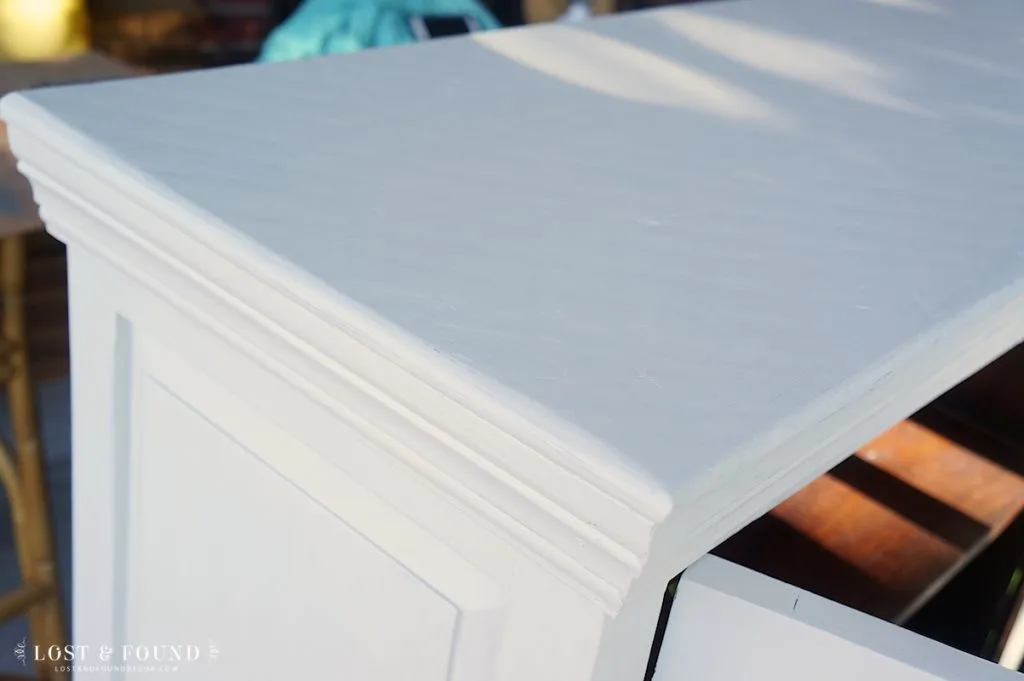
This is the second coat, and you can tell the coverage is much better and the finish has smoothed out. I did end up going with three coats to get the complete, matte coverage I wanted. By the time I painted the inside shelves, doors, and body of the buffet I wound up using two pints of Champlain.
I finish sanded the whole piece with a fine, 320 grit sandpaper (don’t skip this step!! It makes your finished surface feel buttery smooth!) and distressed the edges of the piece where I had rubbed the wax block. I think you will be amazed at what a difference a little white paint can make 🙂
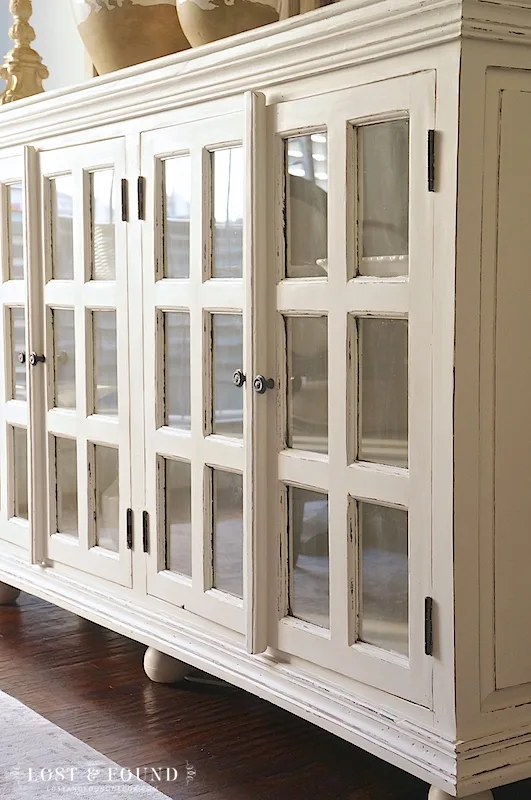
This buffet now really stands out in my client’s dining room and the distressed white finish shows off all of its wonderful detail so much better than the stained wood finish did.
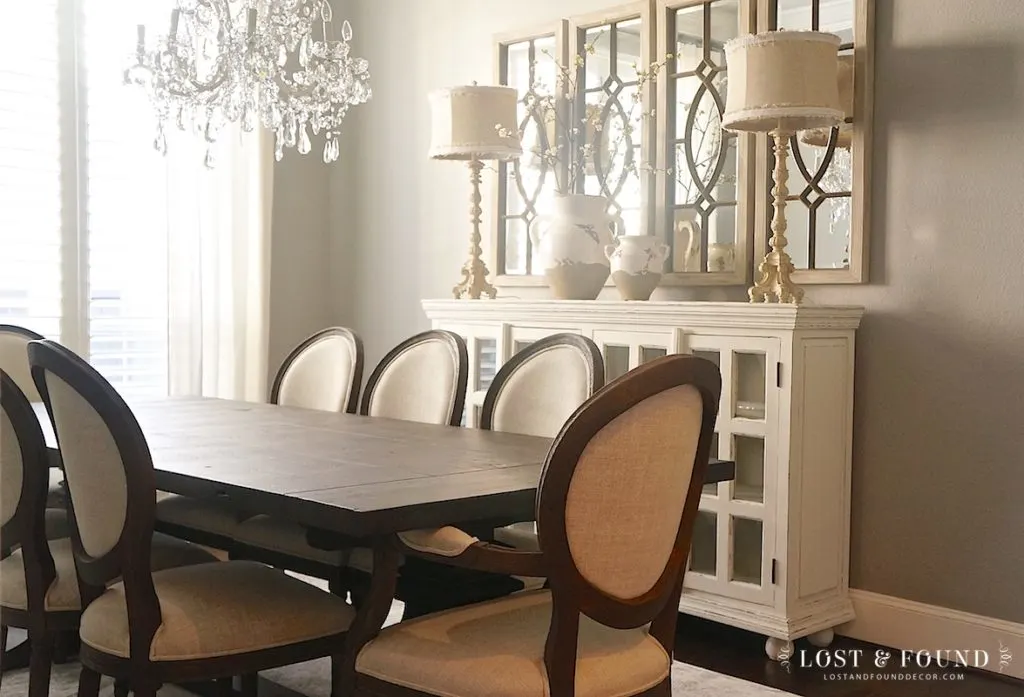
No more worries about mismatched wood tones.
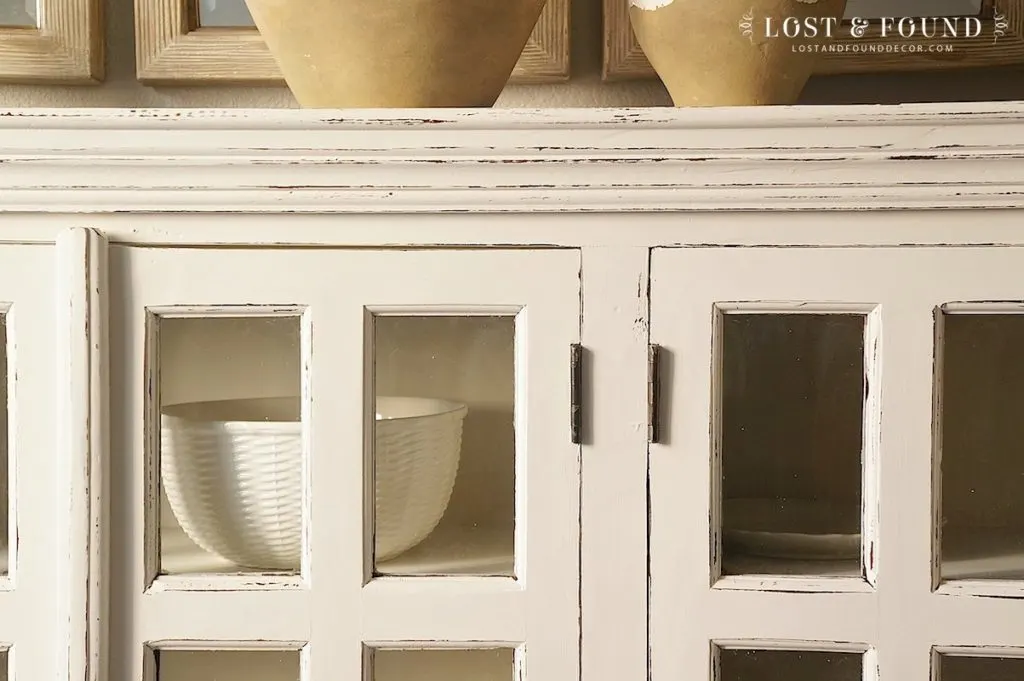
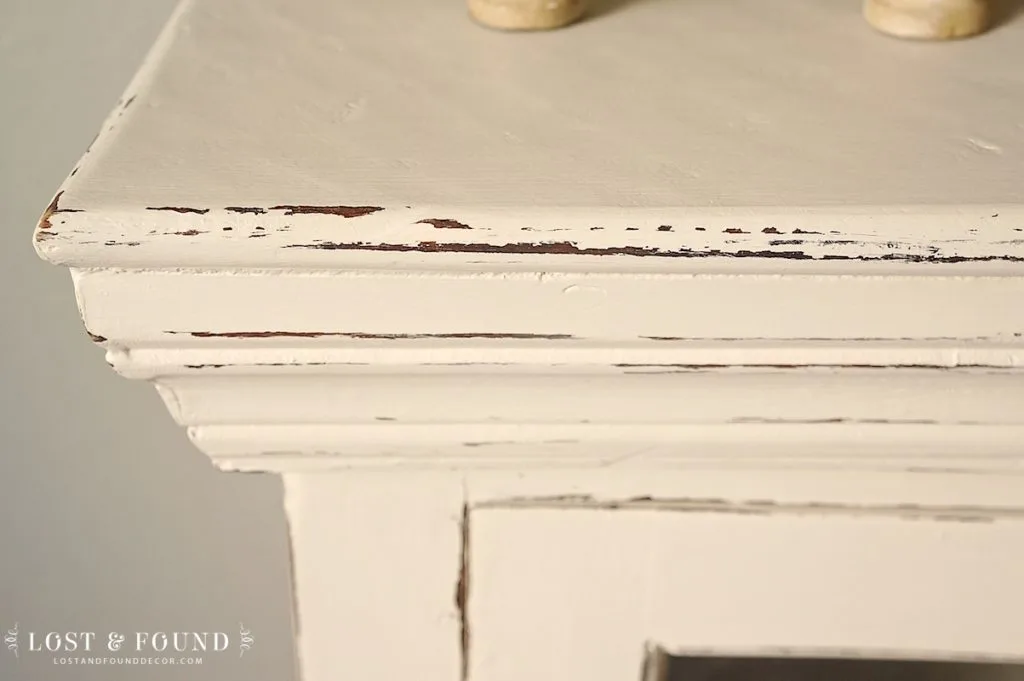
Again, using the Fusion Wax Block made this distressing a piece of cake.
I wish you could reach through the computer and touch the finish on this to feel just how soft and smooth it is!
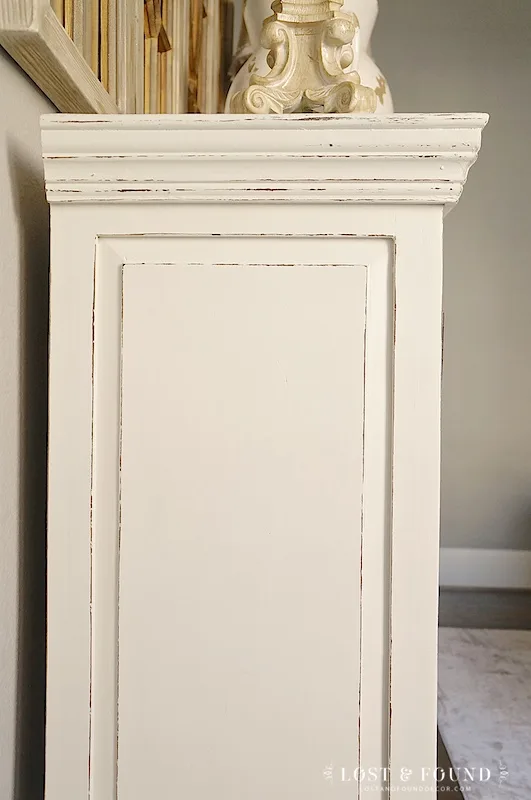
And the durability of Fusion lived up to its hype–I posted a short video on my Facebook page where I rubbed some mud all on this side, then sprayed the panel with just a little water and every trace of dirt wiped right off. All of this with no topcoat at all!
I’ve really enjoyed working with these two gorgeous dining rooms–I’m feeling a little spoiled honestly 🙂
I hope you enjoyed this makeover! I have a few more coming up over the next couple of weeks–it’s been a busy few weeks of custom work for me–so stay tuned.
Also, thank you so much to everyone who commented and entered the giveaway for the Fusion Brush and Brush Soap Gift Set. The winner is Susan B.! Be on the lookout for an email from me Susan so I can arrange shipment of your gift set.

Linking up to: Brag Worthy Thursday

Best Beige Paint for Furniture
Thursday 29th of August 2024
[…] Dining Room Buffet Furniture Makeover using Fusion Mineral Paint Champlain […]
Judy Young
Tuesday 7th of March 2023
When you did the final sand after painting do you do it by hand or use a sander?
Melanie Alexander
Thursday 9th of March 2023
HI Judy! I would do finish sanding by hand.
Side Table Makeover Fusion Metallics
Monday 15th of August 2016
[…] two projects I’ve done in the past for her were the Champlain China Cabinet and the Faux Mirrored Nightstand. We decided to sort-of combine those two looks onto this one […]
Rebecca McCabe
Thursday 10th of December 2015
This is one piece that definitely needed painting! Looks fantastic in her dining room now! The panels above look 100% better with the painted piece also. All around, job very well done! Yeah you!!
Shayla Martin
Thursday 10th of December 2015
What a beautiful transformation. Thank you so much for all your great tips and inspiration!