I’m finally finished with my booth makeover project! Last Thursday and Friday I spent most of the day up at my Antique Company Mall space installing my salvaged-siding wall and new “plank” flooring.
I left you last week with a picture of my painted siding (salvaged from my neighbor’s driveway after he ripped it off his house) and a tease for my cost-effective flooring idea.
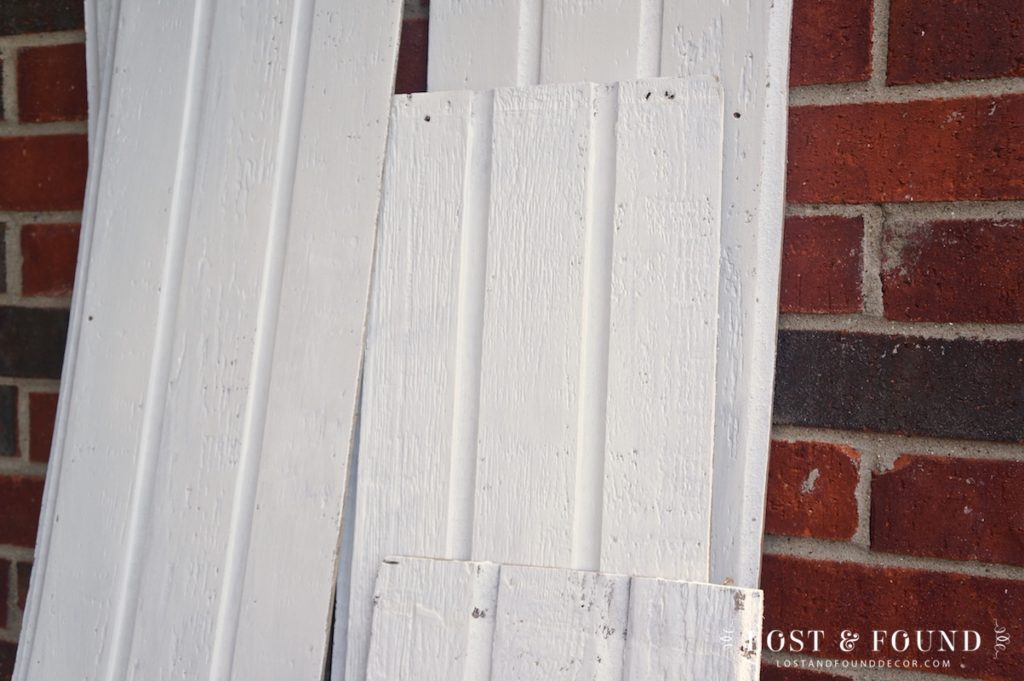

I wanted to give my space a big upgrade, but was really loathe to spend a lot of money on it. So, getting the siding for free was a big bonus. Finding a good new flooring solution was a little more problematic.
The floor I had in my space was a faux-stone linoleum in orange, cream, and olive green colors. Yuck! Some of the flooring in the mall is the great original hardwood, but unfortunately my booth space isn’t in one of those areas. I wanted to try and create a hardwood look, but for as little money as possible.
I investigated some cheap laminate wood flooring as well as peel and stick wood plank tile, but both were still going to cost me well over $150. I just couldn’t get excited about dropping that kind of cash on a booth space floor.
A few other dealers have laid down plywood sheets for their new flooring, then painted them to add some character. I liked the idea of plywood, but knew the paint wouldn’t work for me. I am constantly sliding furniture around in my booth, so the paint would probably not be able to withstand the constant wear and tear.
The other option then was to stain the plywood, which is what I chose to do.
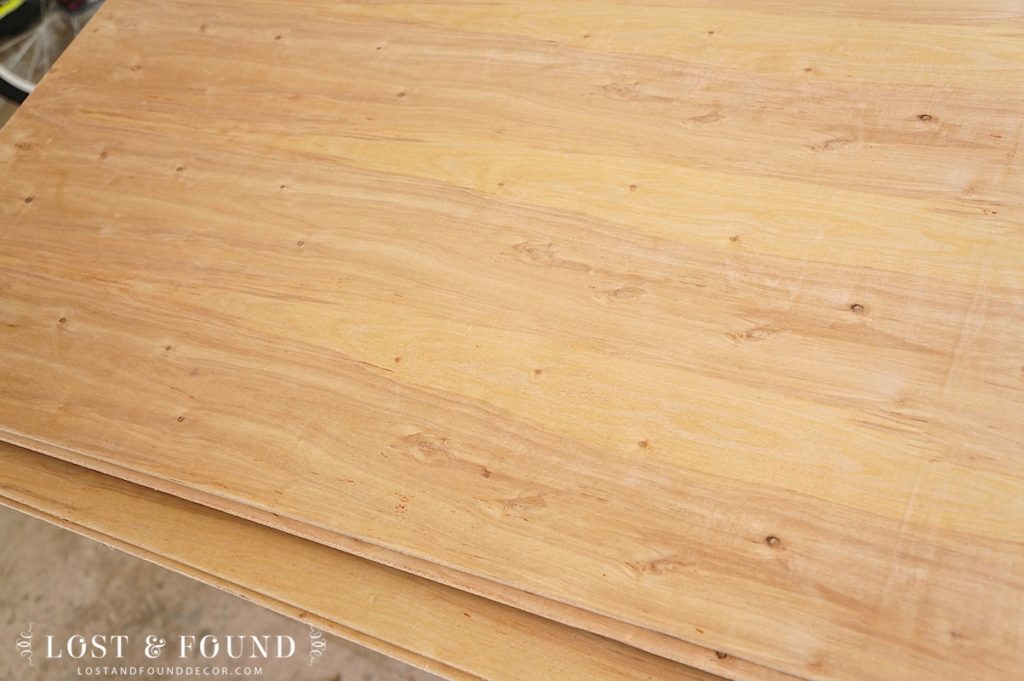
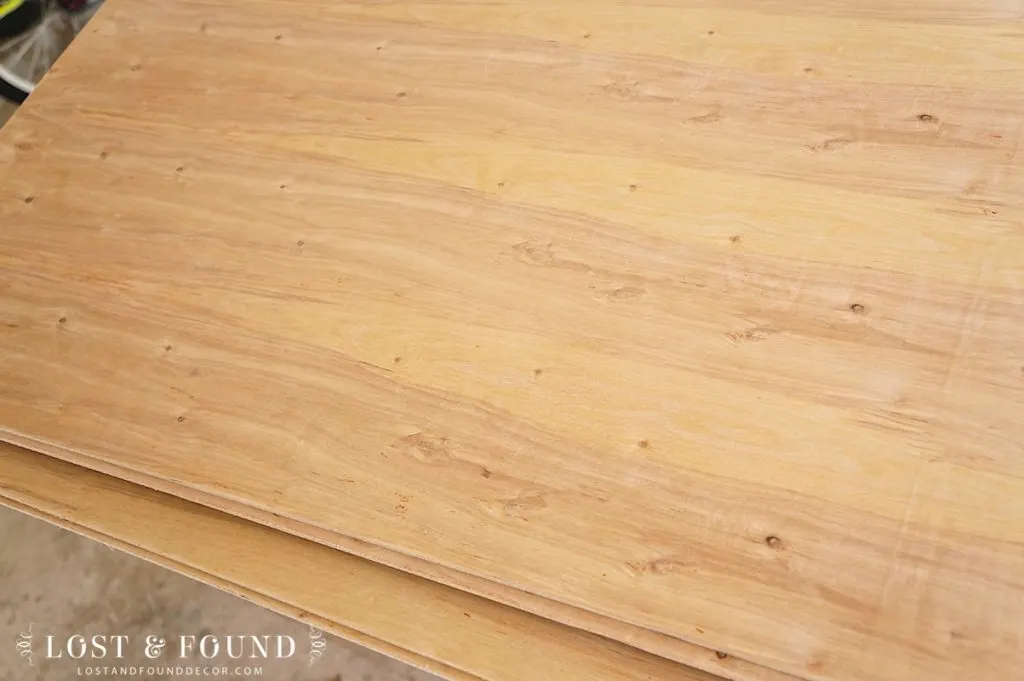
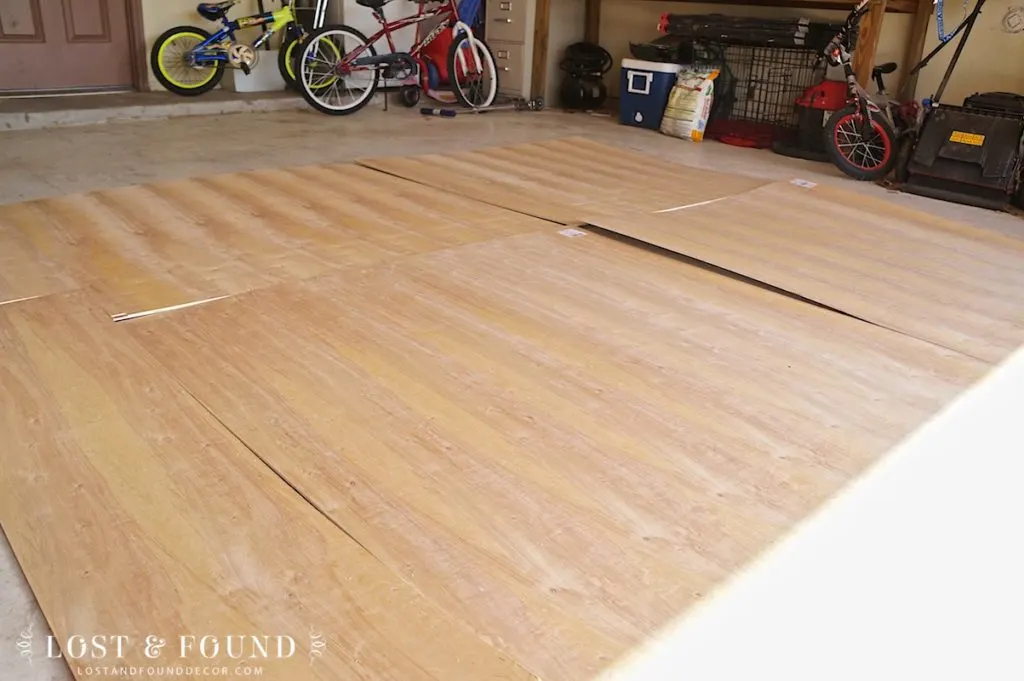
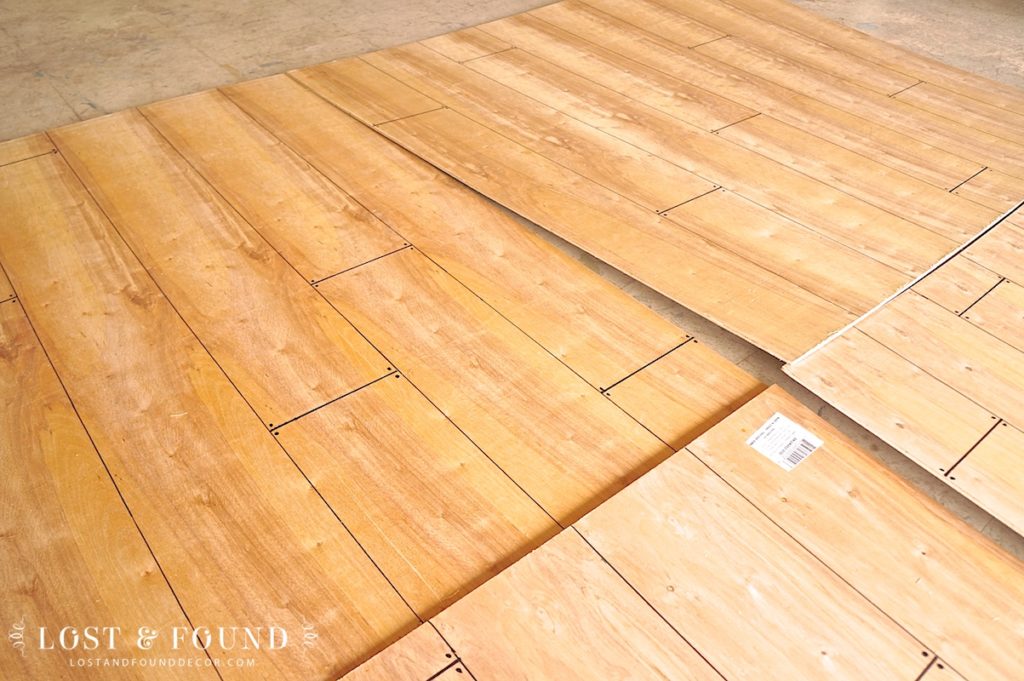
Measure the Plywood
Four 4′ x 8′ sheets of plywood underlayment, costing about $11 a sheet at Home Depot 🙂 I measured the sheets and made cuts to fit them into my 9 X 10 booth space, then laid them out on my garage floor.
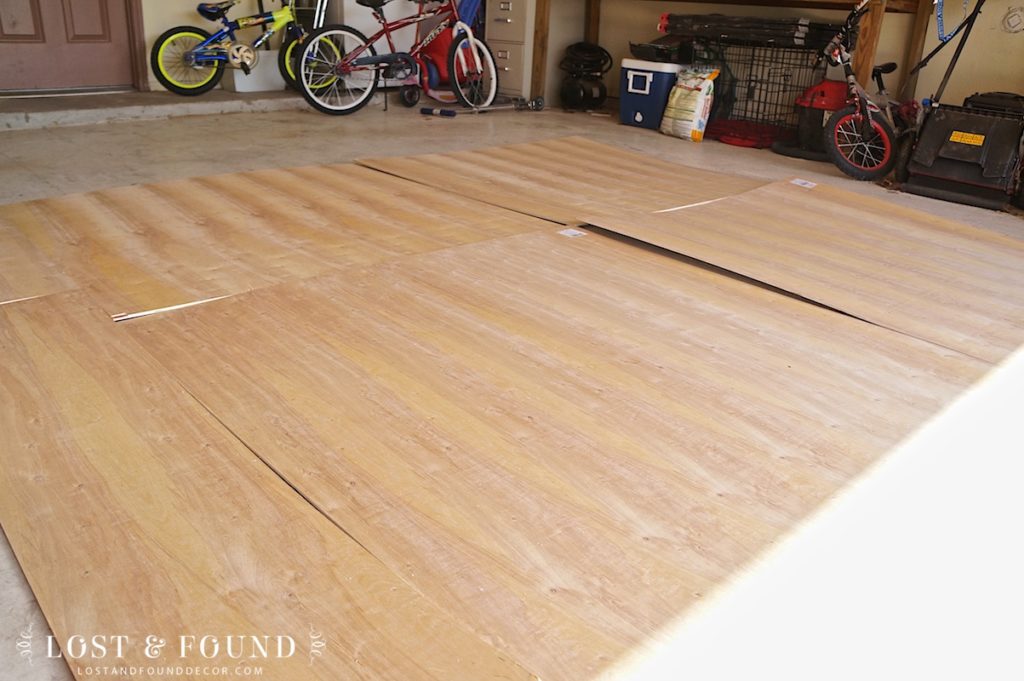
Now here comes the fun part!
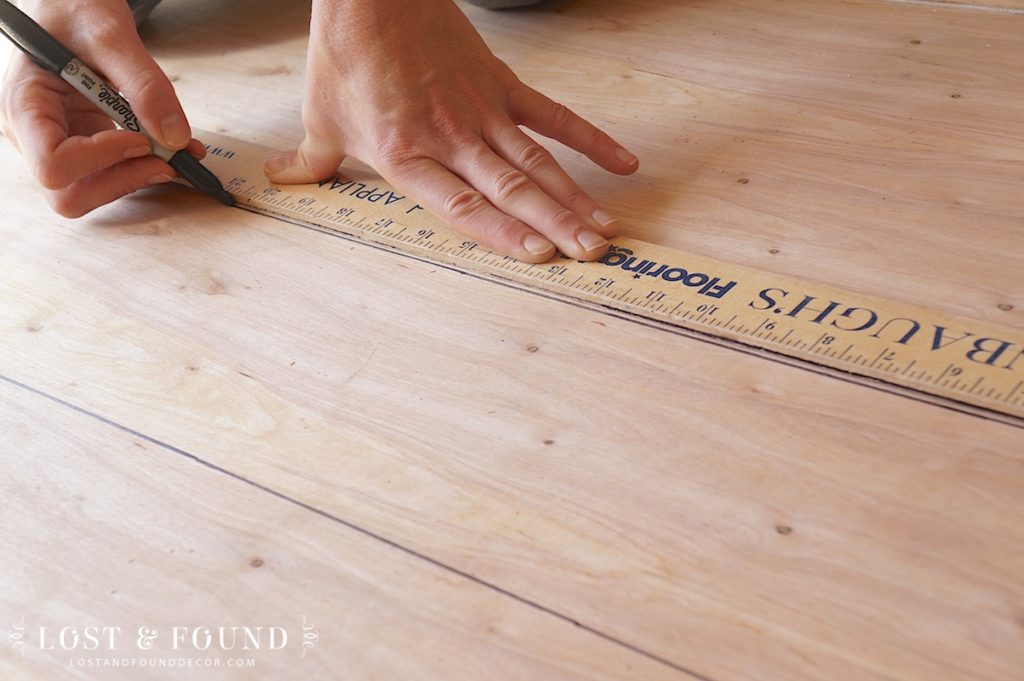
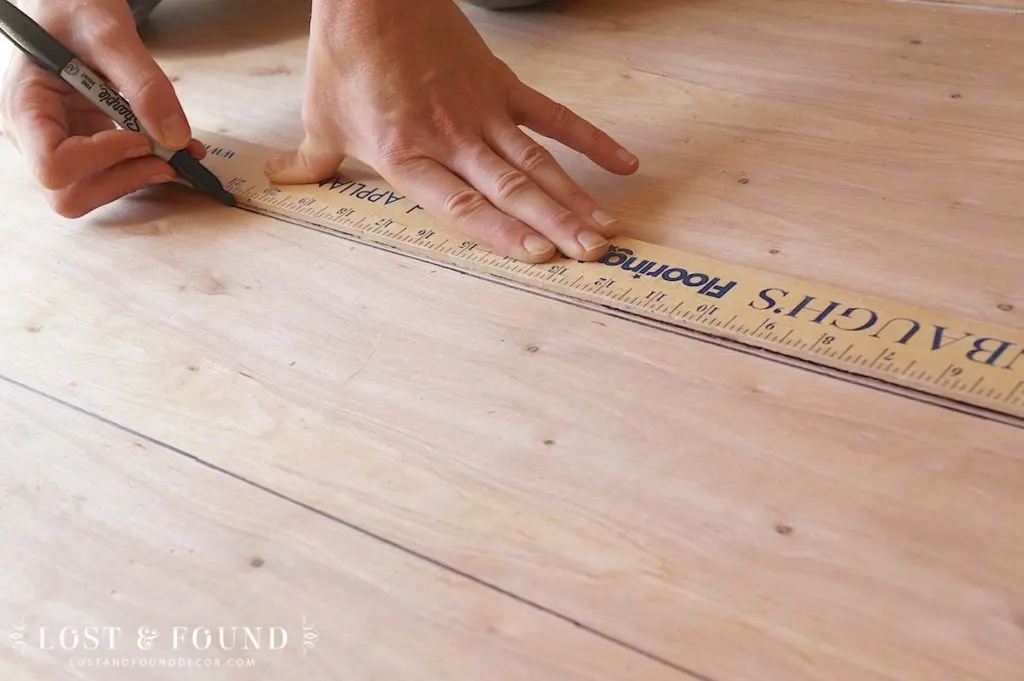
Draw Plank Lines
Rather than just staining them as they are, I decided to draw in some plank lines. This is NOT my ingenious idea, many others have done it before me . . . and it really is as easy as it looks.
I measured 6 inches across the top, middle, and bottom of each board.

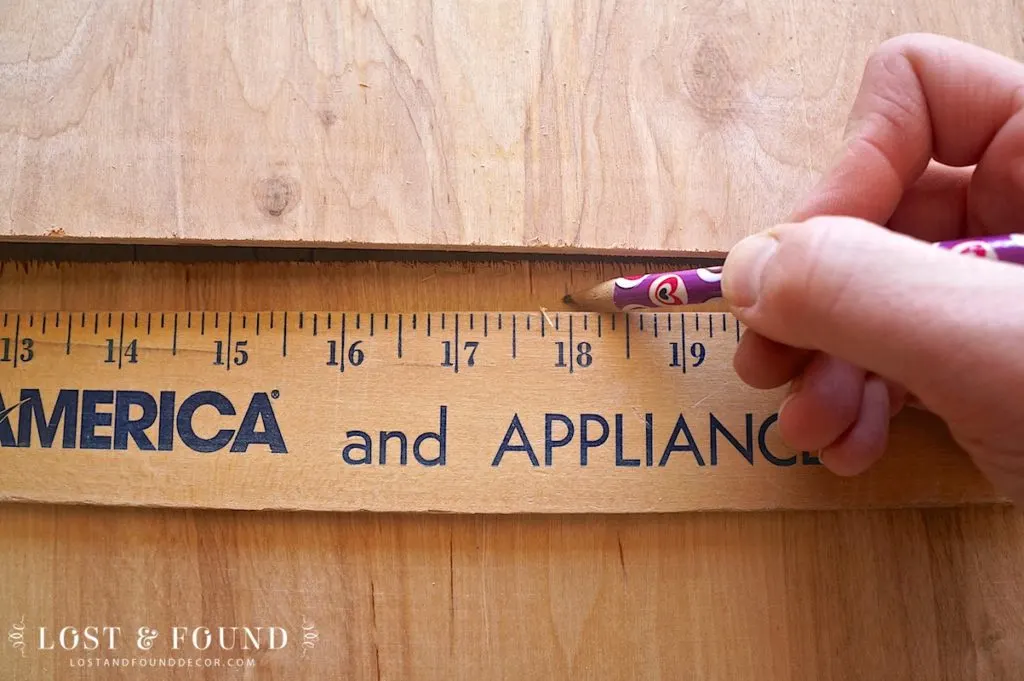
Then I connected the lines with my yardstick and drew in the “planks” with a Sharpie.
It was a lot of time down on my knees, and I was wishing for some knee pads! It took me about 45 minutes to get all the lines measured and drawn.
Once the vertical lines were in, I drew in the horizontal plank lines at random, even adding some “nail” spots at the end of each plank.
 Ta-da!
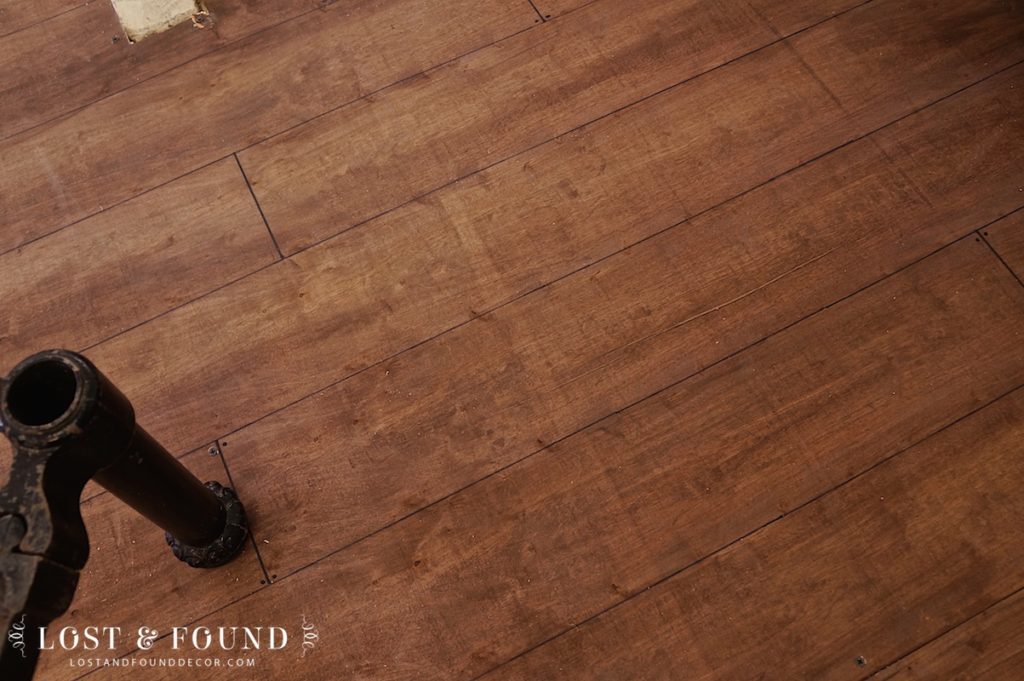
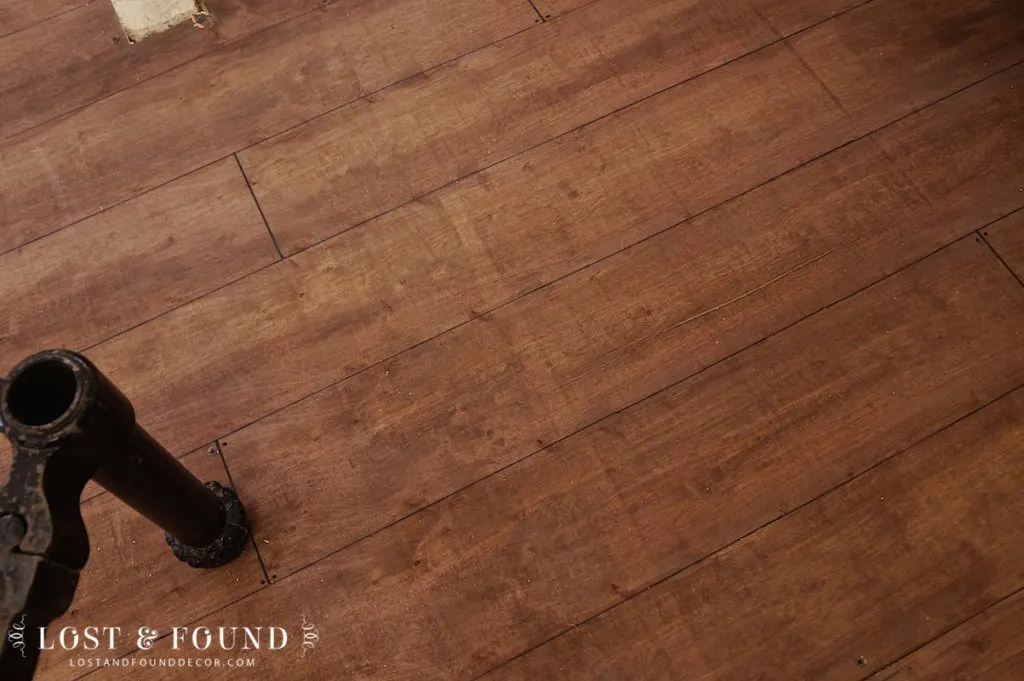
Stain the Plywood
I had some leftover deck stain on hand (more free supplies!) that I wiped on with an old t-shirt. Just one coat did the trick.
Install the Flooring
Since I prefabricated the boards at home, all that was left once I got them up to my booth space was to screw them down to the floor.
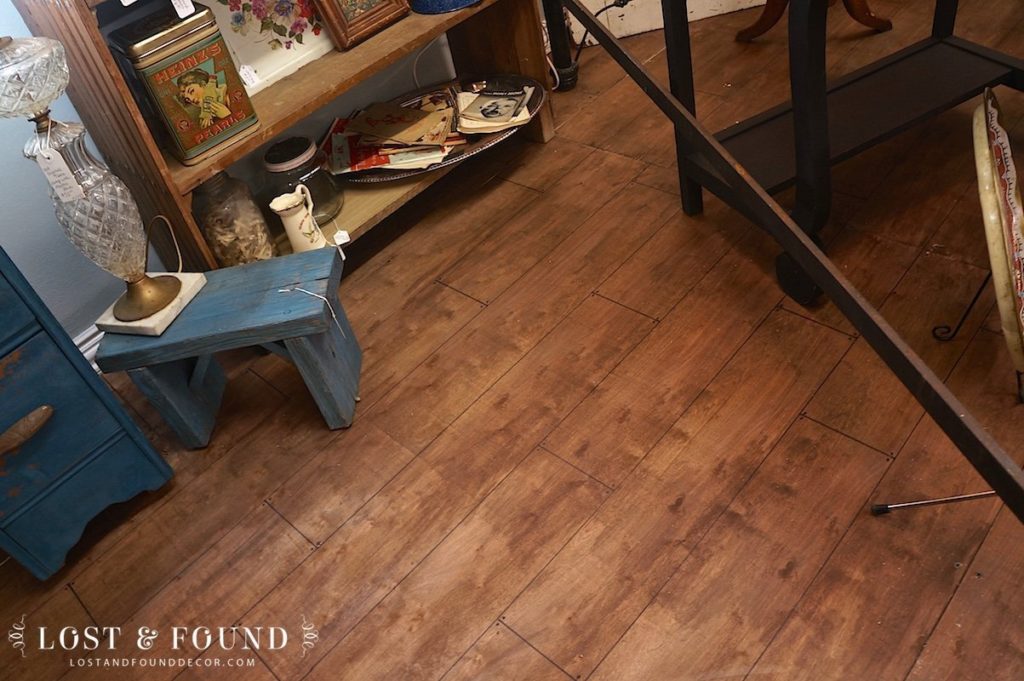
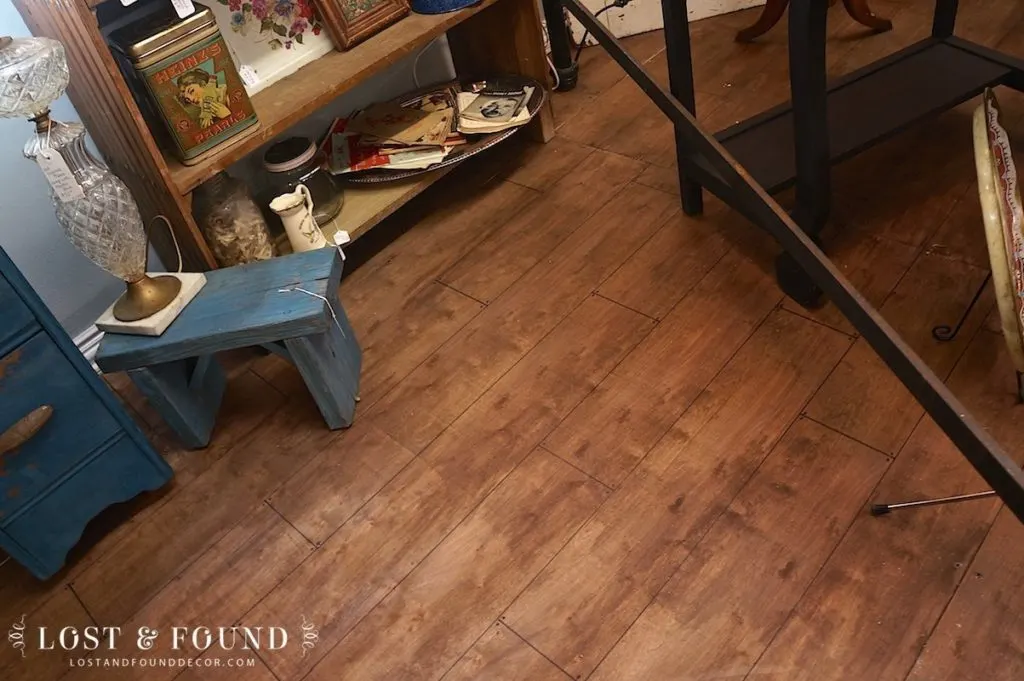
My walls aren’t perfectly straight, so there are some gaps along the edges of the floor. But for the cost, I am super happy with how it turned out. Many other dealers and customers were surprised that it was just plywood. Because it’s my booth and not my home, it doesn’t have to be perfect, just functional and good enough to pass. It definitely is a major upgrade from the olive green linoleum!
So, with it all put together–new blue paint, white siding wall, and plank floor–here is the new space:
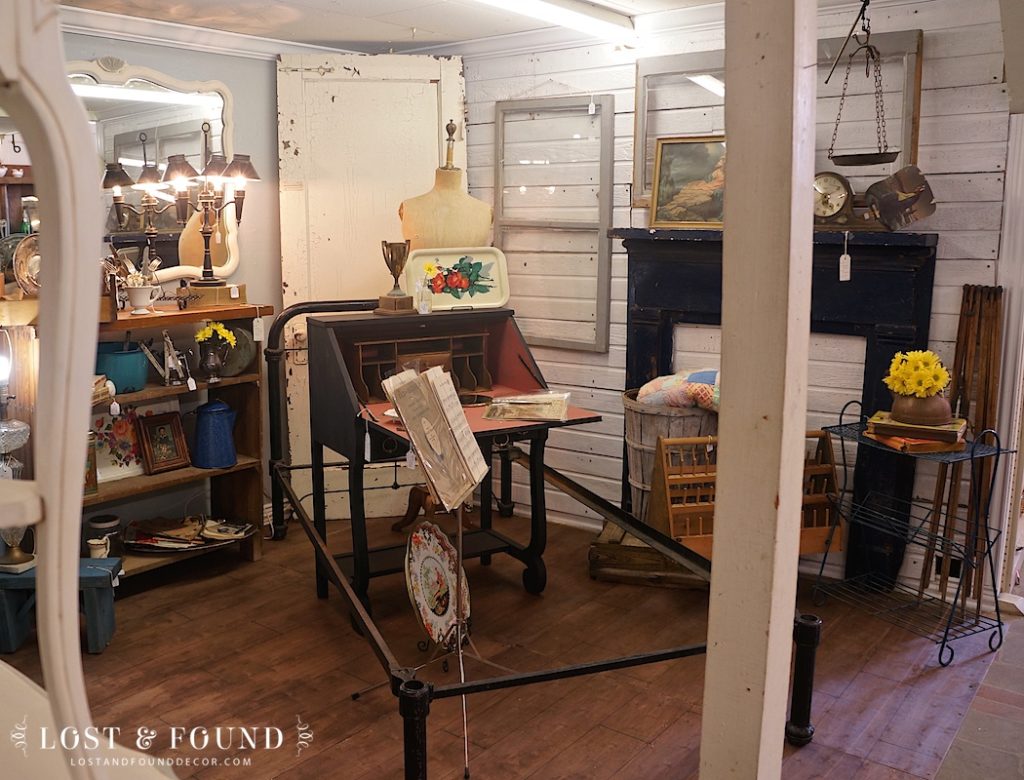

The siding wall adds so much character and interest, and best of all, covers up the terrible pegboard!

I need to touch-up paint the screws on the wall . . . but I am tired. That will have to wait for later.
So once again, here is what $75 (all supplies included) and a little creativity can do for a booth space:


I hope this has given you some ideas for how to inexpensively upgrade your own booth space, or even areas in your home. Some dumpster diving, a Sharpie, and a little hard work can go a long way!


Linking up to: Project Inspired, Show & Share Party Thrifty Thursday
gail
Wednesday 25th of February 2015
Great job Melanie! Diane alerted me to your "new floor" on g+ when I posted my very temporary floor for staging furniture pieces. You've really changed up your booth a lot by doing this floor, it looks fabulous!
gail
Diane | An Extraordinary Day
Thursday 29th of January 2015
Melanie...this really is an amazing makeover and give your finds a chance to shine even more! Way to go!!
We completely renovated a gym and transformed it into a children's worship center. The stage was a two story log lodge... very fun. This was an expensive project with top notch sound and media systems. We needed to find a way to have a great floor on our stage in keeping with the character of the lodge. After so many VBS's designing amazing environments, we have a little experience with "slight of hand" visuals. So, my husband got the idea of doing pretty much what you did. Except he used a large permanent marker so the lines were broader, and then the "boards" were stained different shades of stain. I think there were three shades. Then is was finished well with poly. Like your floor... no one guessed... and actually people who had no idea commented about the pretty floor with the random "boards."
Thanks so much for sharing your makeover tips with us at Project Inspire{d}!
Cynthia
Wednesday 28th of January 2015
Looks great! You must be very happy with your new "room"!
Nancy
Tuesday 27th of January 2015
Love it all! Thanks for making ACM even better!!
Dorene
Tuesday 27th of January 2015
The new look is great and adds such character to your booth! Such an amazing improvement.