When planning my booth space for the Dallas Vintage Market Days, I knew I would need something to really define my space and help it stand out. I was set up basically in the middle of this huge livestock arena, with no access to the ceiling or any walls. Whatever I was going to use was going to have to be freestanding.

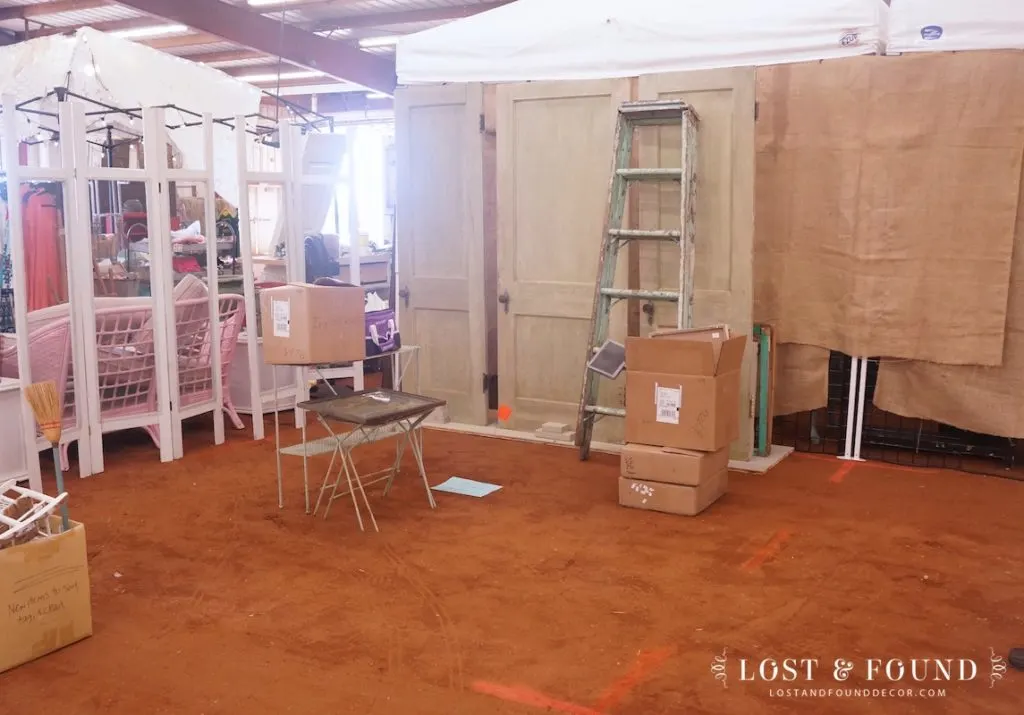
A tent was one option, but I was afraid a tent would feel too closed in. I wanted my space to be light and open, but still defined, so a tent wasn’t the way to go.
While eating lunch at a small antiques and cafe store near my mall, I saw what I thought would be the perfect idea for my Market Days space– a large, standing “tree,” decorated with fabric embellishments and some greenery. The tree in this space was HUGE, probably 20 feet tall, and it filled up the empty vertical space of the cafe without feeling heavy and claustrophobic. I knew with a little creativity I could make up my own version.
The hunt for big tree branches was on! Luckily, my next door neighbor had just trimmed her Bradford Pear tree and had a gigantic pile of large branches waiting to go to the dump.
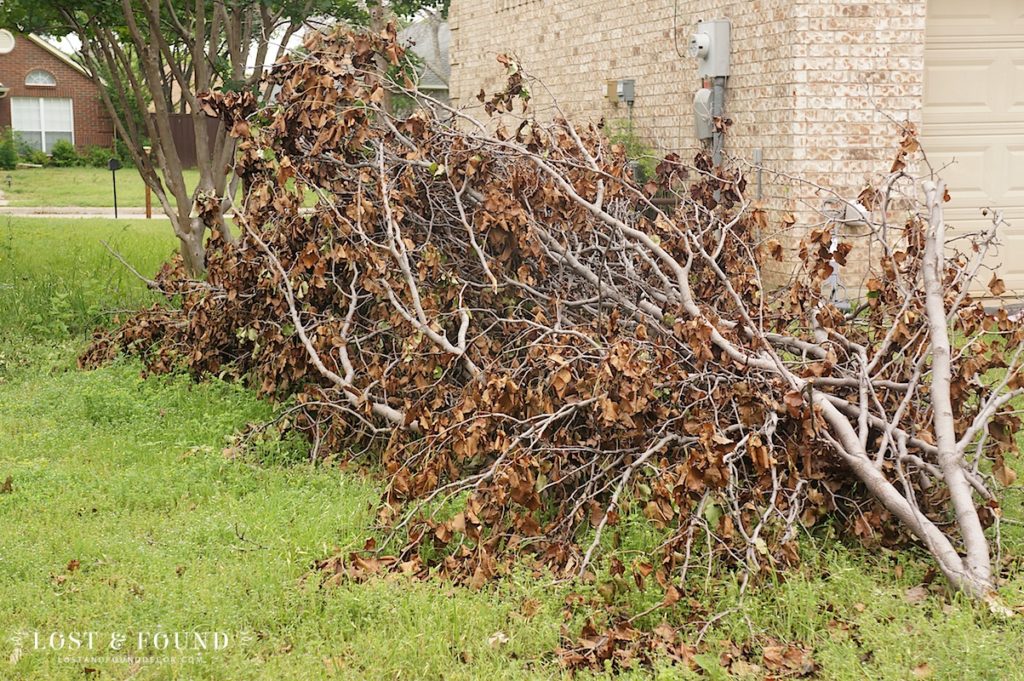
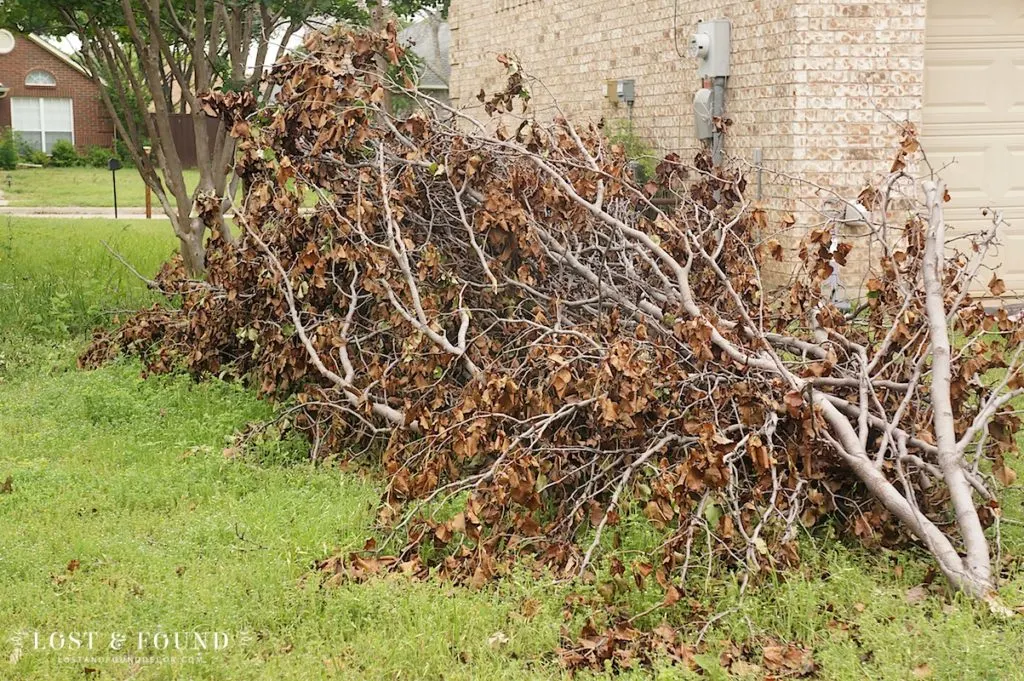
I think she might have been a little confused when I asked her if I could have some of her branches (much like my other neighbor was confused when I wanted his old siding from his house), but she was glad to let me pick through the pile.
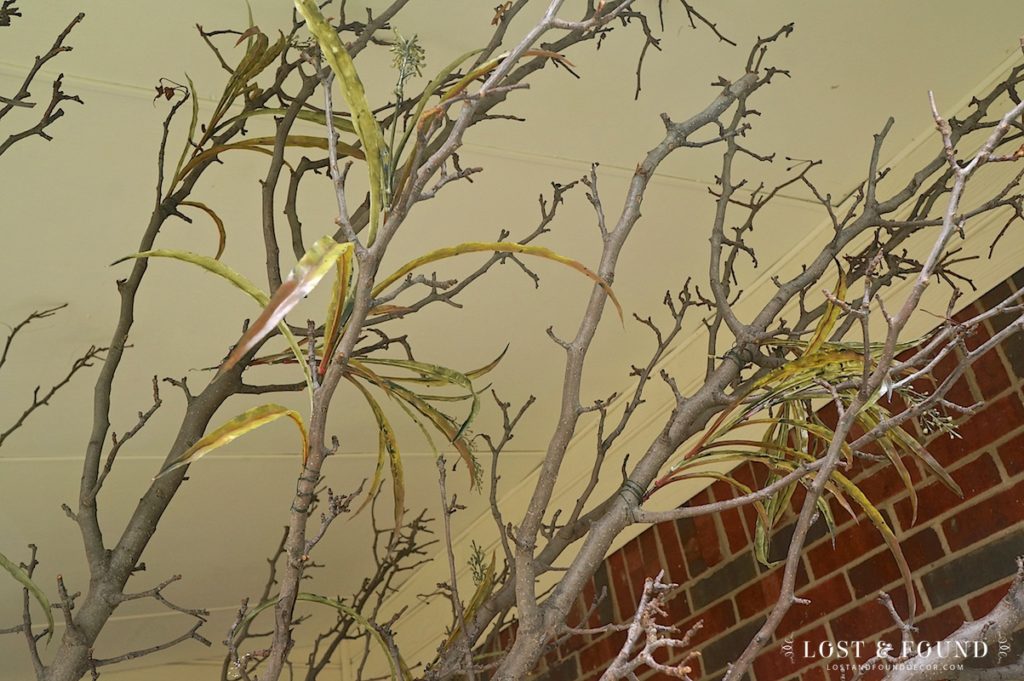
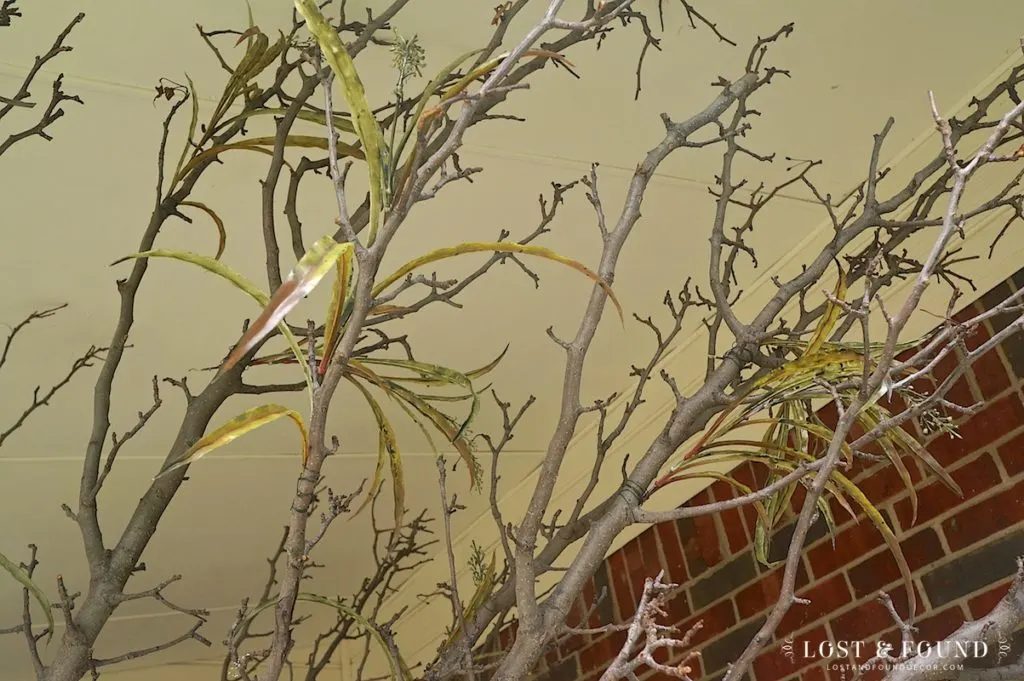
I found the perfect branch–tall, expansive, but not too wide–and drug it back to my driveway.
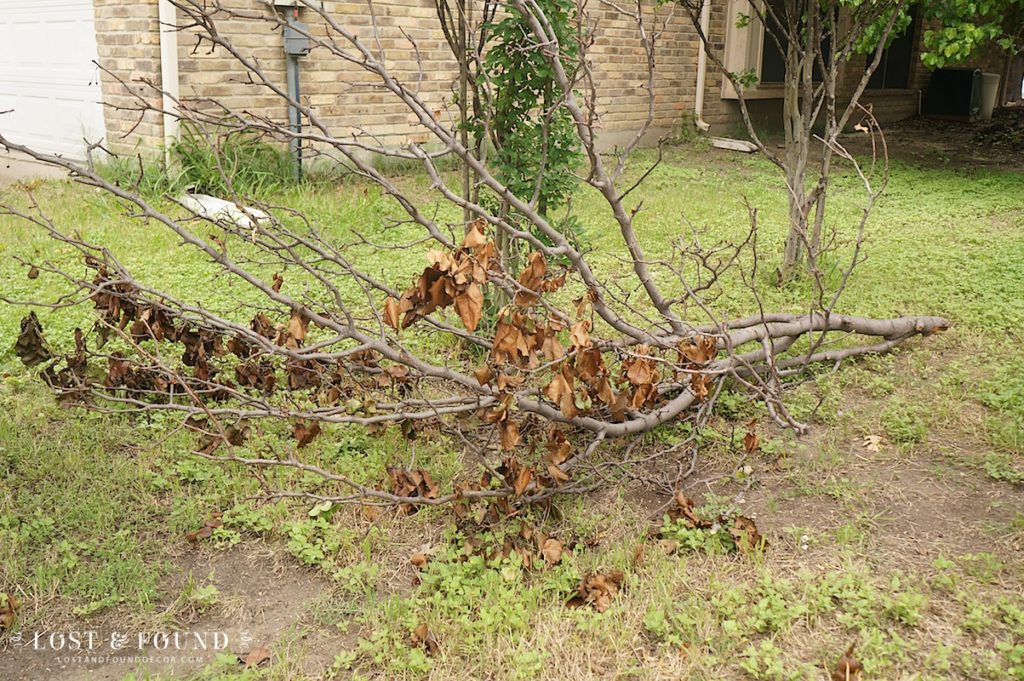
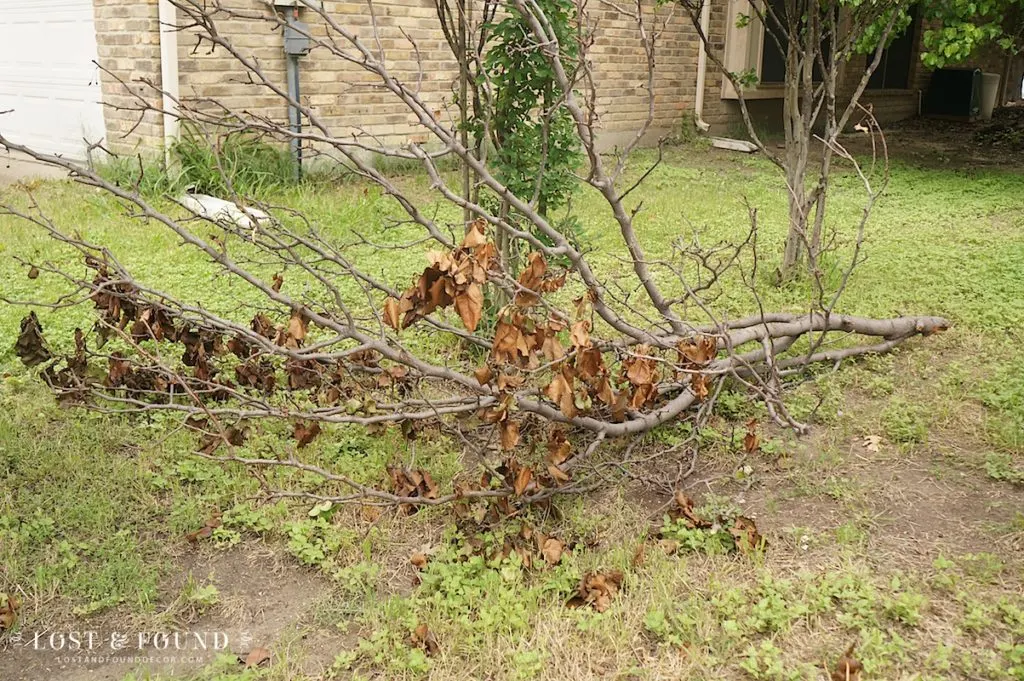
I spent one afternoon pulling off all of the dead leaves because bare branches is what I was going for. Once they were all off though, it was time to stand up the tree and build it’s base.

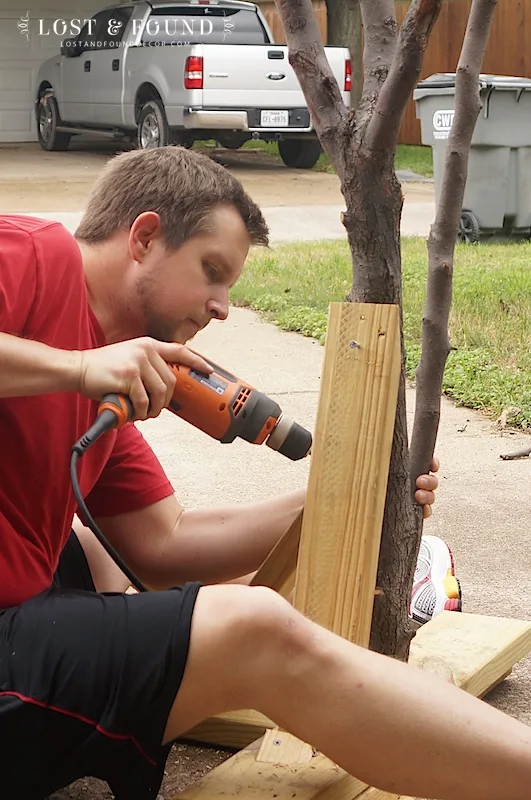
Using some leftover lumber my hubby built a flat base for the tree with wood side supports. He screwed a long screw through the bottom piece of wood, all the way into the base of the tree. Then, each side support was screwed into the tree as well.
My husband is such a good sport! He was a little unsure if my “tree” idea was going to look good, but he was happy to go along with my crazy plan anyway.

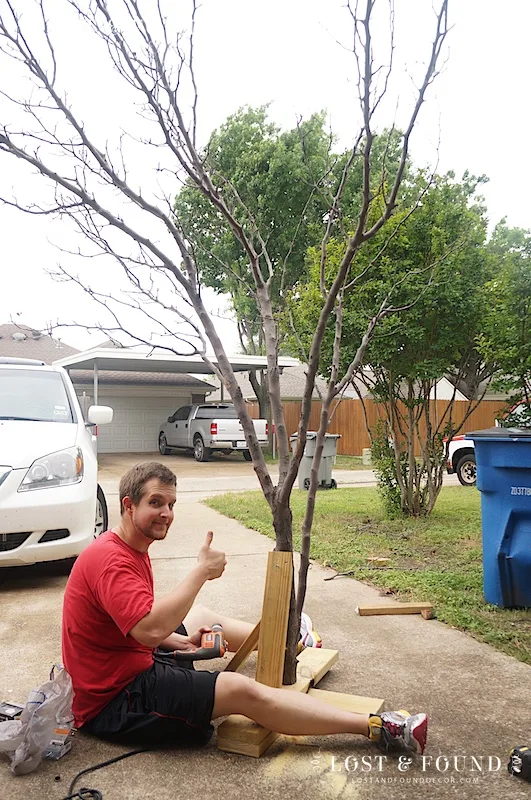
So once the tree was firmly supported, we painted the base wood with some leftover neutral gray/green paint I had one hand, and then it was time to add the embellishments.

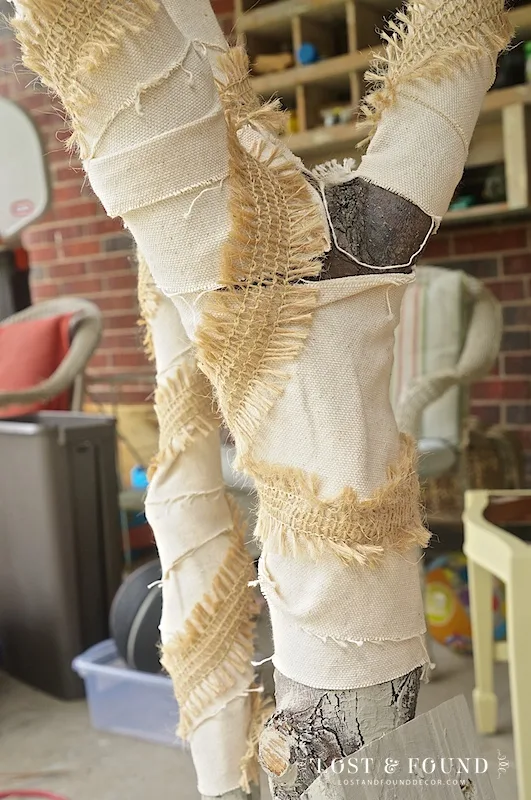
Starting at the base of the tree right above the wood supports, I wrapped around it strips of cream canvas cloth (leftover from an old upholstery project), using the staple gun to secure it at each end. I went about halfway up the main branch stalks with the canvas, then added a layer of fringed burlap ribbon as well.

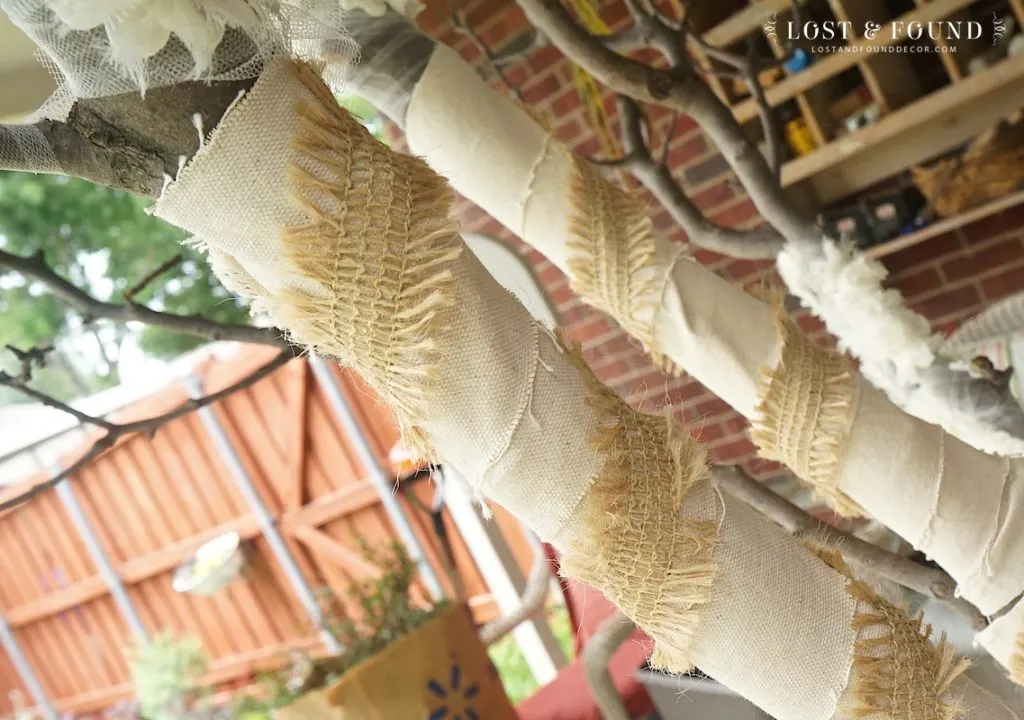
Off white tulle strips were then wrapped around the branches starting where the canvas ended, going up another 6 inches of so. I found some gorgeous tulle ribbon with fabric roses on it at Hobby Lobby, and that was wrapped around some of the tulle branches as well.
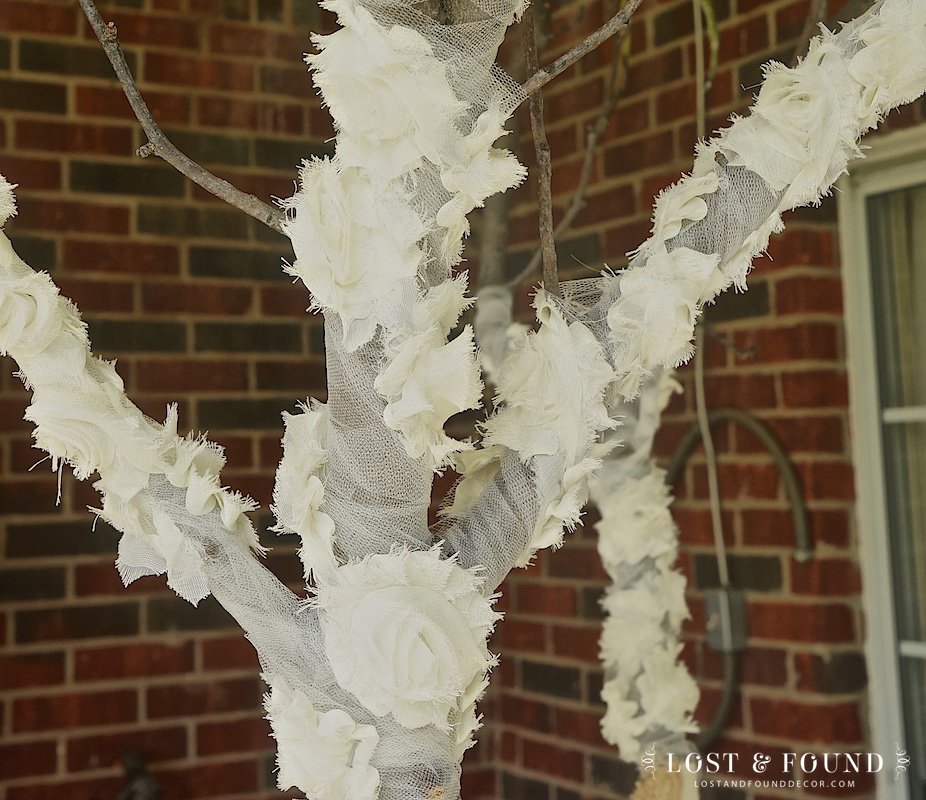
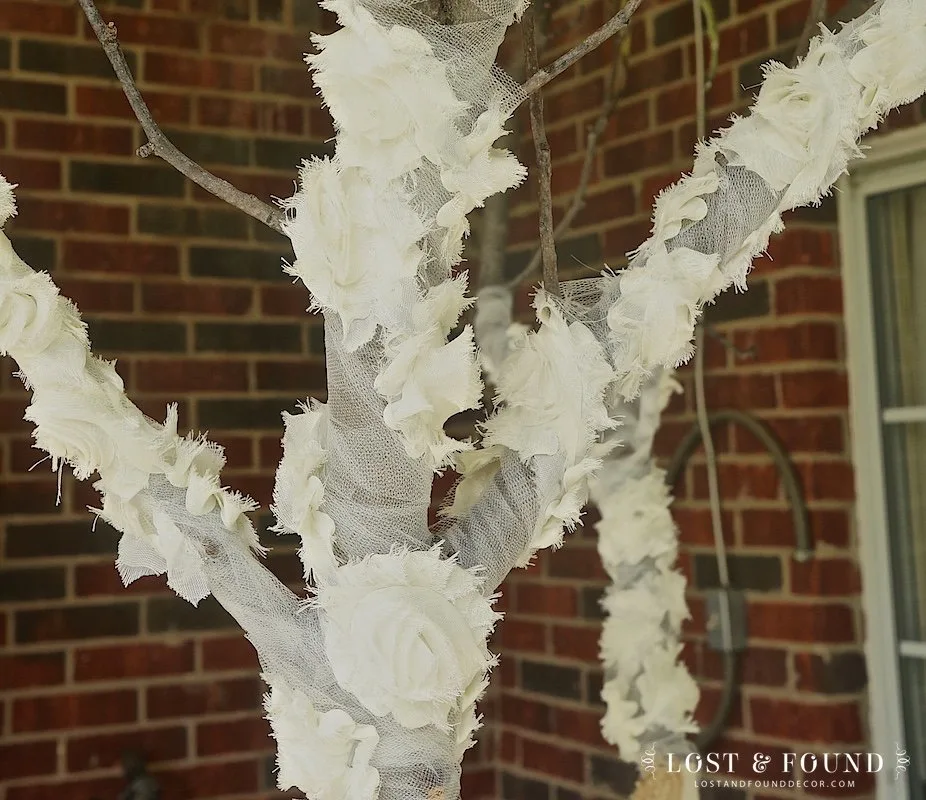
I didn’t have enough rose ribbon to cover every branch, so some were left with just the off while tulle.


The last step was to pull apart two greenery bushes I had on hand, and wire them to various branches of the tree.
It took me about two hours to finish all of the embellishments, but once they were all one I knew my vision had worked! The “tree” looked amazing. It was natural, but still elegant, visually light, and softened in texture by the fabric and greenery.
It ended up making the perfect entrance to my Market Days space.
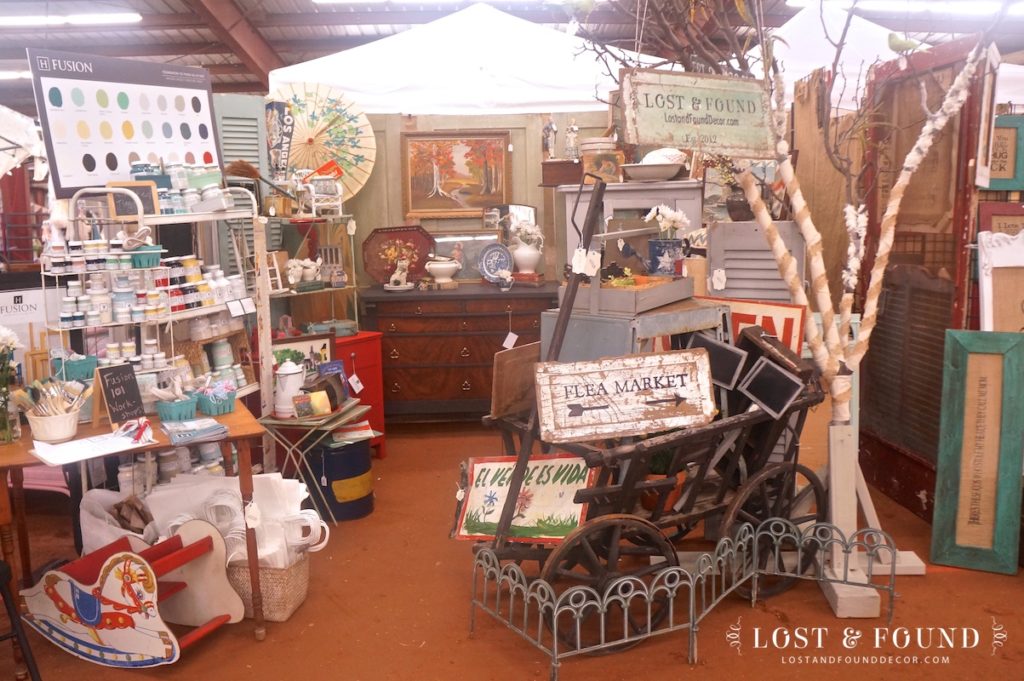
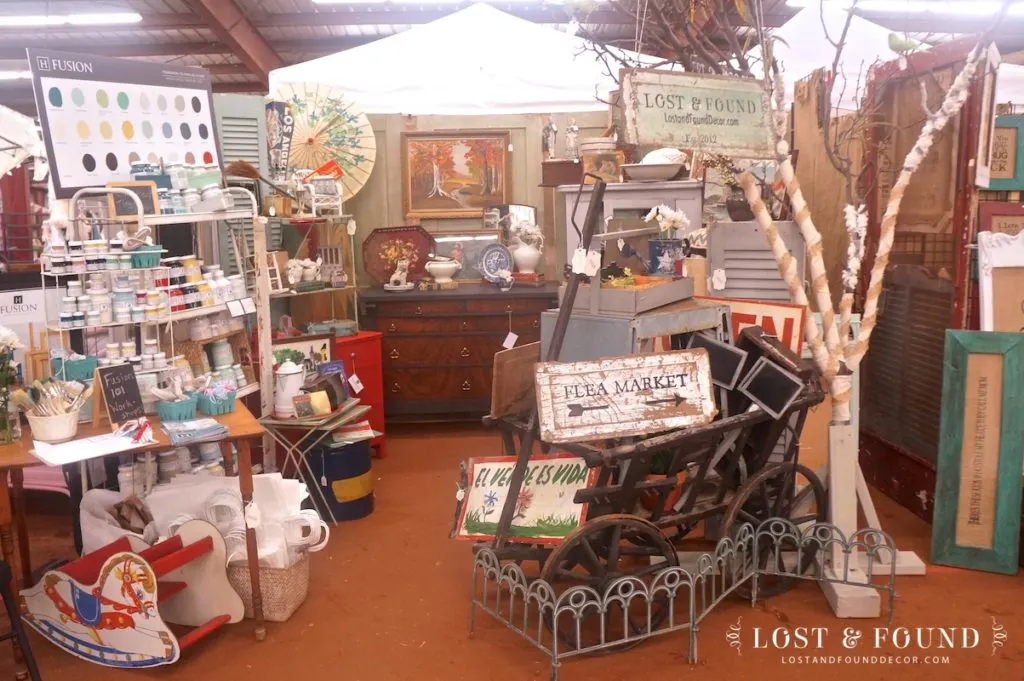
The smaller branches were up high enough that they didn’t poke people in the head, but they spread out well also to make a visual “canopy” over my space. The tree also was the perfect spot to hang my business sign.

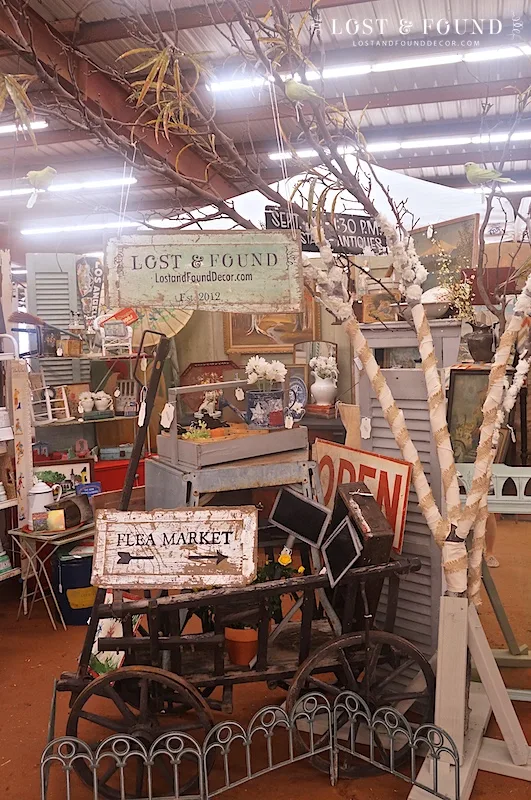
Can you see those green little birds? Those were some wholesale items I purchased and they looked so darn cute clipped up in the branches of the tree!
So many customers and vendors stopped to look at and ask me about the tree. I had a few people even interested in buying it! One vendor asked if she could copy the idea and I told her for sure she could, since I copied it from the cafe where I originally saw it 🙂
When it was all said and done, the tree did its job. And I think I spent maybe $15 on it total. The tree itself was free, the wood and paint we had on hand, the canvas and greenery were project leftovers–the only thing that cost me at all was the burlap ribbon, off white tulle, and rose ribbon (all which I bought for 50% off at Hobby Lobby). Not bad for a great display!
For now the tree is on my porch . . . I’m not sure what to do with it! We worked so hard on it and if I do future shows I want to use it again for display. But it’s too big to have in my garage and I don’t want it out getting rained on. I’ll have to figure out a better long term plan for it.
This idea would also work well though for anybody having an outdoor wedding or other outdoor celebration. Or if you have an indoor retail space with high ceilings, the tree could be a great display for there also.
Any other thoughts on where this “tree” display could be used?


Linking up to: Fridays Unfolded
chris aka monkey
Friday 15th of May 2015
the tree is awesome can you hang it from the ceiling in your garage to store it? i think you should use when ever you can at Christmas would look awesome decorated hmm is it to big for your permanent booth? i just love it xx