Have you ever had one of those projects that wound up dragging on and on . . . Well, this was that project for me!
Not long after we moved to Arkansas, I had a friend ask me to help her update an old Hoosier-style cabinet that had been gifted to her.
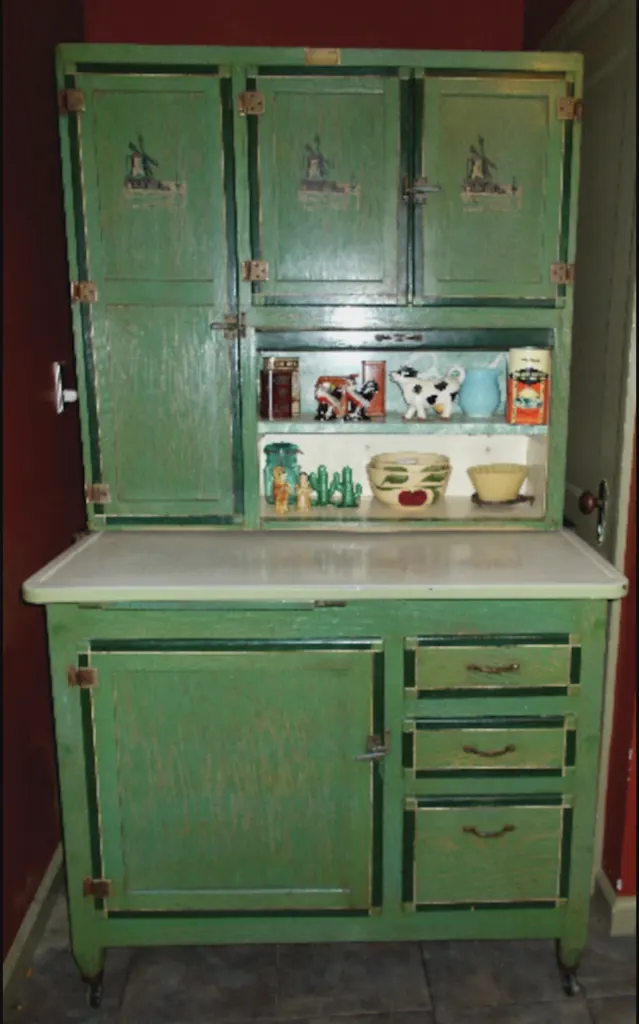
I wasn’t able to take a before photo of it, because it came to me all in pieces. But it looked exactly like this one I found up for sale on Letgo, right down to the hand-painted windmills on the door fronts.
This post contains links to websites outside of LostandFounddecor.com. These links are provided for your shopping convenience. It does not cost you more to shop through these links, but I will make a small commission off your purchase.
My friend wanted to keep it green, but a much lighter shade. After looking through all of the Fusion and Milk Paint colors I had, we settled on MMS Lucketts Green.
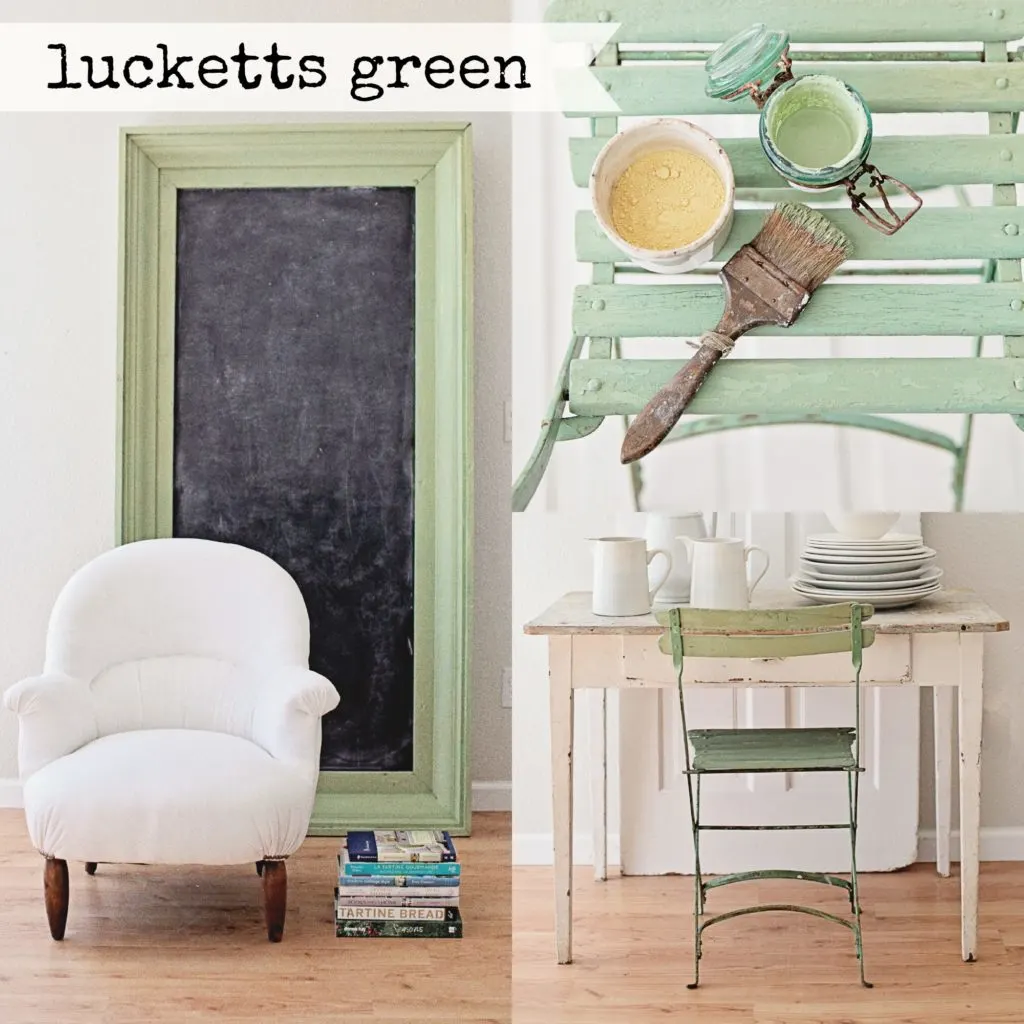
I’ve painted a few other pieces in this color over the past several years, you can see one of them here if you like!
Prep Steps
This piece had been stored for a while in my friend’s garage, so it was super dirty! I took off all the hardware and removed the doors, then started scrubbing it down thoroughly with Fusion’s TSP. While washing it, some of the old paint started to come off too, which made for quite the mess!
After it was clean, I gave it all a pretty thorough sanding, using 180 grit sandpaper. I had to sand a bit more on the door fronts where the windmills were painted, in order to get those spots smooth.
Quite often when using milk paint, I don’t sand beforehand. But with this piece, I wasn’t 100% certain how the milk paint would react to the original paint finish, so sanding it down thoroughly was my best bet.
I didn’t want to get any chipping anywhere either, like I usually do with my milk paint pieces, because I didn’t want that old green paint showing through.
Like I said at the start, this was a long project! The prep part alone took me about 4 hours. But often, when you’re dealing with covering up old paint, your piece will take a bit more work before you can start painting.
Painting & Finishing
I painted 3 coats of the Lucketts Green onto the cabinet, using just a regular flat brush. The doors with the windmills took 2 more coats, for a total of 5–those windmills just wouldn’t go away!
On the inside of the upper cabinet, I painted 3 coats of Fusion’s Limestone, to help clean up the dingy white of the original finish.
After it was all painted, I very lightly sanded with 330 grit sandpaper, just to smooth out the finish of the milk paint. I didn’t want to distress anywhere (and milk paint distresses very easily), so I applied almost no pressure to the sandpaper.
But this step is crucial with milk paint, or else your finish feels rough and grainy. After a light finish sand though, it’s smooth as butter!
A nice coat of furniture wax topped it all off!
After Photos
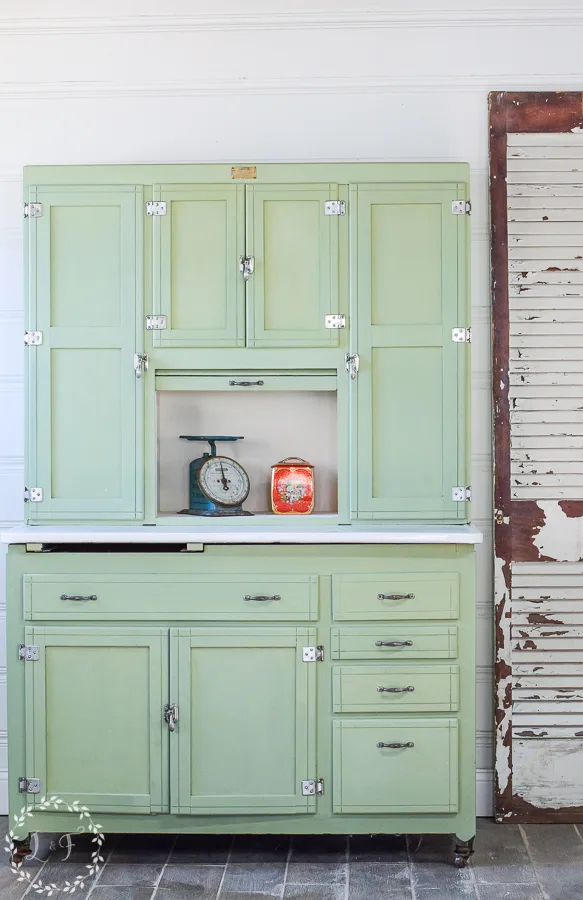
Doesn’t it look so much cleaner now! Nice and fresh, with an updated green 🙂
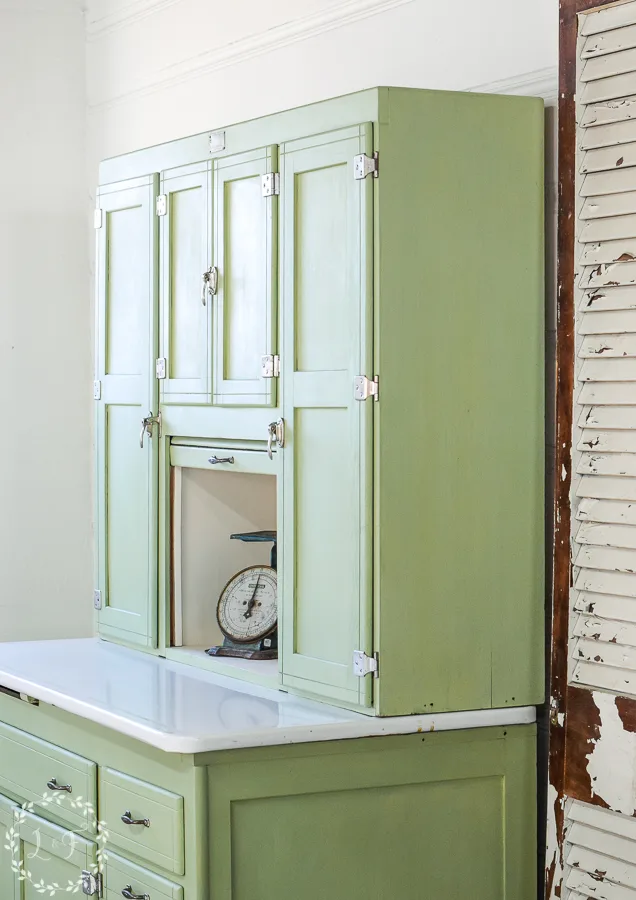
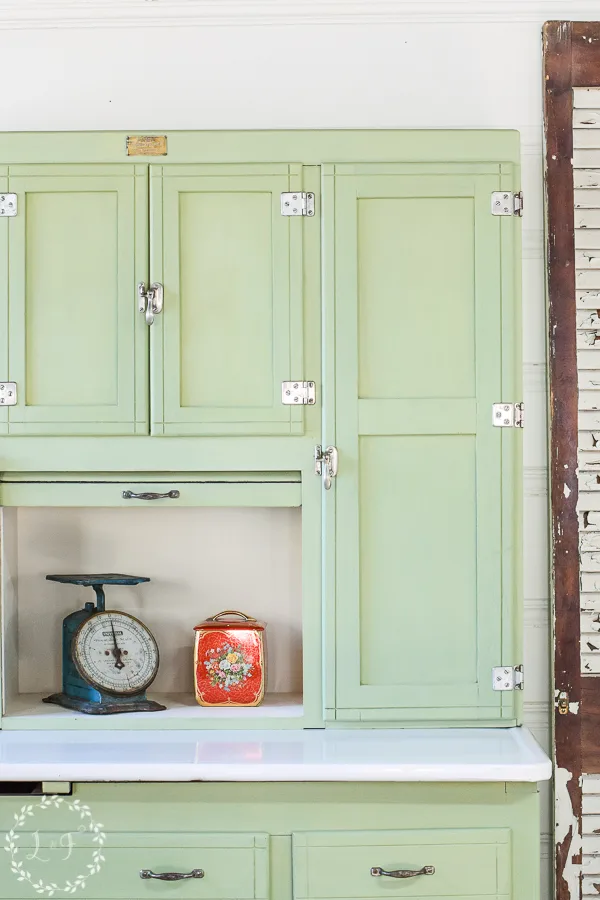
While it took more work, I think milk paint was the right choice for this piece. The aged look of the paint fits the age of the piece and helps it keep its vintage vibe.
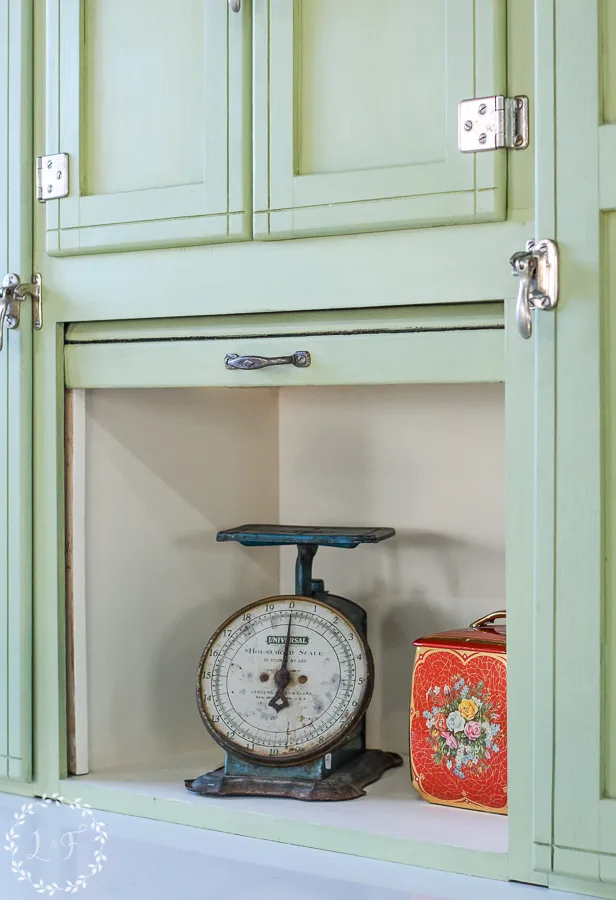
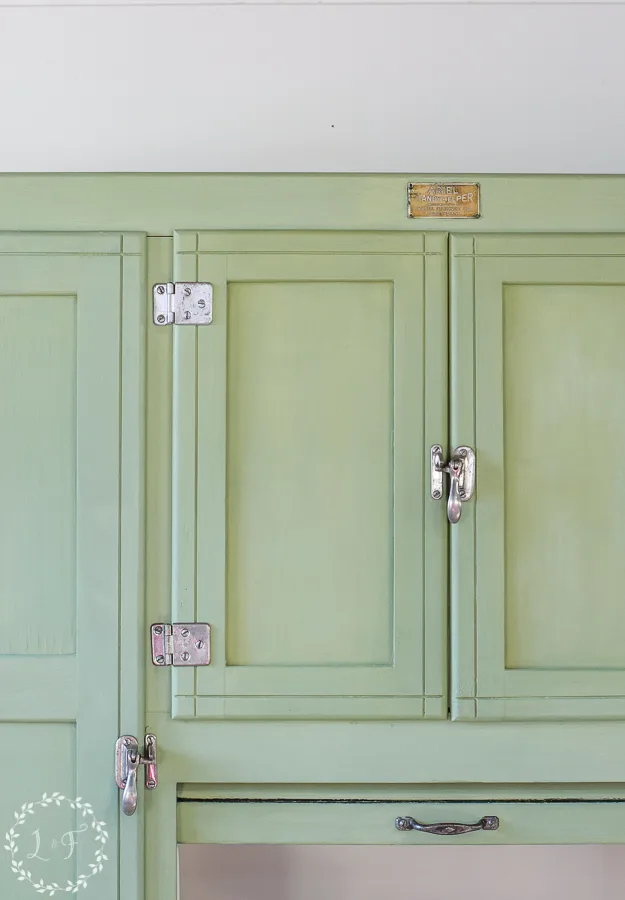
What do you think?
If you like this color and look, please pin this as a resource to share!
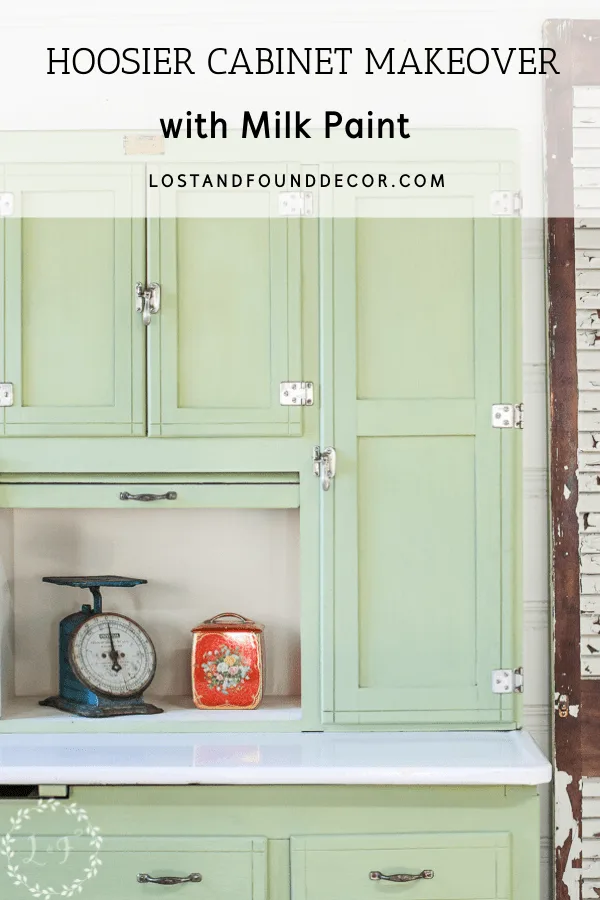
So the end of the story . . . My friend was thrilled with her updated cabinet. She is going to use it to display her collection of vintage Pyrex and a few other things.
It was a beast of a project, but worth it, in the end, to help salvage this great piece!
See more milk paint makeovers!
20 Milk Paint Furniture Before and After Makeovers
A Chippy Chest of Drawers Makeover with MMS Milk Paint
6 Gorgeous Makeovers: Inspiration for Green Painted Furniture
Thanks for joining me today!


Georgia Perkins
Tuesday 8th of October 2024
That's a beautiful cabinet!
Shaun
Wednesday 25th of December 2019
Gorgeous! Love the colour!
Melanie
Friday 17th of January 2020
Thanks so much!