Hey friends!
I’ve got a fun and kinda funky makeover to share with you today!
Have you noticed the trend lately of furniture painted with a blended ombre finish?
You know, where one color blends into another as you move down the piece?
Painting an ombre finish is an easy way to add a little extra something to an otherwise basic piece of furniture. You can use soft or neutral colors if you don’t want to get too crazy, or go for bold if you like that sorta thing!
I’ve tried my hand at color-blending (you can see my color-blended armoire here), but haven’t played with the blended ombre technique yet.
When I saw this dresser for sale at my local Habitat Restore though, I thought it would be the perfect piece to try out this new technique.
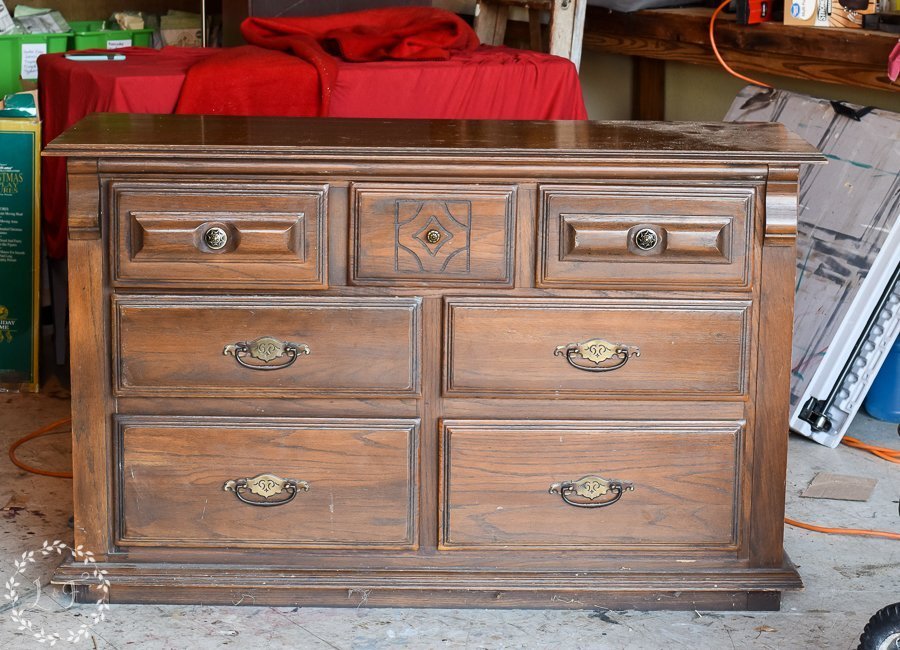
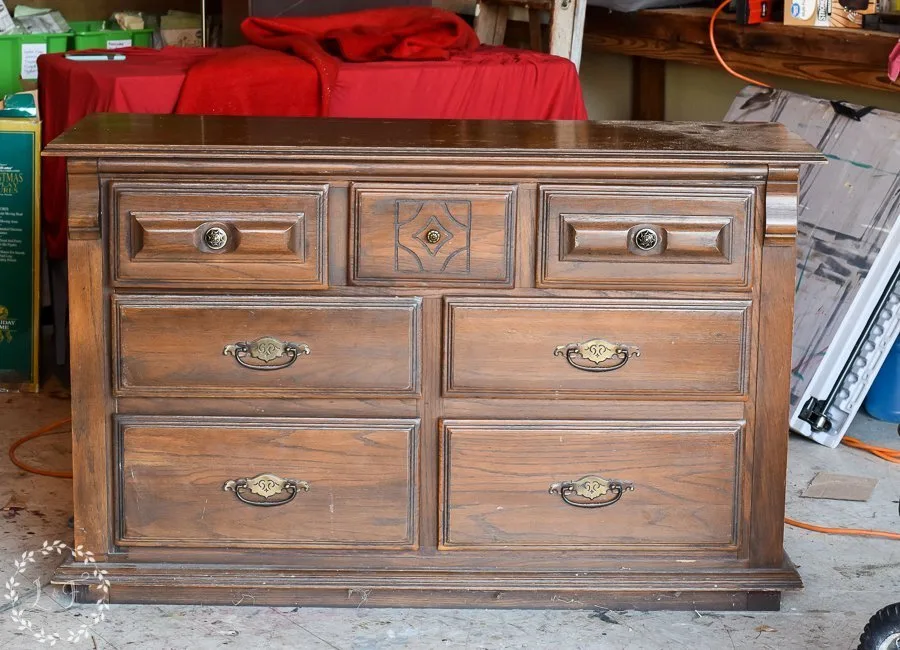
What makes this dresser a good candidate for a blended ombre finish?
Well, for starters, it’s pretty basic–just a big rectangular box without too many curves or details.
So an ombre finish would make it look more interesting!
The flat surface also makes it easier to blend the colors–lots of curves, carvings, and details are harder to work with when you’re blending.
Materials Needed:
- Fusion Mineral Paint Organic TSP
- Fusion Mineral Paint in Casement, Homestead Blue, and Midnight Blue
- Synthetic Flat 2″ Brushes
- Tough Coat
- 220 grit sandpaper
- Spray bottle with water
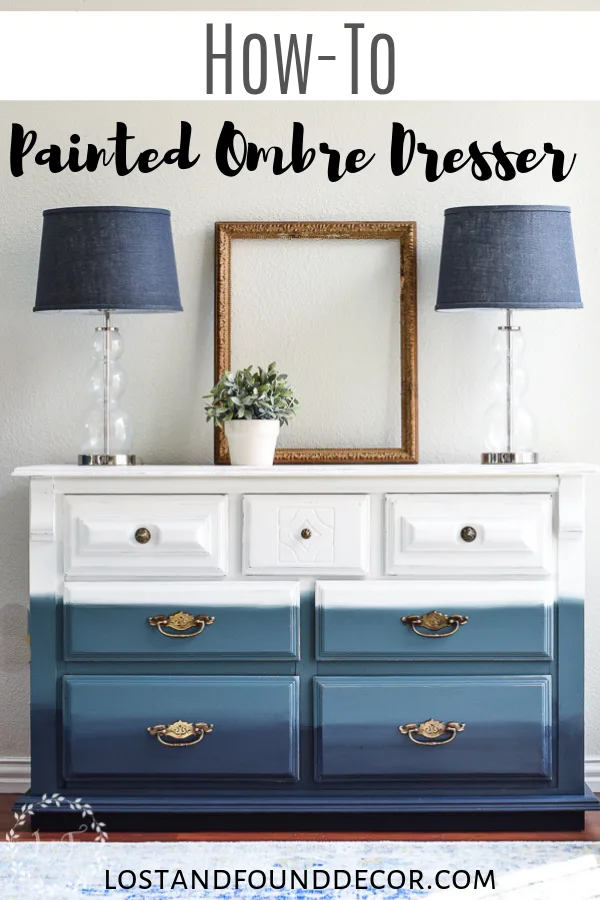
To start, I marked off 3 horizontal sections on the dresser (just eyeballing it).
I painted the topmost section with 3 coats of Casement, then the middle section in 2 coats Homestead Blue, and base section 2 coats of Midnight Blue.
After each section was painted, I went back and added a little bit of each color of paint right along the line where the different sections of color met.
Then, I lightly spritzed that area with a tiny bit of water, and dragged my 2″ brush back and forth over the wet paint to blend the 2 colors together.
I repeated this step all the way around the dresser, blending the Casement into the Homestead Blue, and then the Homestead Blue into the Midnight Blue.
So . . . this process takes a bit of practice, and sometimes more than one try to get the colors blended together well. It’s important to remember you’re not going for perfection!
This is a time to play a bit with your paint and have a little fun 🙂
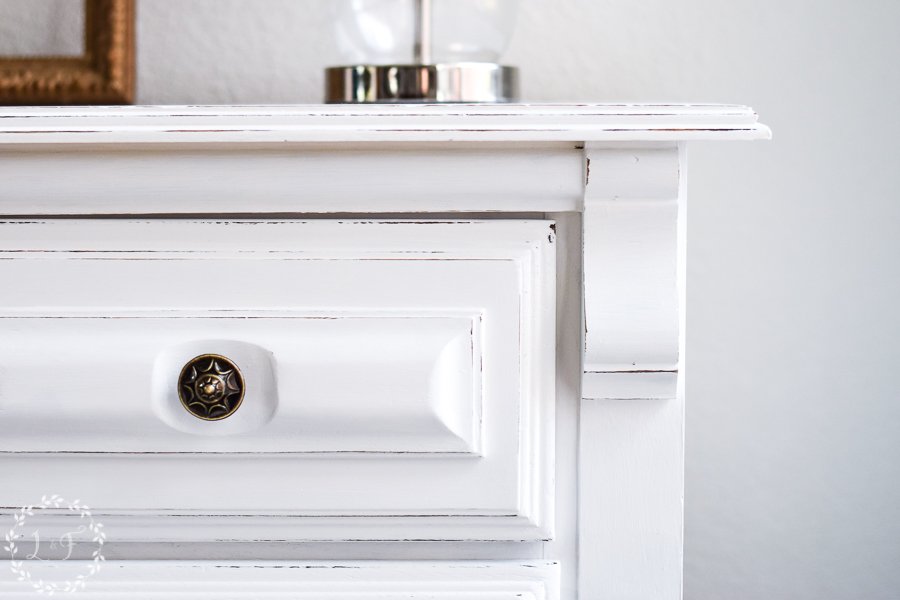
Once I finished with the blending, I lightly distressed the whole piece along the edges, then added a few layers of Tough Coat onto the top, just to add a bit of extra protection to the crisp white.
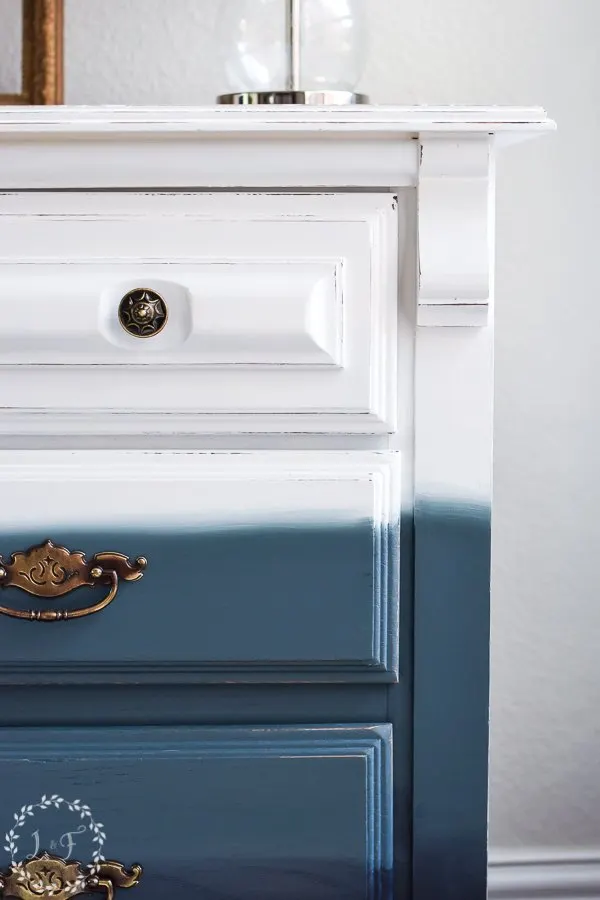
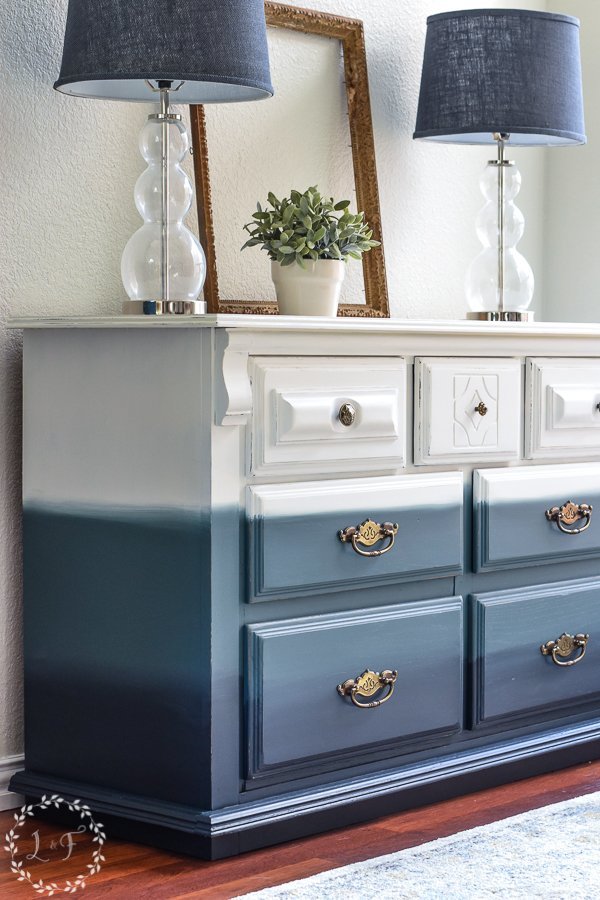
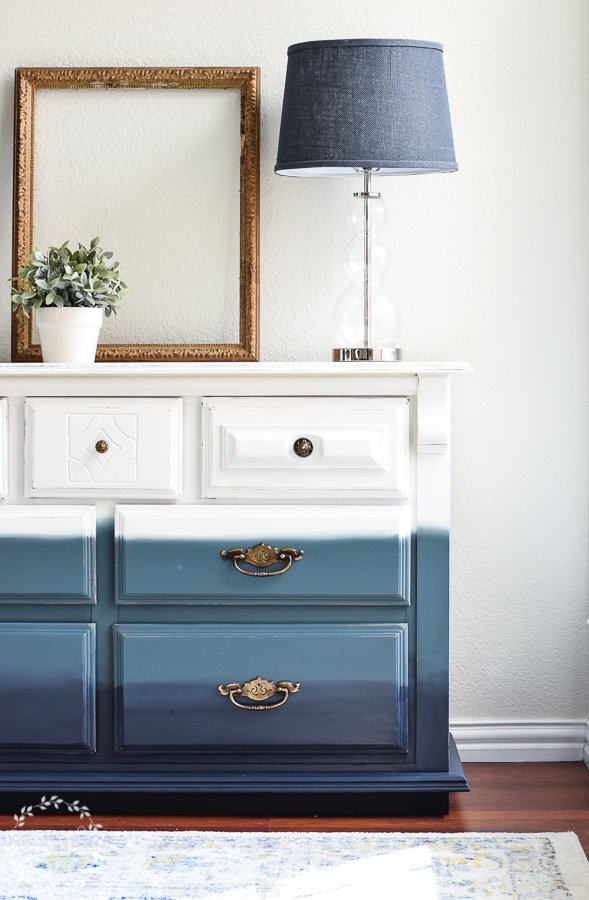
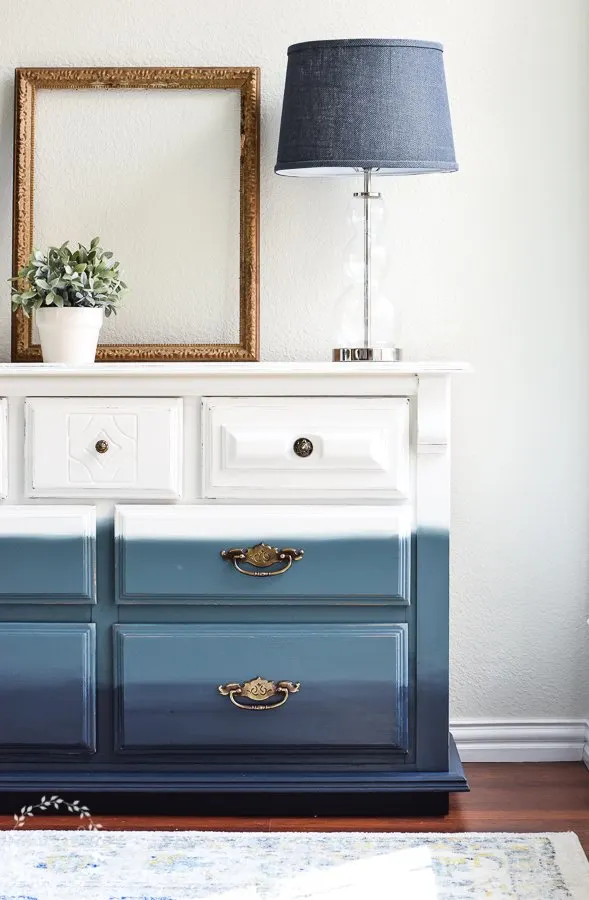
Here it is all finished!
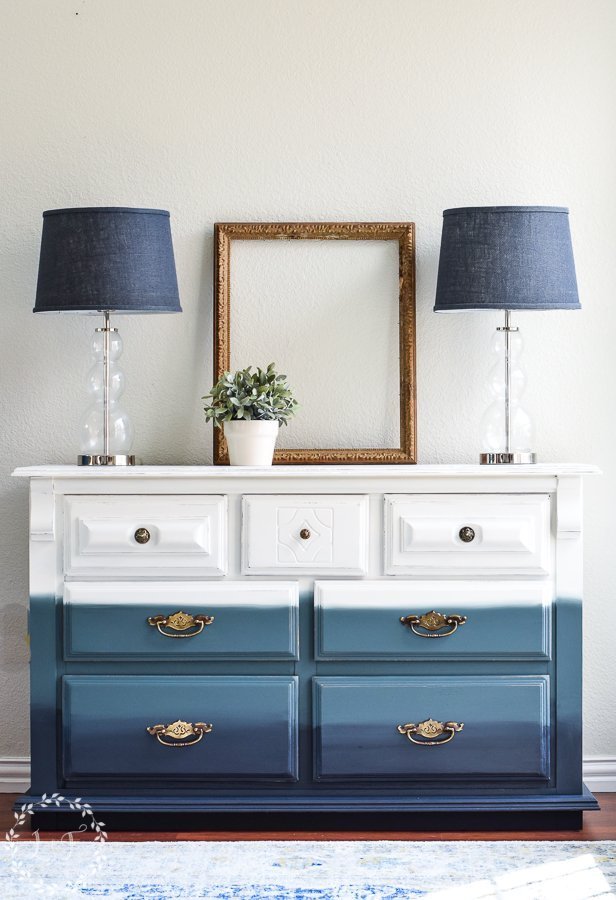
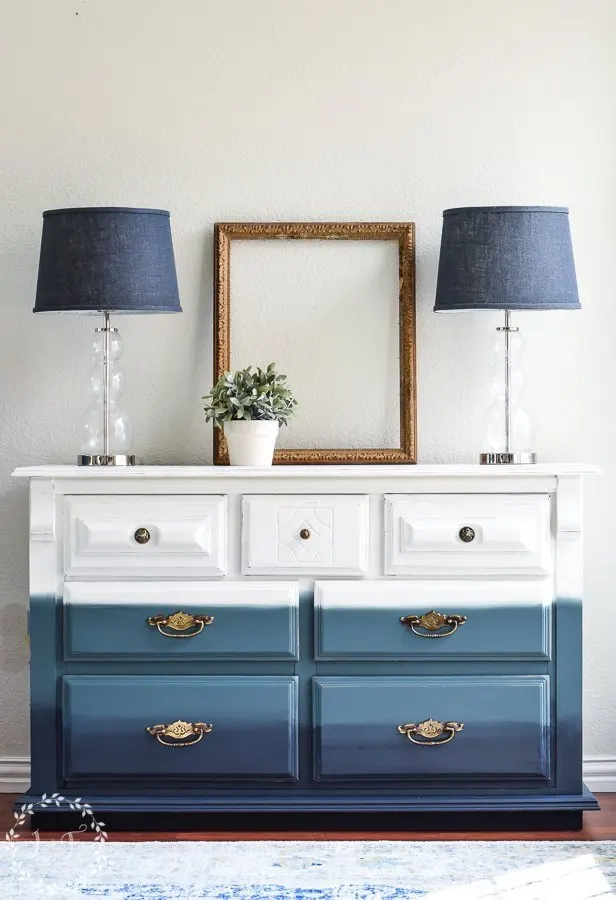
A basic, boxy piece now has a little extra life and movement!
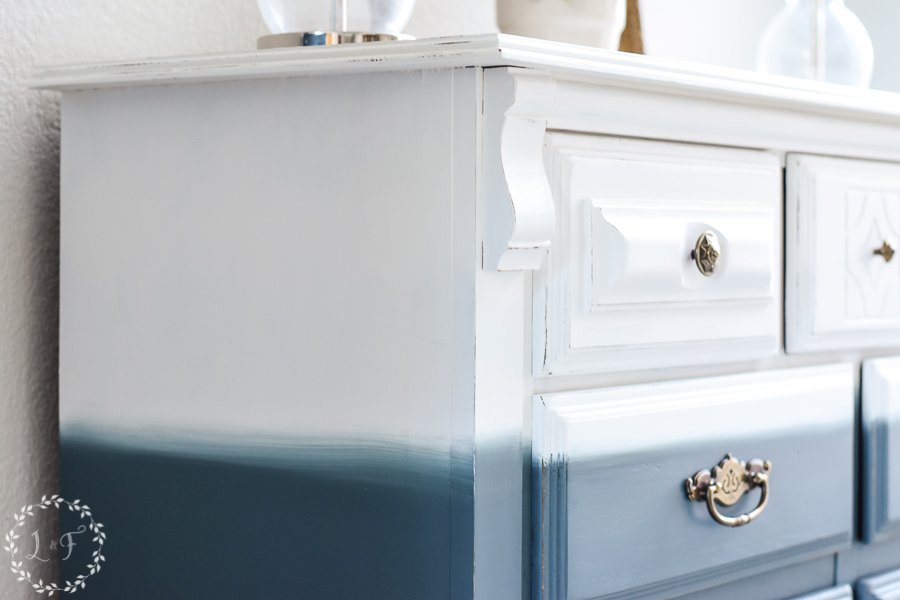
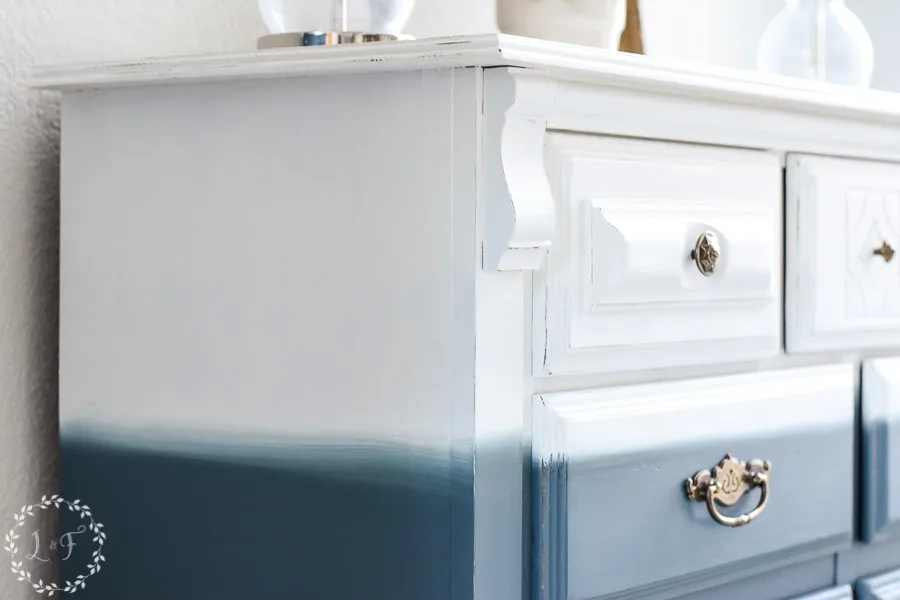
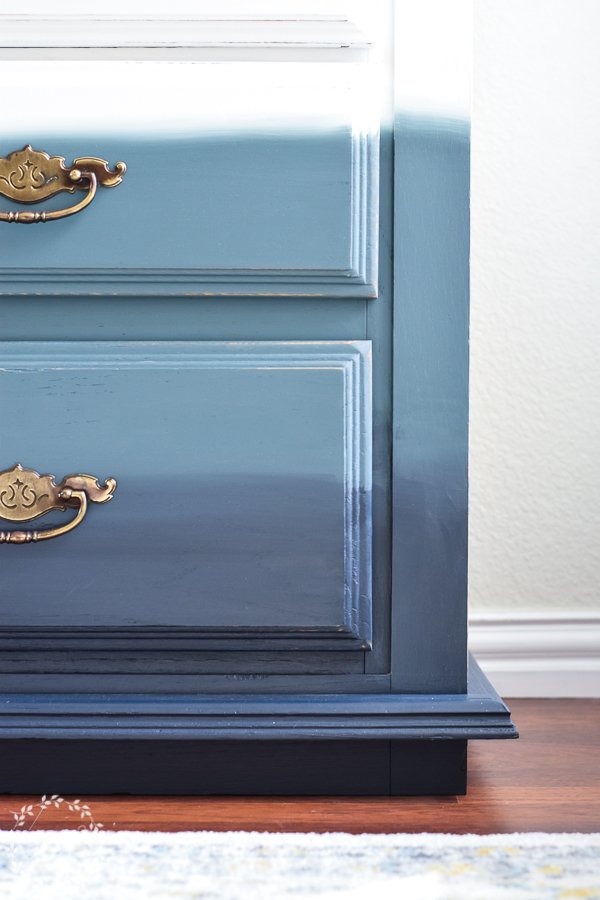
You can see the slight haze, where the colors meet each other–that’s the blending.
It keeps the progression or color looking more organic, rather than going from one straight line of color to the next.

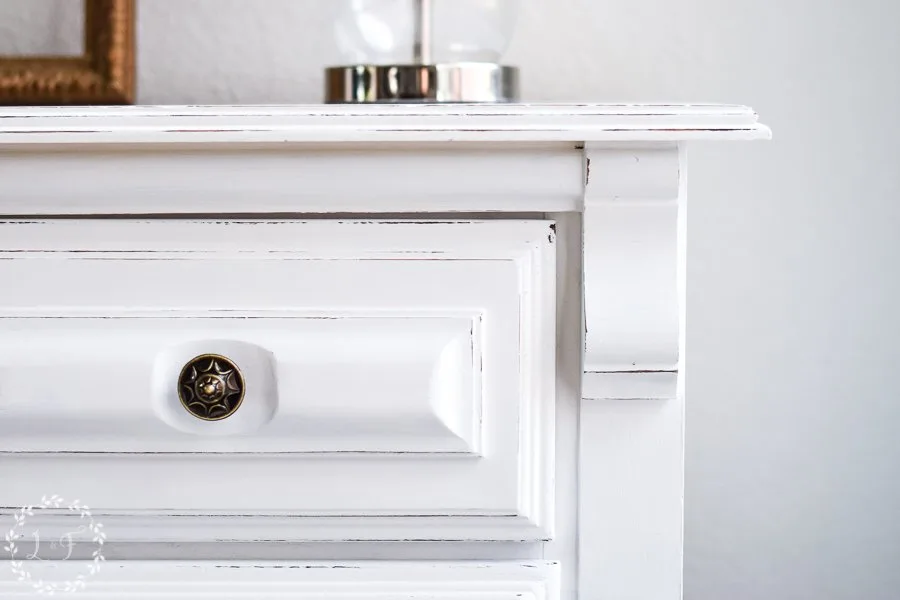
And Casement is always the perfect option when you’re wanting a clean, crisp white!


I had a lot of fun working on this piece! I enjoy getting out of my comfort zone every once in a while.
What about you?
Are you ready to try something a little different with your paint?
Thanks for letting me share with you today!
And remember, you can grab all of the products I used over in my online shop 🙂


Cecilia from Georgia
Wednesday 13th of March 2019
How fun!! Thanks for the excellent instructions. You have such great taste!
Melanie
Wednesday 13th of March 2019
Thanks so much!