As if painting furniture wasn’t fun enough already . . . have you tried to paint furniture with metallic paint?
Whether you use it all over a piece or just as an accent, it can really up the “wow” factor of your finished project!
Have you ever wanted to try metallic paint on your painted furniture? If so, then this post is for you! I am passing along my top tips for how to paint furniture with metallic paint.
What is the Best Metallic Paint for Furniture?
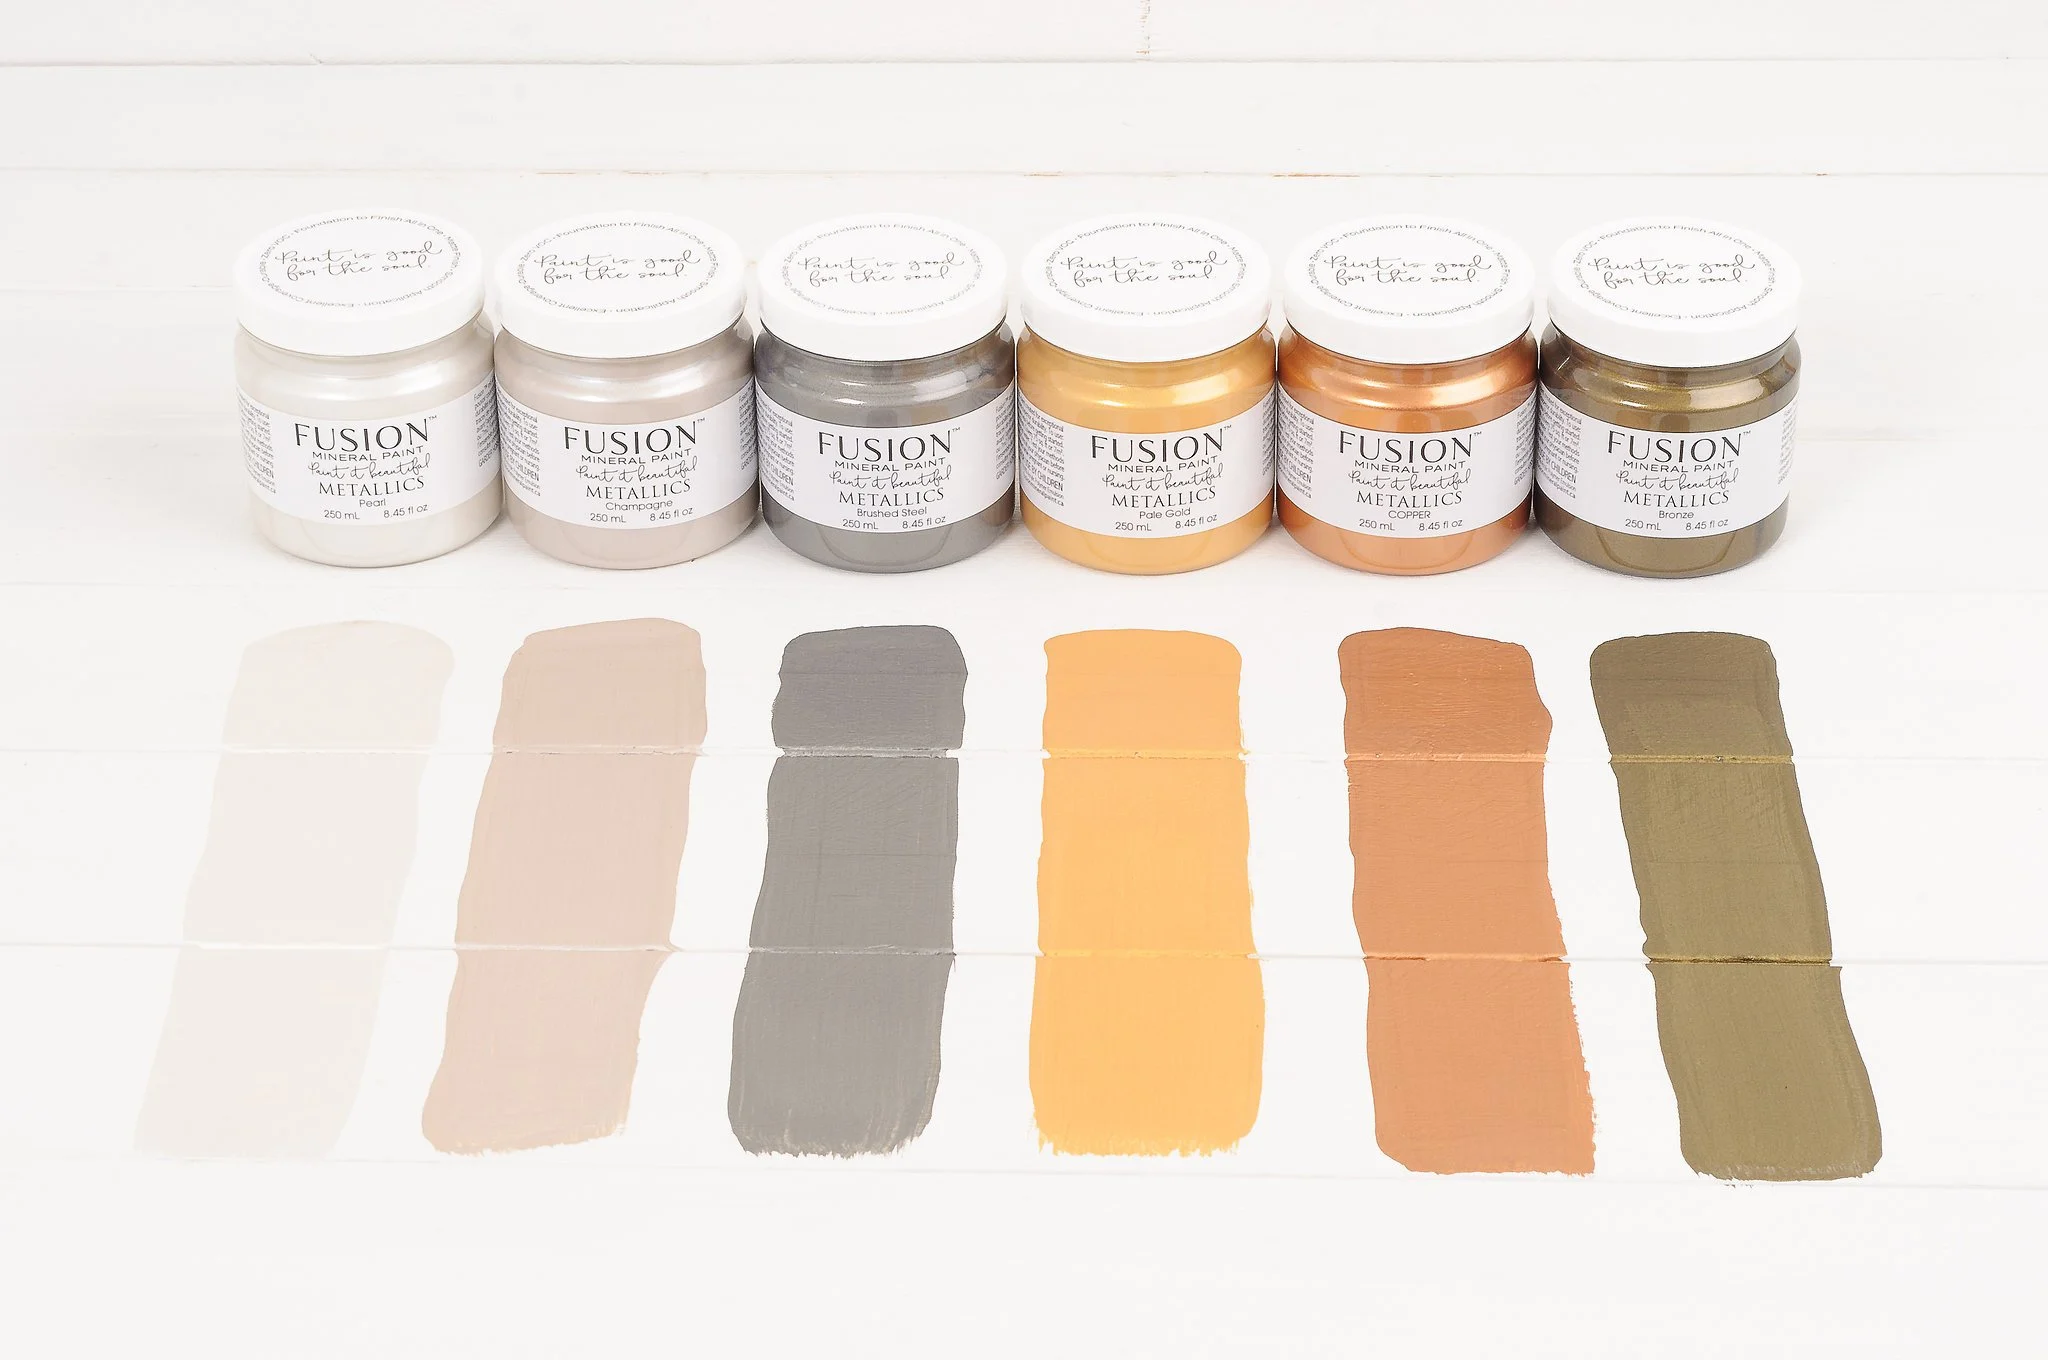
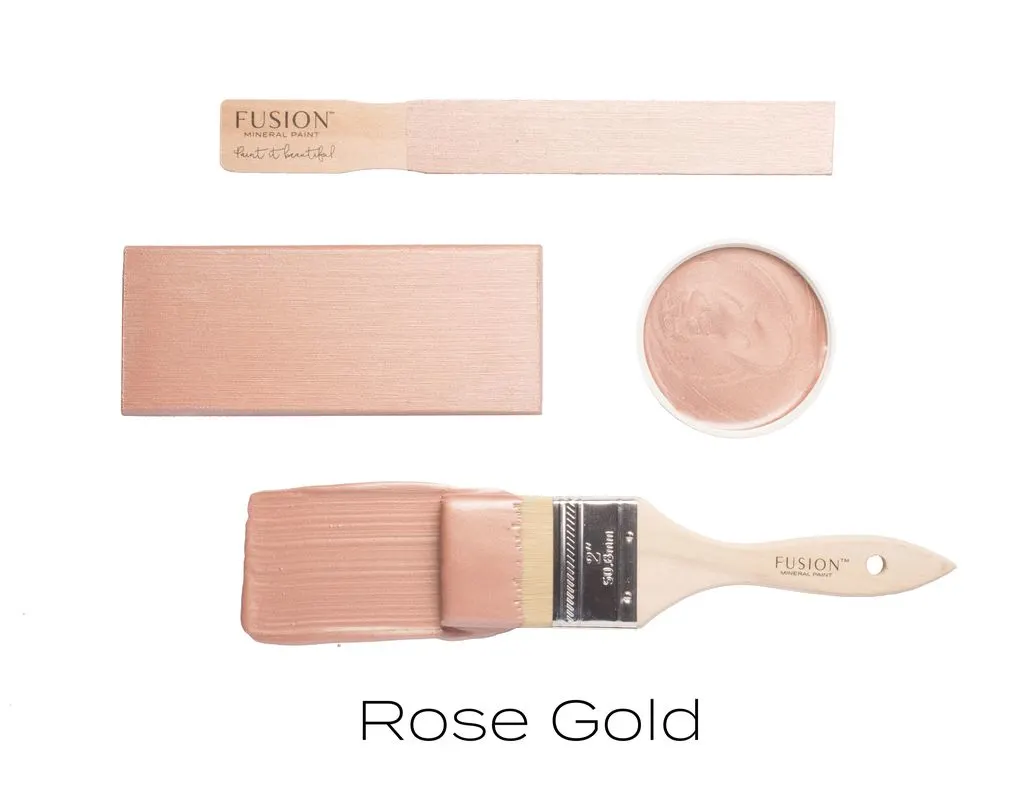
My personal favorite line of metallic paint is the Fusion Mineral Paint Metallics.
They have the same great durability and eco-friendly properties as the regular Fusion Mineral Paint paint, but with extra shine and shimmer.
There are a total of 10 colors to choose from, so there are tons of different options for your finished look!
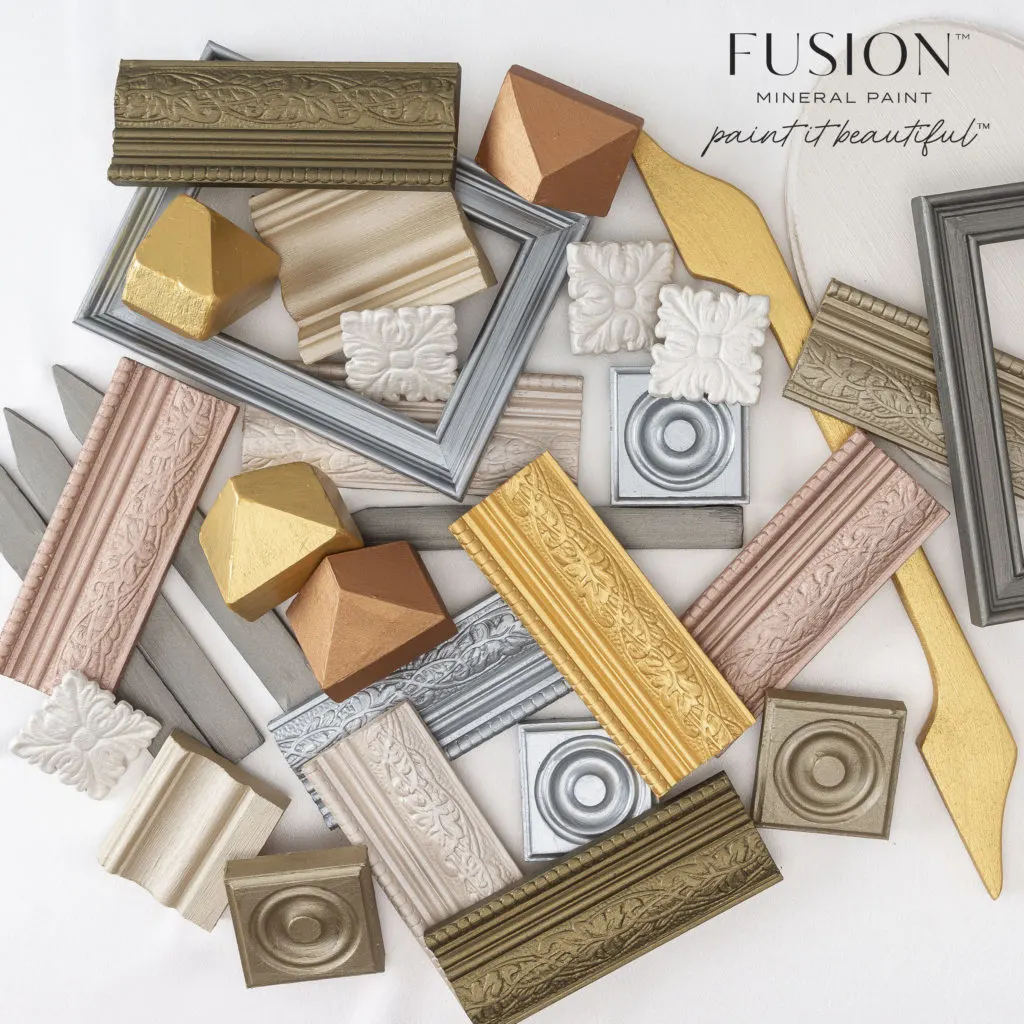
How to Prep Your Furniture for Metallic Paint
There is no extra prep required for metallic paint, just the regular steps you would take are perfect.
I always clean my furniture first with a degreasing cleaner (here is my favorite), and then give the furniture a light, quick scuff sanding with a mid-grit sanding pad (something around 180 grit).
Some colors of the Fusion metallic paint are a bit sheer, so they can benefit from a base coat of a complimentary color to help you get better coverage. I discuss that more further down in the post.
If you want more details about prepping furniture for painting with Fusion Mineral Paint, you can checkout this prep chart.
Does Metallic Paint Need an Extra Topcoat?
If you are using the Fusion Mineral Paint Metallics, no extra topcoat is required because all Fusion Mineral Paint colors come with a built-in topcoat–amazing, right?
If you want to add an extra layer of protection though, you can add a light coat of a polyacrylic or a furniture wax on top of your metallic paint.
Painting furniture with metallic paint does have a few challenges.
The mica pigments that are used to make that great metallic shimmer give the paint a slightly different feel than regular paint and so it can be a bit tricky to apply smoothly.
Also, it’s easy to go overboard with the metallics and create a finish that looks more outlandish than elegant!
So I’m sharing today some of my best tips for how to use Fusion metallic paints to create beautiful and elegant pieces!
Pin this Resource!
How to Create an Elegant Finish with Metallic Paint
Here are a few ideas for how you can use metallic paint on your painted furniture to create classic and elegant furniture makeovers.
1. Layer the Metallics to create a Multi-dimensional Finish
One of my favorite techniques is to layer different color metallics over each other to create a really sophisticated finish.
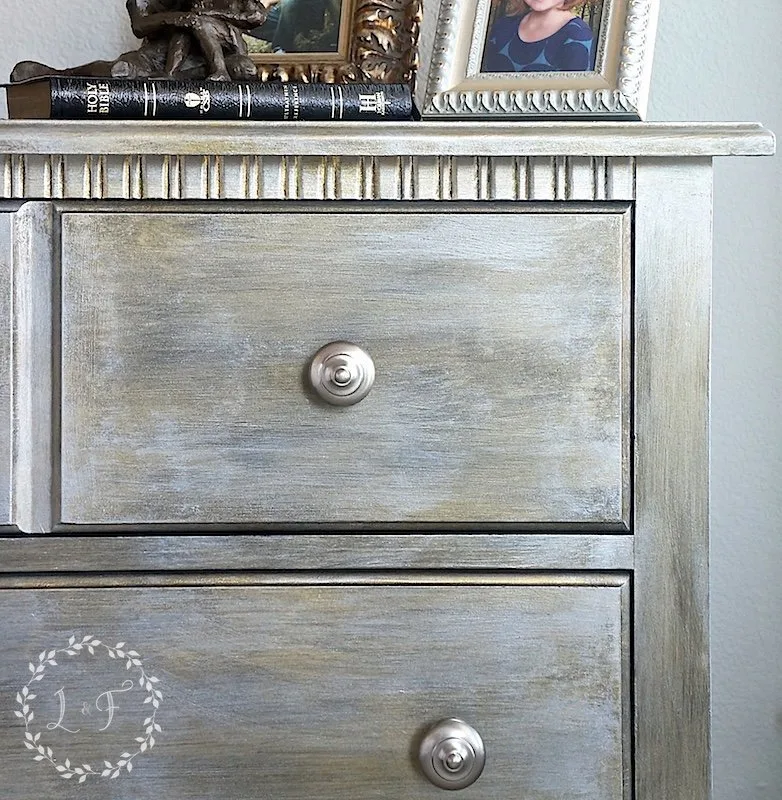
By layering the colors thinly, or by using a dry-brush technique to build up different shades of metallics, the finish has extra depth that gives it a really sophisticated look.
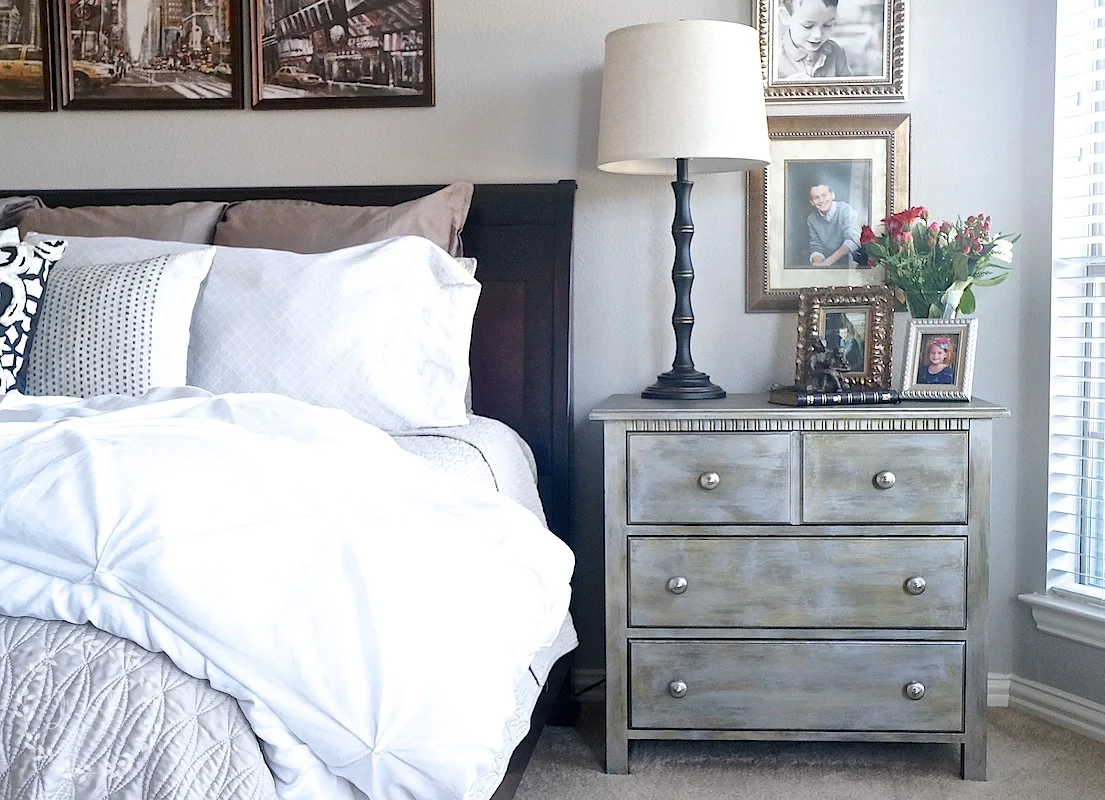
I use Fusion’s Silver, Bronze, and a bit of black to build this antiqued-mirror finish on a nightstand.
You can see the full tutorial here!
2. Use to Accent or Highlight a Certain Area
Sometimes just a touch of metallic paint does the trick!
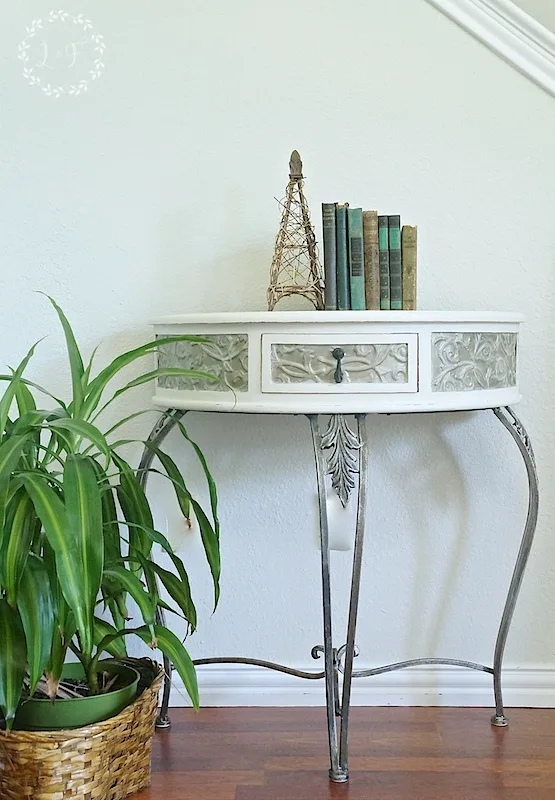
A custom client wanted the top part of her table to blend better with the metal legs (it was all orange-toned stained wood), but not be completely metallic.
So I connected the top to the bottom by just painting the insert areas with metallic paint, while keeping the rest of the top a clean white.
See the full tutorial of this project here!
3. On the Lightest Colors, Use a Basecoat of Regular Paint
The Fusion Pearl and Champagne metallic are a bit translucent, so it helps to paint first a base coat of a similar color.
If you don’t use a similar-color basecoat, you will wind up painting on LOTS of coats of your metallic!
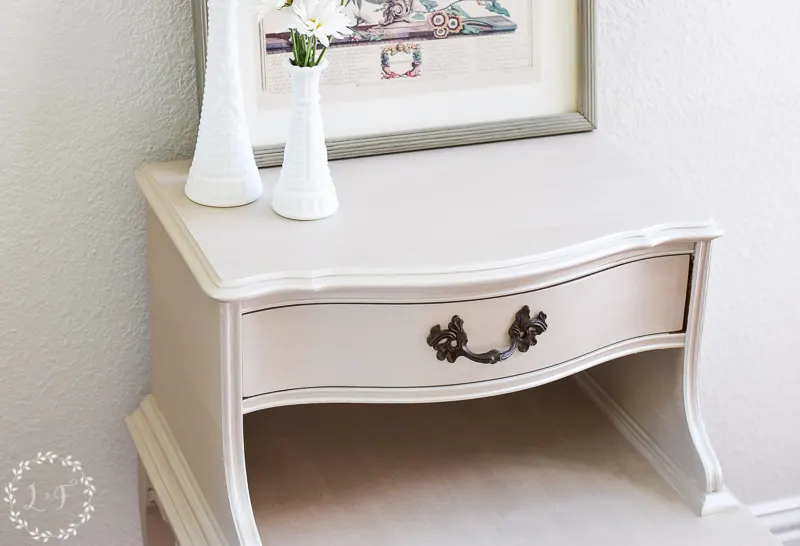
I wanted a solid finish of metallic Champagne for this little nightstand, so I started first with a base coat of Cathedral Taupe.
I then only needed 2 coats of the Champagne metallic paint to get the solid coverage I wanted for this piece.
See this full project here!
4. Paint in One Direction Instead of Back and Forth
Remember those mica pigments I mentioned earlier?
Those little beauties are what give the metallic paint its shimmer, but they also reflect light more than regular paint pigments do.
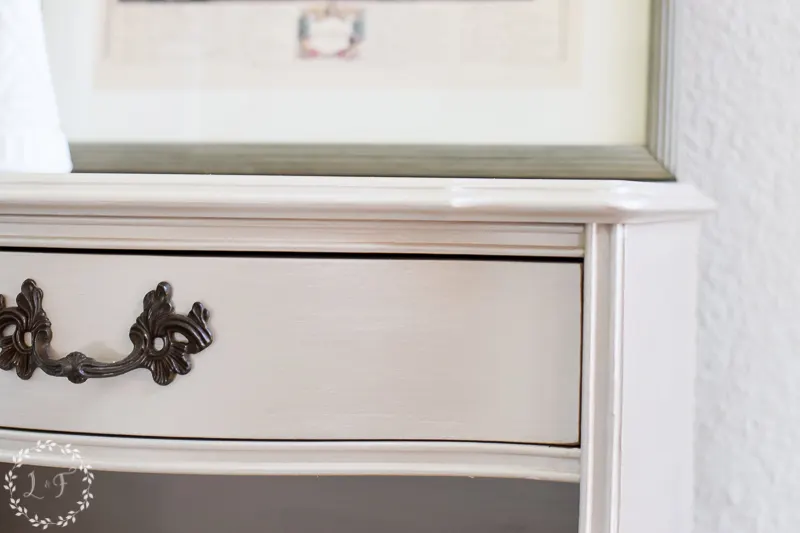
If you paint by brushing on the metallic paint in a back and forth motion, your brush winds up laying down those little mica pigments in different directions. This means they will reflect light in opposite directions, which results in . . .
streaks in your finish!
So if you’re going for smooth, solid coverage, apply the paint by running your brush in one direction only.
Then you can say bye-bye to the streaks!
5. Understand the Metallic Paint will Feel Different when Finished
Back to those mica pigments . . . Another thing they do is add a bit of grainy texture to the paint.
This is totally normal!! If you’re not prepared to feel that texture though, you may be tempted to think the paint is not mixed well or that there’s something wrong with it.
It’s important to understand that the bit of graininess you feel is just a part of using the beautiful metallics!
That tiny bit of texture is what gives the paint its beautiful shine 🙂
You can finish sand your metallic paint using a very fine grit sandpaper (320 or higher), or even lightly buff it with a brown paper sack. This will help it feel a bit smoother. But on some metallics, this could leave some haze on your finish–it’s always best to test on the backside of your furniture or on a test board first to make sure the finish sanding won’t scuff your paint.
6. Mix with Clear Glaze or Extender to Make it Easier to Brush On
If you’re having trouble applying the metallic paint nice and smooth, try mixing it with a bit of Fusion’s Clear Glaze or Fusion’s Extender.
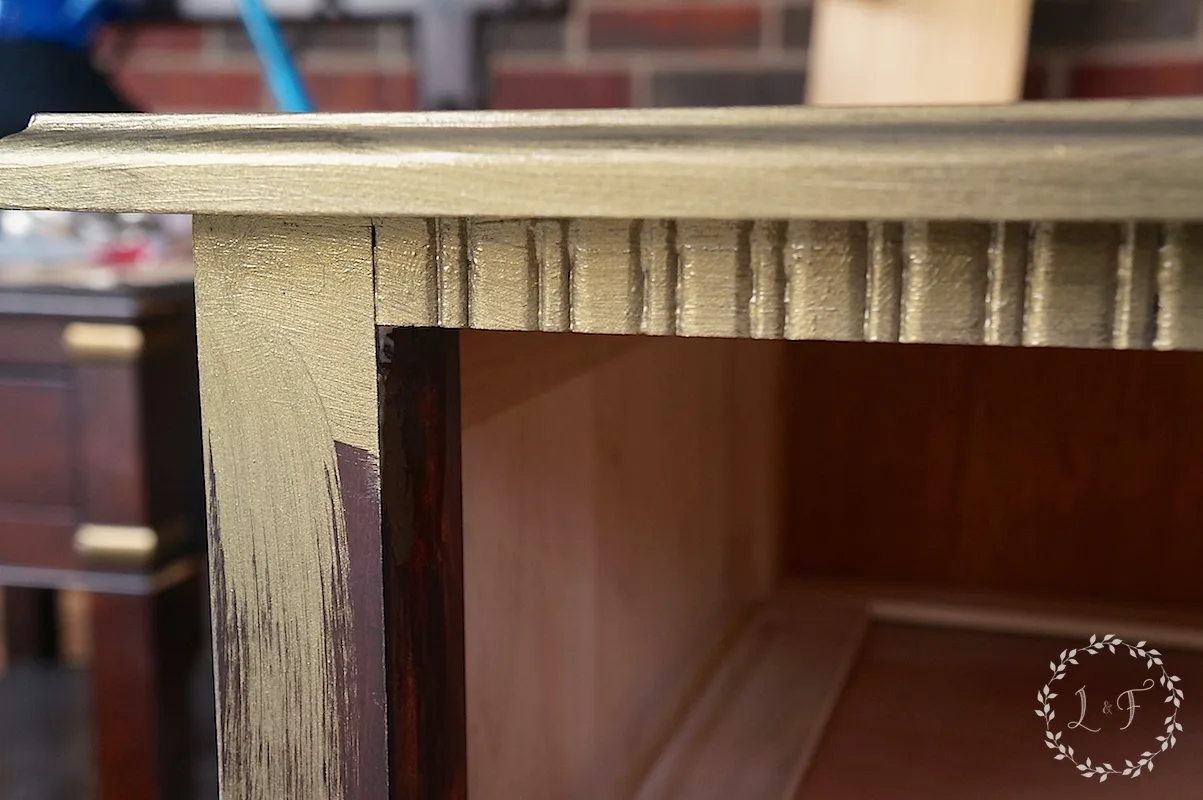
Pour out a bit of your metallic paint, add a teaspoon or 2 of Clear Glaze, then mix thoroughly.
The glaze will extend the “open time” of the paint and help you be able to work it a bit more with your brush to get it nice and smooth.
To use the Extender, follow directions on the bottle for the proper amount to mix into your metallic paint. Do not add more Extender than suggested, as it will dilute the paint too much and compromise the finish.
Both of these techniques will help make it a bit easier to brush on the metallic paint and get a smoother finish.
7. Don’t Forget the Small Projects!
The metallics are great for so many different projects! If you’re a bit nervous about tackling a whole furniture piece, then I suggest trying a small craft project first, like this gorgeous Magnolia Leaf Wreath.
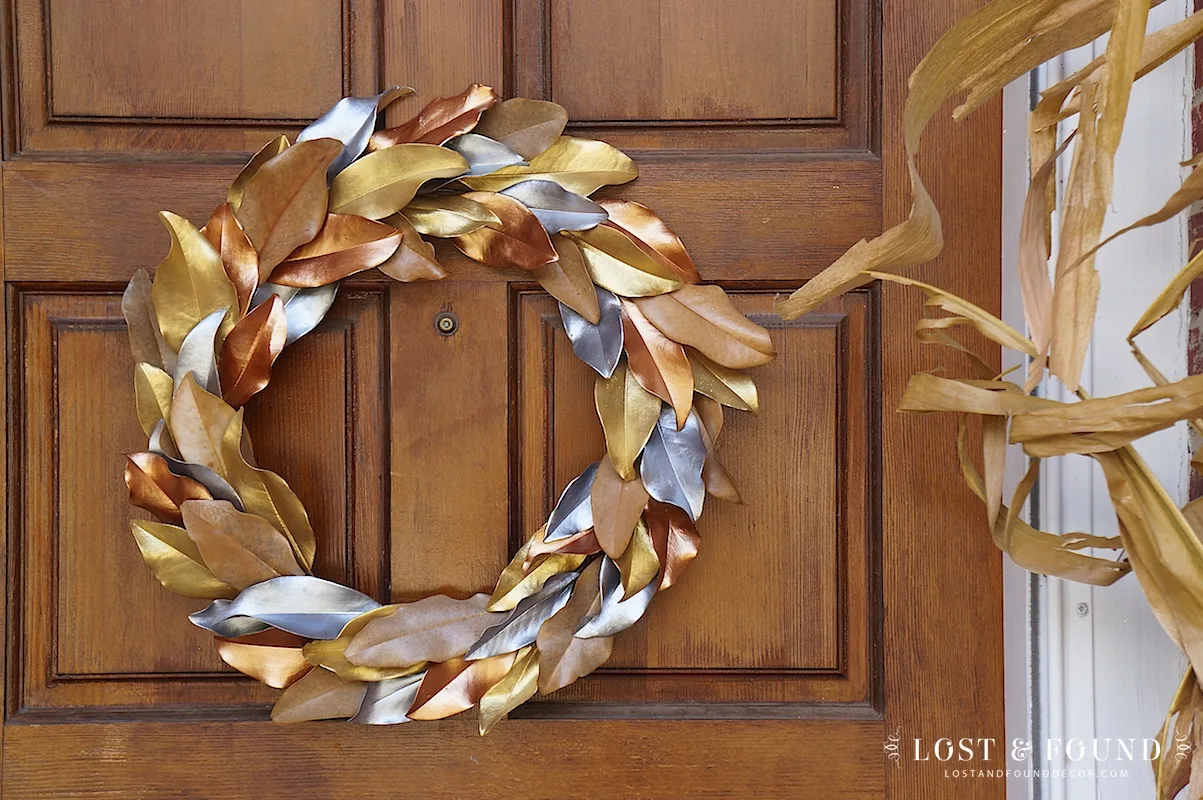
I used 3 different metallics to paint dried magnolia leaves from my yard, then layered them together to make a beautiful fall wreath!
You can see the full how-to here.
I also like to use a dab of gold metallic paint to add a bit of shimmer to worn-out vintage hardware.
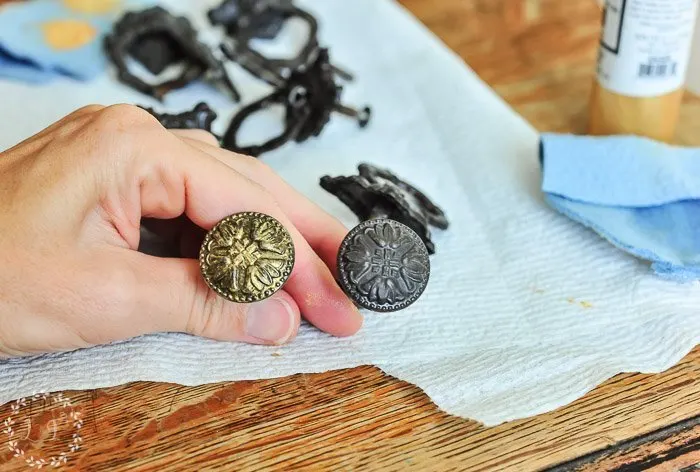
The Gold and Bronze Metallic both work really well for this purpose and can save you the headache and expense of purchasing new hardware for your piece.
See that full tutorial here!
Are you excited to try the metallics now? I hope I’ve been able to give you a few ideas for how to use them and that you feel more confident now!
You can find all of these gorgeous colors, along with a full selection of Fusion Mineral Paint products, in my Online Shop.
Thank you for letting me share today!


Janice (Soph) Alexander
Tuesday 16th of May 2023
Great Ideas!!
Nancy
Saturday 11th of March 2023
Can you use Metallic Paint over a glaze?
Melanie Alexander
Saturday 11th of March 2023
Yes!
Nicole @ Madness and Method
Wednesday 27th of March 2019
Great post! I literally just bought some Fusion metallic (pale gold) yesterday, so I'm excited to give it a try