I love when I get a comment or email from someone asking me for advice on a furniture project.
Sharing what I have learned and helping others is why I write this blog, so when a reader seeks out information and asks for my input it makes this all worthwhile.
I have received several questions lately about the process of refinishing wood (stripping, sanding down and re-staining). I love painting furniture, but I think I love the process of refinishing even more.
I always try to salvage the wood tops to the pieces I work on, and have a personal soapbox against painting table tops!
Good wood is just too beautiful to completely paint over. I also think a stained top, to either a dresser or a table, adds elegance and grounds the piece.
When I refinished my first dresser top, I was a little intimidated by the process.
I have learned though that wood is very forgiving, and you really have to try pretty hard to mess it up beyond repair. To date, I haven’t ruined a top yet!
How to Refinish a Table Top or Dresser – Part 1
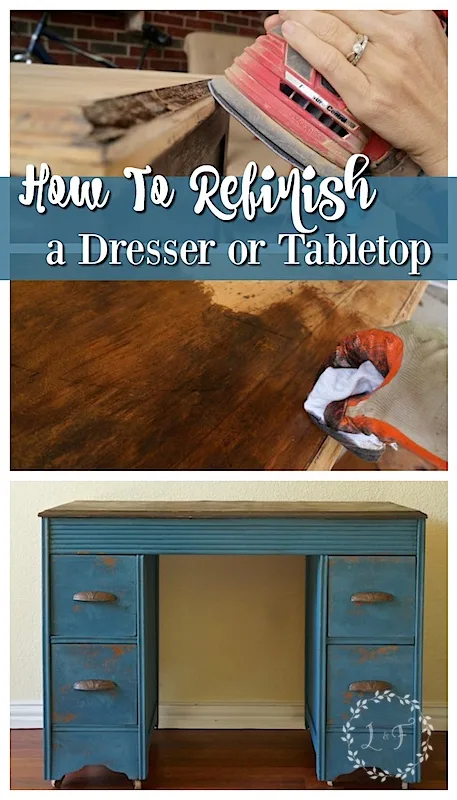
So, I want to offer a more step-by-step walk through though for those of you who want to try your own project. Follow along with me as I makeover this little desk.
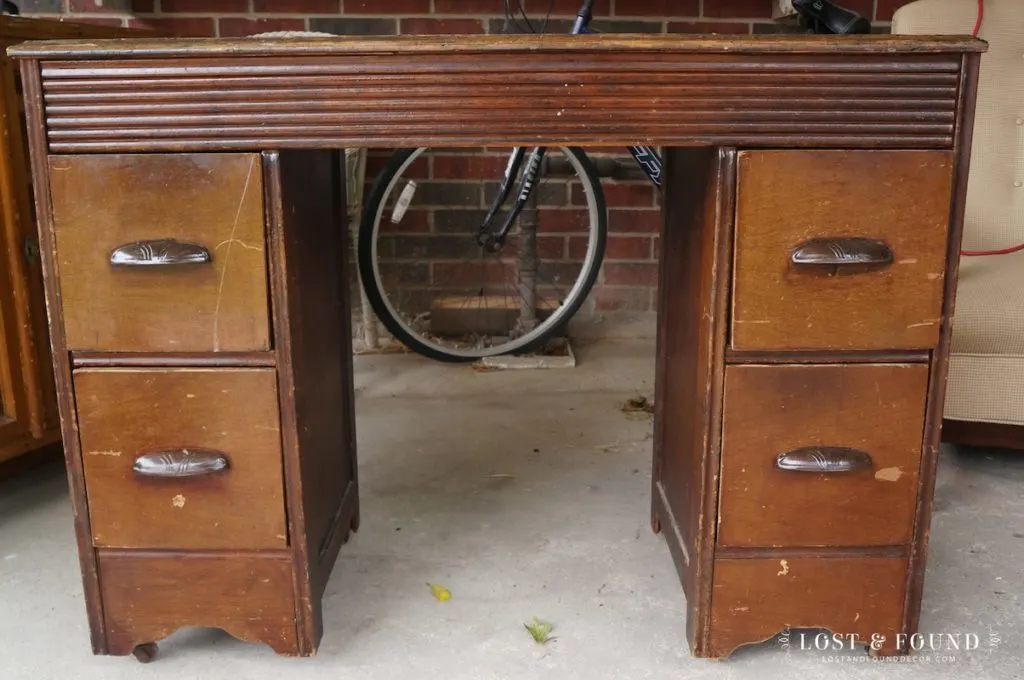
I found this desk for a steal down at Antique Alley a few weeks ago. It’s wood is not in the most amazing condition, but it is sturdy and real wood, so there’s hope for it!
My plan is to refinish the top and paint the base in MMS Milk Paint Flow Blue. Here are the steps to take to makeover the top:
1. Determine if the top is solid wood or a glued on veneer
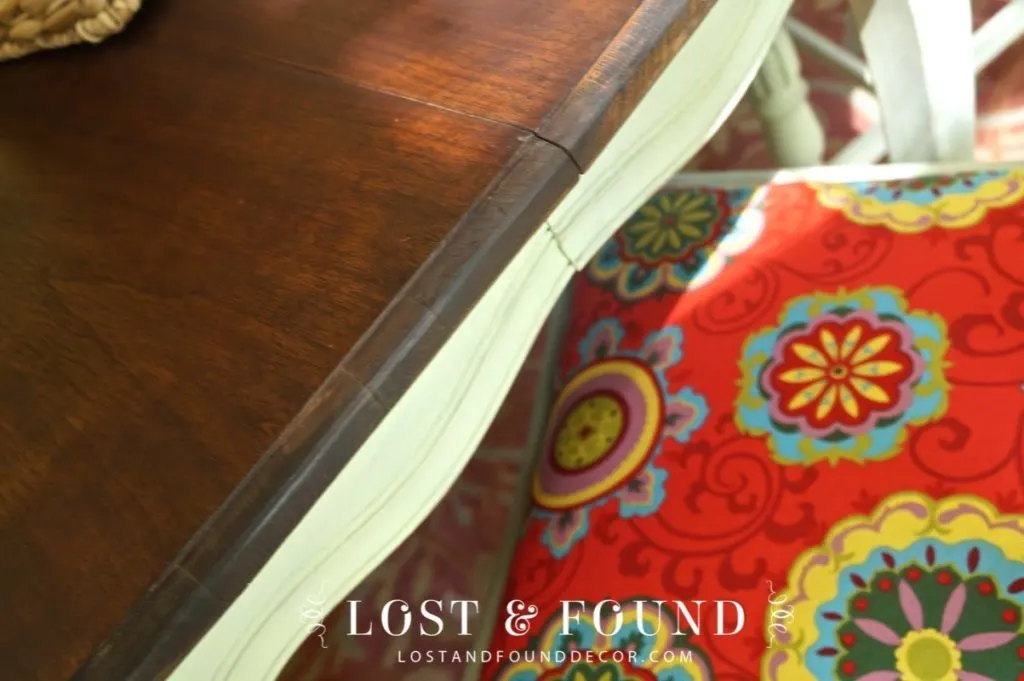
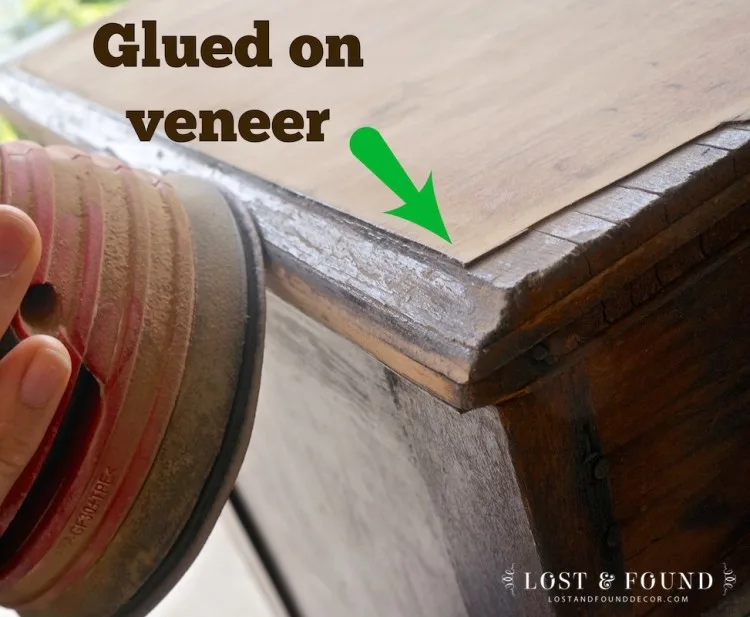
How do you know if a top has veneer on it? Look at the edge. If it has a veneered top (which most pieces do), you will be able to to see the edge of the veneer piece that has been glued onto the top.
If the top is veneered and is puckering up in any places, you will want to glue those places down with some wood glue (follow manufacturer’s instructions for drying times).
Taking note of a veneered top is also important before you start so that you can take care to not sand through the veneer down to the plywood base–that is a real mess!
I have encountered that problem once before and was able to mask the mistake, but it was a lot of work (read about that here).
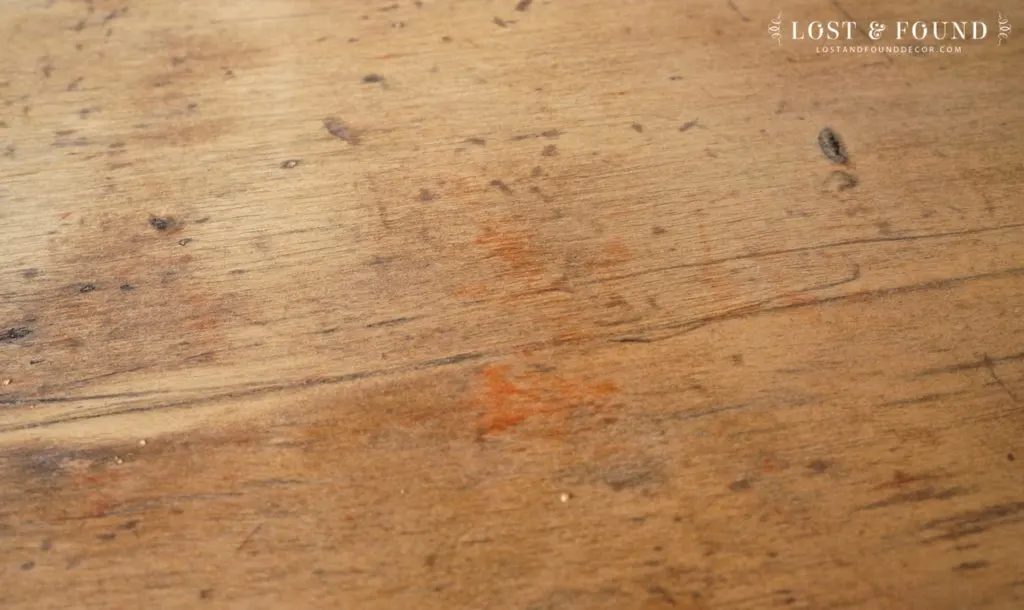
If you look closely in this picture, I did have a little trouble on this top with sanding through the veneer. See the reddish areas?
That is a spot where the bottom wood has begun to peak through. I’m not sure why it happened on this piece, but once I noticed it I backed off of sanding those areas more.
I think it will blend in fine, especially since this is a rough top. But that’s what you want to watch out for.
2. Sand down the top to bare wood.
Now that you have identified if you are working with a sheet of veneer or solid wood, it’s time to start sanding.
I read about “sanding down to bare wood” a million times over on various blogs before refinishing my first piece. I just wasn’t sure what “bare wood” actually was though.
Basically, to sand down to bare wood is to remove any top coat (like poly or varnish) and also the layer of wood that soaked in the previous stain.
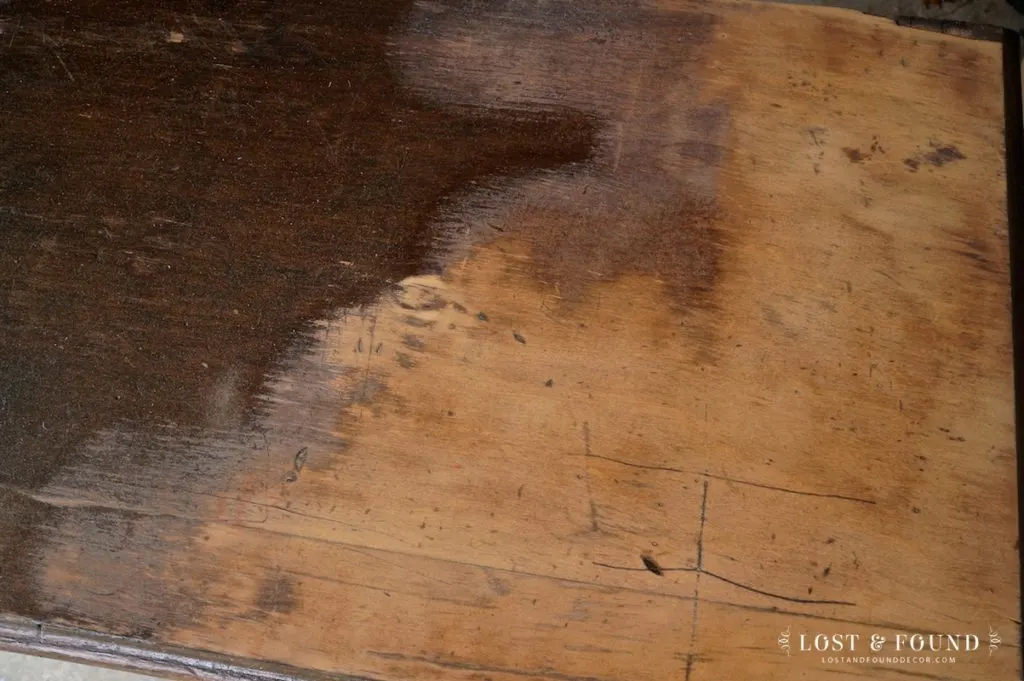
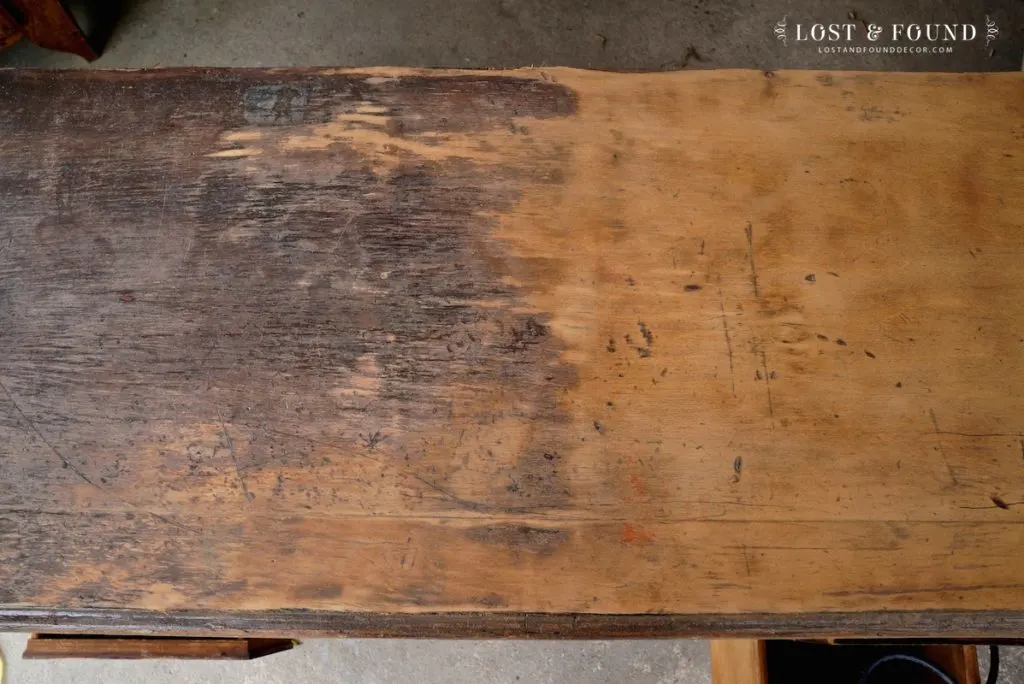
The left side of this picture is completely un-sanded, and you can still see some of the shiny top coat.
Then in the middle, the top coat is gone, but some stain is still there. The right side has been sanded down to the bare wood.
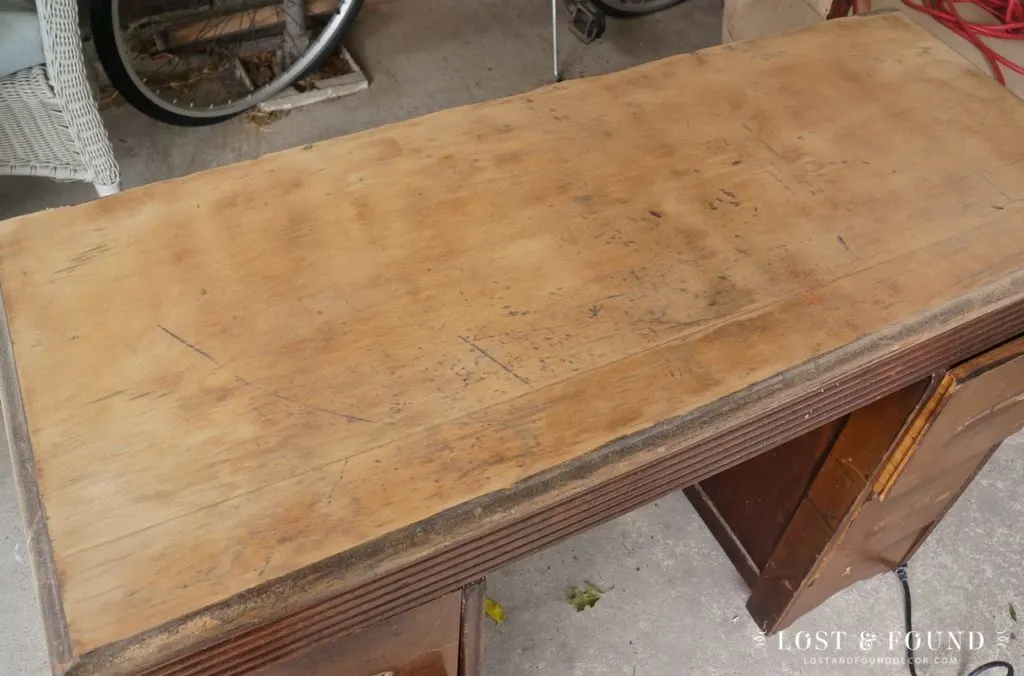
Here is another shot. The topcoat is mostly all gone, but the wood on the left still needs sanding.
You are going for a uniform, light color to the wood (think about the color of the unfinished wood you see at Home Depot).
You can see on the right side that there are still some dark spots where the wood was gouged and stain sunk down.
Sand those as much as you can, but don’t worry about them too much. They will blend in with the new stain.
Some DIY’ers do choose to use a chemical stripper before they sand, in order to remove a thick top coat.
I prefer to skip straight to sanding. Stripped products are very messy and require specific and proper disposal, and once it’s stripped you still have to sand through the stain . . . so I prefer to just go ahead and start sanding.
Another note on sanding, I use an orbital sander to sand down my pieces.
Orbital sanders are easy to use, affordable, and work well for top surface jobs.
They can leave little swirlies in the wood if you press down too hard or use too coarse of a grit paper, but in general I have found them to work quite well.
I typically use a 120 grit pad to sand down my pieces, and may smooth them off with a finer grit after the finish and stain is removed.
3. Sand down the sides to bare wood.
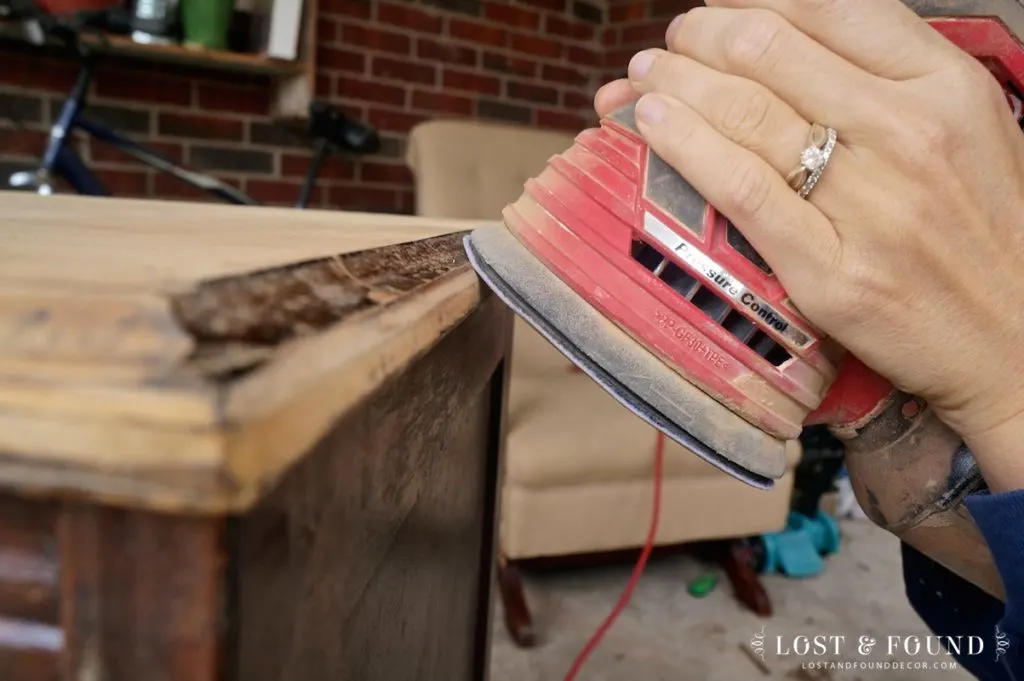
Even if the top of your piece is veneer, the sides will be solid wood. They tend to sand much more quickly.
I still use my orbital for sanding the sides (some people might cringe at that thought), and it’s mostly because it is a huge time-saver.
I have tried hand-sanding the sides with sandpaper, and I wear myself out. If I am careful with my orbital, it can do the job quickly and without making any damage.
When sanding the sides, I usually kneel down, hold the sander close to the base, and sand with the very edge of the pad. A small “mouse” sander would also work for this job, if the orbital makes you too nervous.
And you’re done! Here is a picture of the top all sanded down.
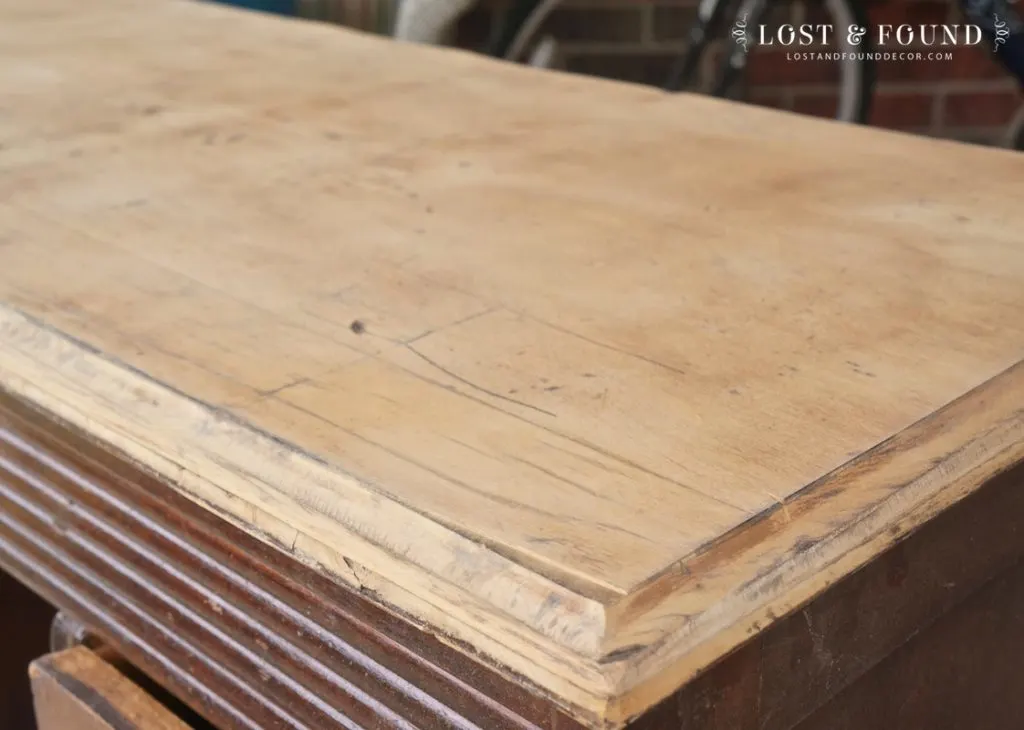
And here are the sanded sides.
Now this bare wood is not as clean and uniform as other pieces I have worked on. It’s taken a beating!
But, it is ready for new stain and once the new finish is on, it will be clean, smooth, and look great.
Part 2 will cover the staining process, so be sure to come back!
You can now read Part 2 here!


Dawn Lemovitz
Wednesday 7th of September 2016
I read your story and mine is almost identical! I love all things furniture, but I get stuck in a rut sometimes...
Do's and Don'ts - Painting Furniture With Chalk Paint | Lost & Found
Monday 8th of August 2016
[…] a stained wood top on a table or dresser, it is more professional (and longer lasting) to actually refinish and stain the wood instead of using dark […]
Rachel
Wednesday 5th of November 2014
I found your blog via Google, I feel so lucky to have stumbled here! I am also a mom of three young boys and am considering opening a booth at a to be decided location. Your posts are so timely, your replies to comments so genuinely helpful. I've been intimidated to try my hand at staining but hopefully it will work out well for me. I mean I don't know if my part of the world really needs another chalk painted furniture reseller so I've been looking for something that would set me apart. That's been a big part of my hesitation in starting a booth business. Do you have any advice for not being dependent on the current trend of chalk paint furniture to maintain a business into the future? Also, I love your debt free mentality. Currently a stay at home mom, I've been considering how much and how to invest in a business without affecting the household budget too much. I found myself getting tempted to consider credit, which I normally avoid. Thanks for the encouragement there!
Melanie
Thursday 6th of November 2014
Hi Rachel. I'm so glad you stumbled upon me, and thank you for your kind words. I always love talking to other "boy moms" too :) I think that's great that you are considering how you can add to your family's income and use your gifts and talents to do something you enjoy. As far as being another "chalk painter", I say do your craft uniquely and do it well. There are many, many people who paint furniture in my area, and a 3/4 of them generally lack creativity and quality (I'm not trying to be mean . . . it's just my opinion). I think I have done well because I try to provide something different than what is being seen everywhere else and also try to finish my pieces as professionally as I can. Also, have you considered trying milk paint? I am the only dealer in my mall who uses milk paint and as a result, many of my pieces looks very different from any of the other furniture pieces for sale. As far as the future goes, I'm not sure how long this trend will last, but painting old furniture has been around long before chalk paint came on the scene, so I think furniture painting in general can continue to be a viable business. If you can find a place to start small and experiment with your craft, that would be ideal. And yes, do avoid debt if you at all can! You will enjoy your business so much more and it can grow at a pace that fits your family, rather than needing to grow to pay your debts. In my experience, as I have plugged along over the years, new doors have opened up as I go and my business has been able to grow organically and in ways I hadn't expected. Be faithful, wise with your time and money, and offer a great product, and you will do well :)
Flortec
Friday 24th of October 2014
You did a wonderful job. My sister-in-law picked up an old dresser for a few dollars at a garage sale, refinished it and sold it for top dollar. It looked great and she made a decent profit for her efforts.
Melanie
Friday 31st of October 2014
Thank you, and kudos to your sister!
karen
Wednesday 22nd of October 2014
Melanie, you are just an endless source of resources! I am so impressed with how much knowledge and talent you have amassed in such a short time. You are a natural. Thank you for sharing at TheHandmade Hangout at Redouxinteriors, sharing tomorrow. This is a post everyone should read!
Melanie
Wednesday 22nd of October 2014
Well thank you Karen! I really appreciate that. I hope it's a helpful post for anyone thinking of trying it out.