When I started blogging over four years ago, I was lucky because I had a lot of photography experience already under my belt.
I had a great DSLR camera that I knew how to work well, and had been taught the basics of photography staging and editing.
So right from the start, I was able to take great photos, like this one:
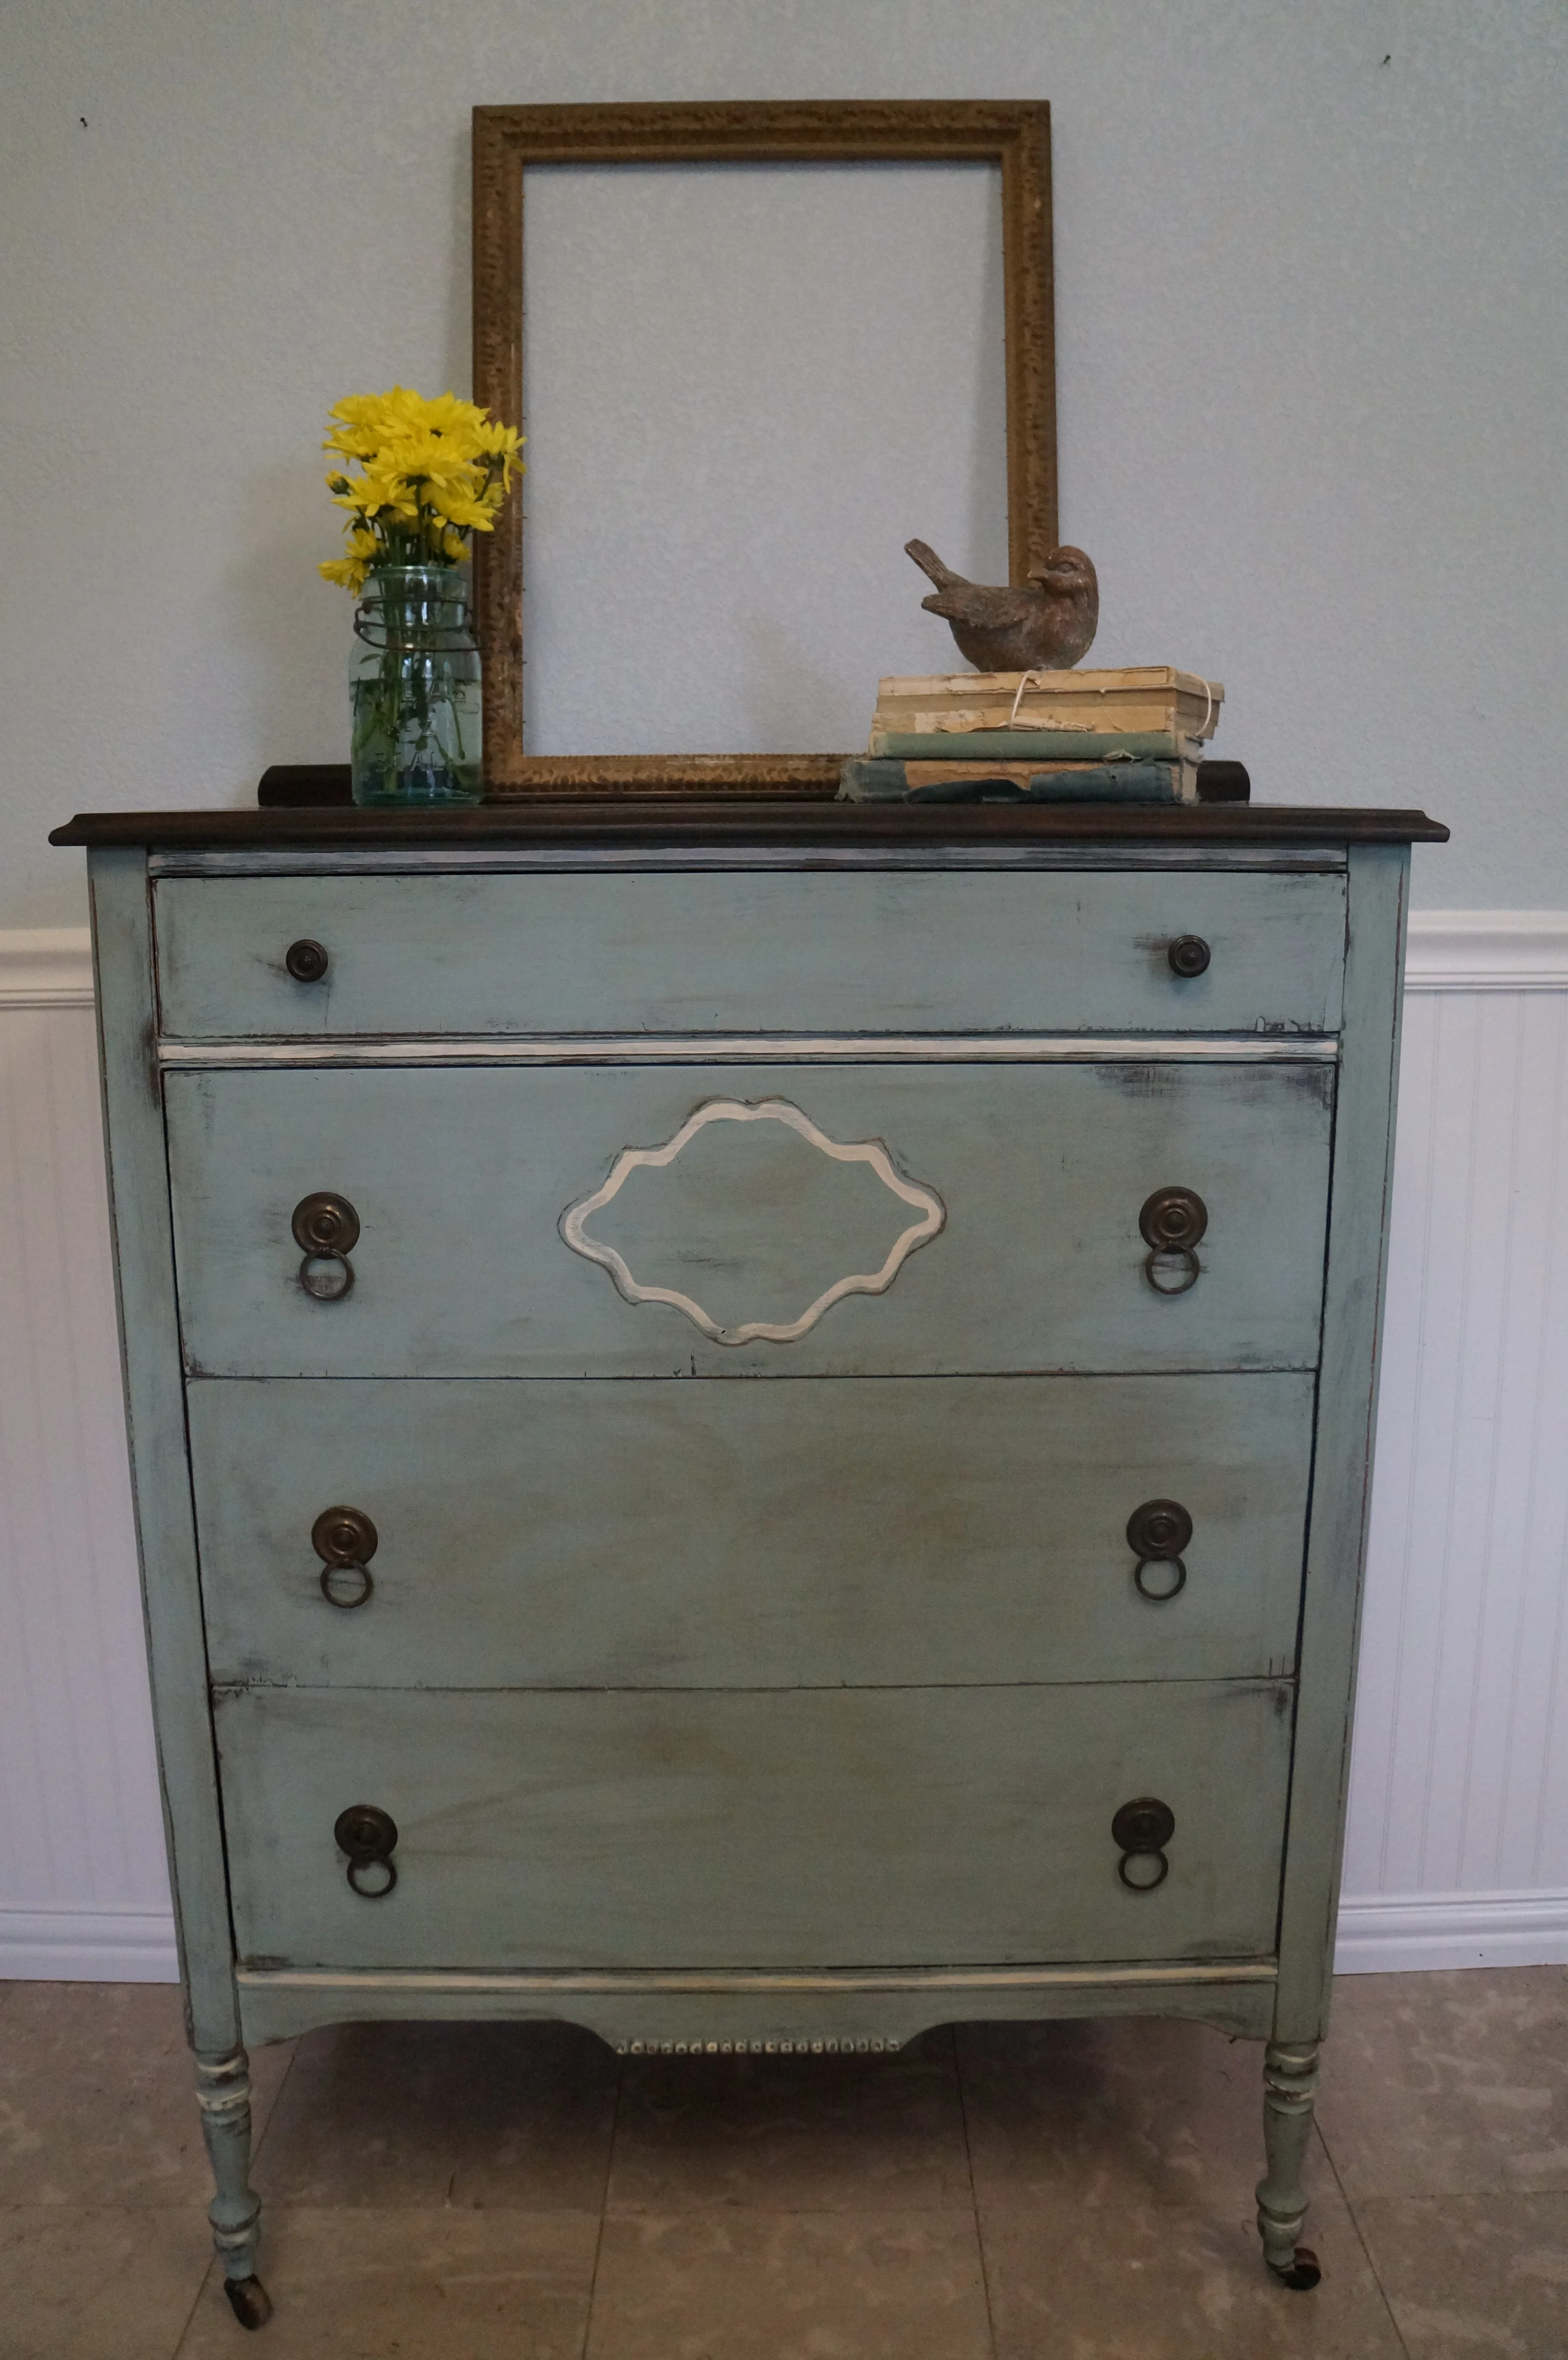
I hope you caught my joke 🙂
The truth is, when I started blogging four years ago I knew absolutely nothing about photography!
I did my best to take good photos with the digital camera I had, but let’s be honest . . . they aren’t amazing photos.
But hey, you have to start somewhere, right?
One of the areas of my business where I have been continually trying to grow and learn is this area of photography.
I really believe that if you are running a home-based business with any kind of web presence–whether that is an all-out blog or Instagram or even just Facebook–your photography can make or break you, especially if you are in the home decor and DIY market.
Like everything else in my business, I’ve taught myself about photography a little at a time, and for as cheaply as possible.
I didn’t run out and buy a $2500 camera off the bat and buy high-dollar editing software, but rather took small steps to better my skills over time.
About 2 years ago I wrote a post called 5 Simple Tips for Getting Better Photos to share what I had learned so far about photographing my home and furniture projects.
My goal with that post was to offer some uncomplicated steps everybody could take to improve their photos without spending a ton of money on equipment. By the time I had written that post, my photography skills had really improved and I was happy to pass along what I had learned.
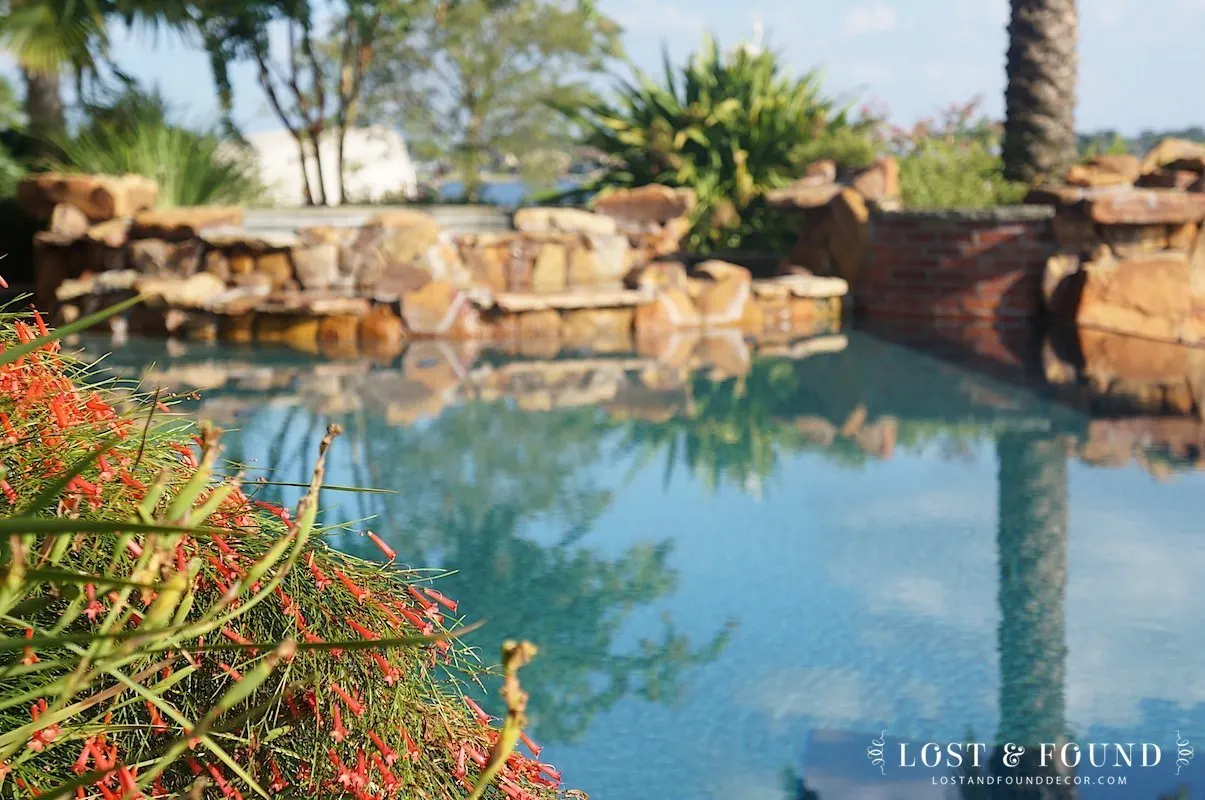
But over the course of this year I realized that I had hit a plateau in my blog photography.
I loved my camera, and it would take great photos if I had good natural light. But in low-light settings (which describes the inside of my home most of the time), it couldn’t perform.
I had been using the free iPhoto editing software that was loaded onto my Macbook. And while it was simple enough for me to manage, it was also limited in how well it could edit a photo.
I was looking at these absolutely stunning, magazine-quality photos on other blogs, and wondering why I was not able to produce those same quality of pictures.
My photography was good, but it wasn’t great . . . and great was what I wanted.
It was at the Haven Conference this past year where I came to grips with what was holding me back. It was time to invest in some better photography equipment, namely a higher quality camera and editing software.
And y’all, that was a hard pill to swallow . . . because I am cheap!
I always try my hardest to make do with what I have on hand, but the truth about photography is that ho-hum equipment can only take you so far.
So post-Haven, I started looking at my options and coming up with my plan.
Now a little over 2 months later, I’m working with a new camera and new editing software, and am thrilled with the results I’m getting.
But you wanna know the best part?
It didn’t cost me the fortune I was expecting it to cost!!
So if you want to take your small business photography to the next level–be it blog or social media–I want to show you how I took those same steps without breaking the bank.
First off, let me share with you my new camera:
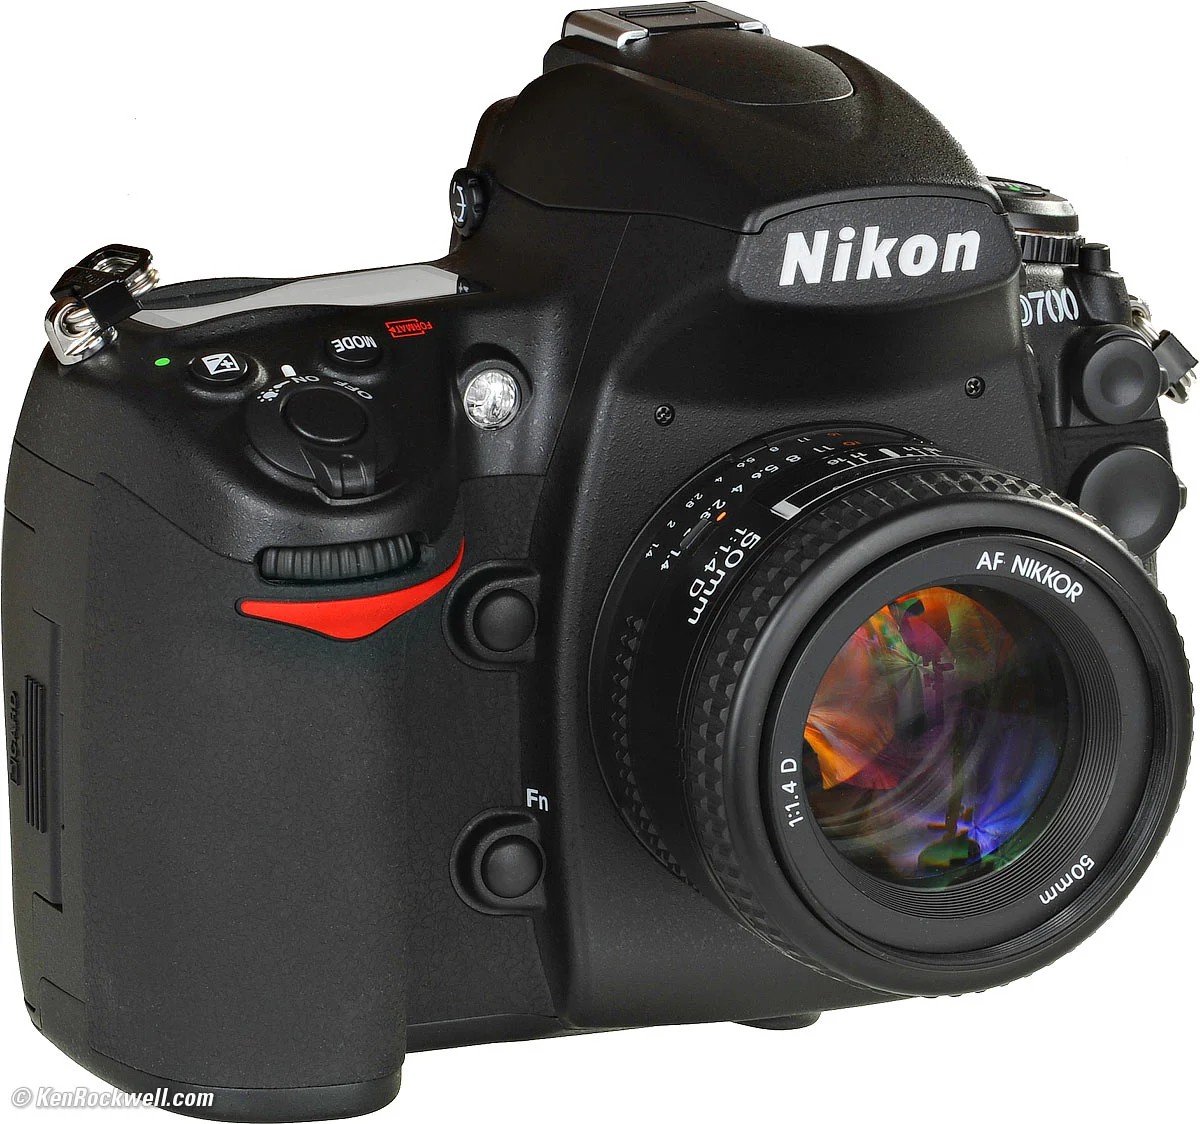
It is a Nikon D700 DSLR camera with a 50mm f/1.8 lens, and it’s USED.
New, this camera costs around $2700–yikes! There was no way I was going to spend that kind of money on a camera!
So I started looking around at used cameras on Amazon and Ebay (you can see the used D700’s for sale on Amazon here), but I was totally overwhelmed by the stats of them and worried about buying something used from an unreliable source.
I decided to text a friend of mine, who has a wedding photography business on the side, just to ask his opinion on what may be a good used camera.
Turns out, my friend was ready to quit his wedding photography side gig and was looking to sell his entire camera kit! Funny enough, he was concerned about being the online seller of a used camera, mainly because of some professional repair work he had done on the camera several years ago.
My friend, whom I trust, walked me through the camera and the repairs, and offered to let me take it for a test run for a few weeks.
Immediately I could tell a difference in its capabilities from my older camera, especially in indoor, low-light-settings, and I knew it would work great. So we agreed on a $500 price for the entire kit–camera body, lens, memory card, and multiple batteries. That is a steal!!
So my first tip for how to better your photos without breaking the bank is to ask around when you decide to shop for a camera!
Post on Facebook, ask friends and family, put up a flyer in your church or a local camera store–great deals are out there!
Had I not taken the time to ask my friend, I would have ended up buying a used camera online for a few hundred dollars more, then would have had to buy the extra lens and accessories.
You never know what someone may be wanting to sell!
My second step in improving my photography was to purchase editing software for my computer.
Adobe Lightroom was the right choice for me (I’ll tell you more about why in a minute), but I was concerned about the cost.
But I learned about a program available called the Adobe Creative Cloud, where for a $9.99 monthly charge you can purchase both Lightroom and Photoshop for your computer, as well as receive continual updates on both programs.
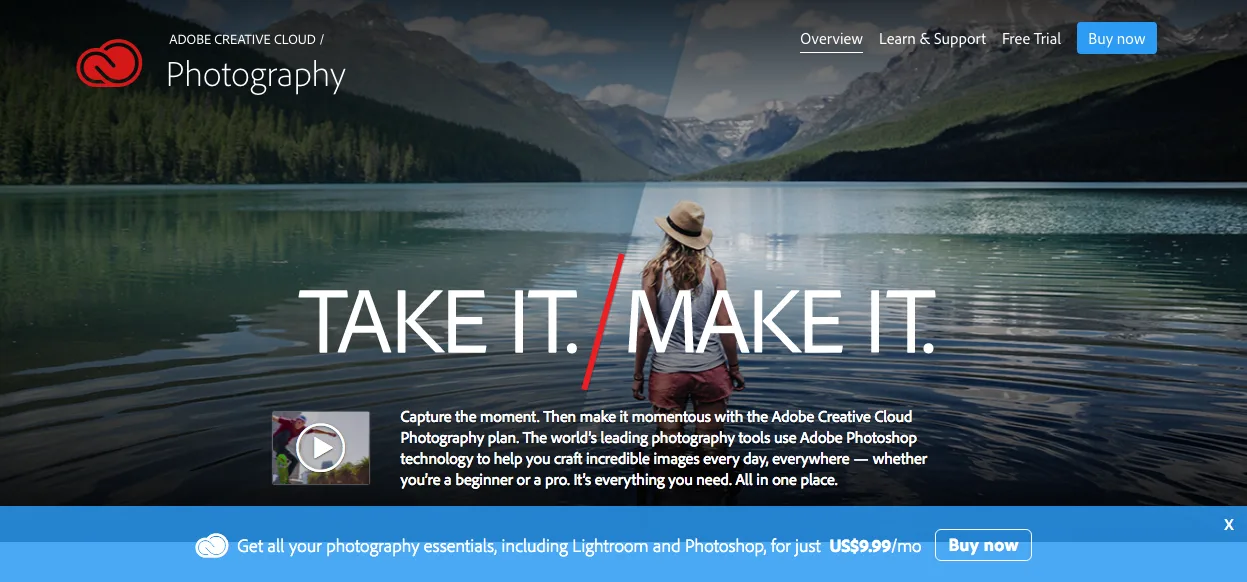
It’s another steal! $9.99 a month is a worthy investment to have access to these 2 fantastic programs.
And let me tell you, editing my photos in Lightroom makes all the difference!
Take a look at these 2 recent shots:
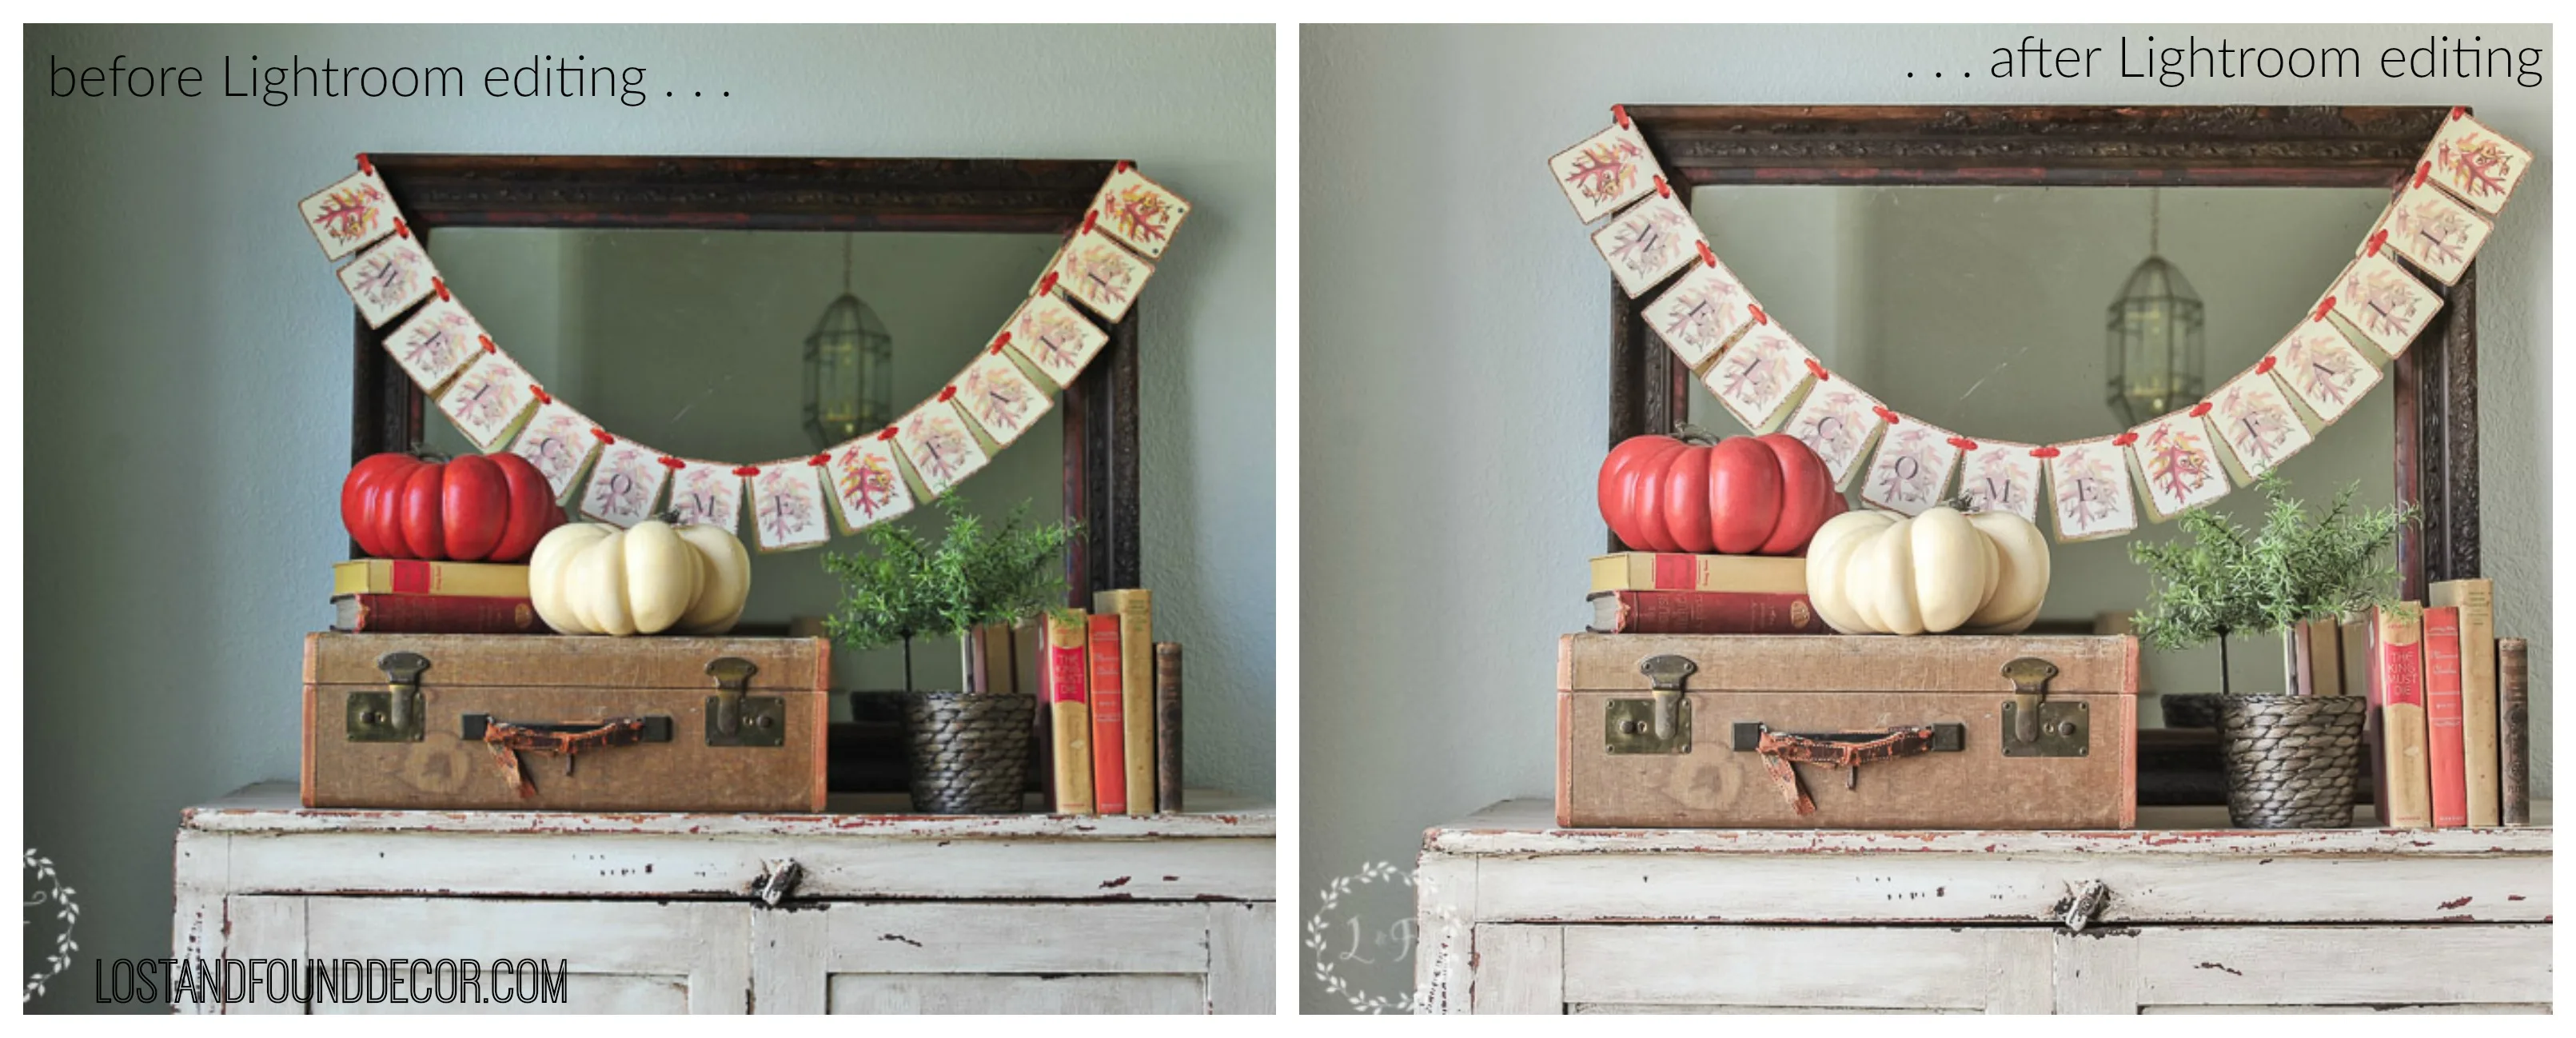
In Lightroom, I am able to straighten, brighten, take out shadows and harsh highlights, correct colors and the overall tone of the photo, smooth out background textures, and remove any unwanted items that show up in the photo (like cords, wall plates, etc).
All of these edits help the photos to really pop!
There is a little bit of a learning curve that goes along with using Lightroom effectively and efficiently, but don’t worry, I have help for that too!
The last step was downloading an online tool to help me learn how to use my new camera and new software.
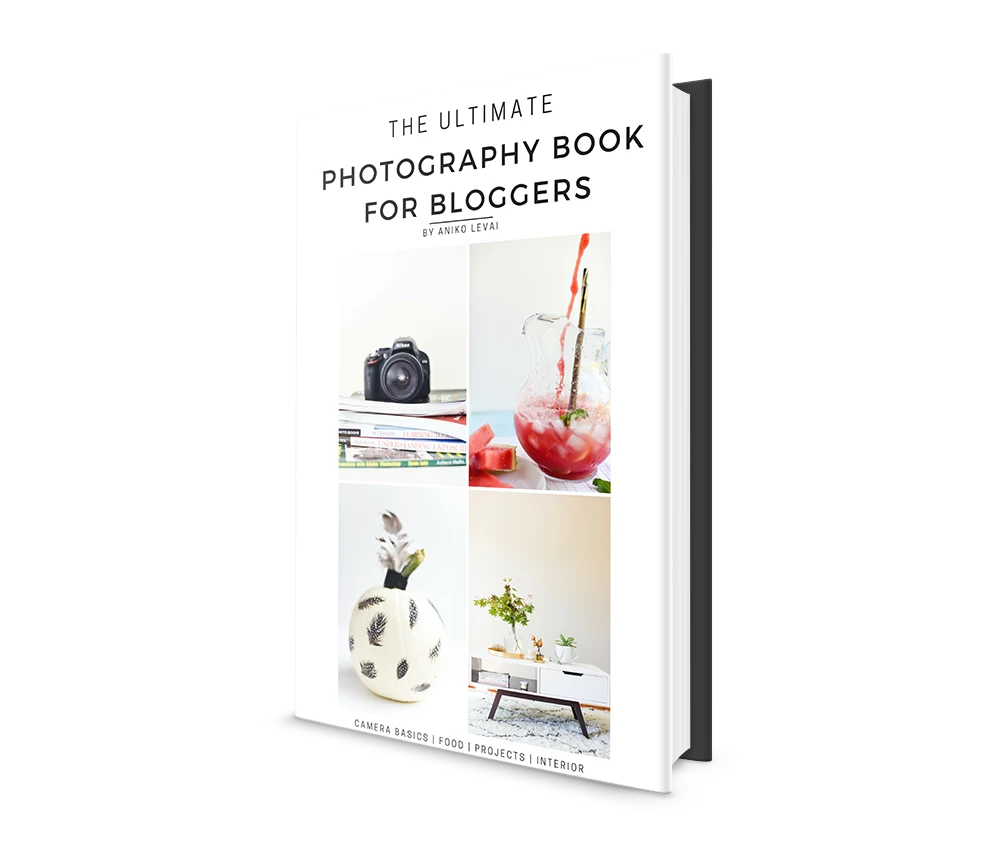
This is The Ultimate Photography Book for Bloggers, an ebook by blogger Aniko Levai. Aniko blogs at PlaceofMyTaste.com and produces absolutely gorgeous photos.
At Haven, I heard about her recent ebook release and was really intrigued by it. Not only does her ebook cover the basics of photography and DSLR cameras, but also has tips on styling and interior-specific set-ups.
Even more exciting though was that I heard she also offered a full set of Lightroom presets in her ebook that are tailored specifically for bloggers.
What is a Lightroom preset?
Basically, a preset is a short-cut of saved photo edits.
Rather than tweaking the brightness, shadows, color balance, etc of every single shot you are wanting to edit, you do a series of saved edits with only one click.
If you visit this link, you can take a quick look a Aniko’s preset example video to get an idea of how easy her Lightroom presets are to use.
The Ultimate Photography Book for Bloggers is available in 4 package levels, with the base package starting at only $24.
However, I highly recommend purchasing the Master Package for $59.
This includes the ebook as well as 10 instructional videos showing how to use Adobe Lightroom, 11 Adobe Lightroom Presets (which are super easy to install in your own software–she walks you right through it!), and 10 Adobe Lightroom Templates (which can be used for creating those great Pinterest images and collage graphics).
If you are already using a good quality DSLR camera and feel like you understand the basics of room staging and interior photography, the Lightroom Preset and Template package is available on its own for $45.
Does it sound like I am trying to sell you on these? Well, it’s because I am!
In complete honesty, I purchased the $59 Master Package, with both ebook and Lightroom presets, and it has been an invaluable tool for me.
Aniko shares photography tips specific for bloggers, and by using her tips and the Lightroom presets she created (again, specifically for that light and bright blog photography style we all love), I finally feel like I am able to create those beautiful pictures I was seeing everywhere else.
So, my total investment in my recent photography skills jump has been:
- $500 for the camera
- $9.99/monthly for editing software
- $59 for the ebook
That is a significant amount of money, but nowhere near what I could have spent.
And if I am going to invest in something, I want to be sure I am getting a lot of bang for my buck, and these products have given me that satisfaction.
I hope these tips have helped!
If you’re ready to up your photography game, it is doable! Be patient, get a little creative, and make sure to put your money into strategic places that will offer you the maximum benefit.
*This post contains affiliate links to sites outside of LostandFoundDecor.com. Links are provided for your convenience and comply with all affiliate program and FTC rules and regulations. *

[/et_pb_text][/et_pb_column][/et_pb_row][/et_pb_section]

Barbara Ann
Thursday 29th of September 2016
Good read. Best info that is easy to understand. As soon as I figure what I need in a computer to start blogging, a camera will be next. Is there a post I missed that covers a bloggers computer needs?
Barbara Ann
Thursday 29th of September 2016
Good read. Best info that is easy to understand. As soon as I figure what I need in a computer to start blogging, a camera will be next. Is there a post I missed that covers a bloggers computer needs?
irisabbey
Thursday 29th of September 2016
These are timely tips for the Iris Abbey team! We have our camera and yesterday our 36" x 36" lightbox arrived for putting more photos on Etsy. I'm intrigued by the Adobe Creative Cloud program and I clicked on your link to Aniko Levai's Lightbox Presets video. Oh my gosh. Now I have to figure out how I can afford these two items. Fantastic info, Melanie. Thanks.
Sara
Thursday 29th of September 2016
I so needed this post TO-DAY, as I've been researching options for Lightroom & Photoshop. Aniko's ebook is icing on the cake! Definitely looking into purchasing that! Thanks for all the info!