Maybe the 14 month mark is when a DIY renovation project starts to feel a little ridiculous . . .
Remember my kitchen makeover project that I have been working on since the dawn of time? I am really over it.
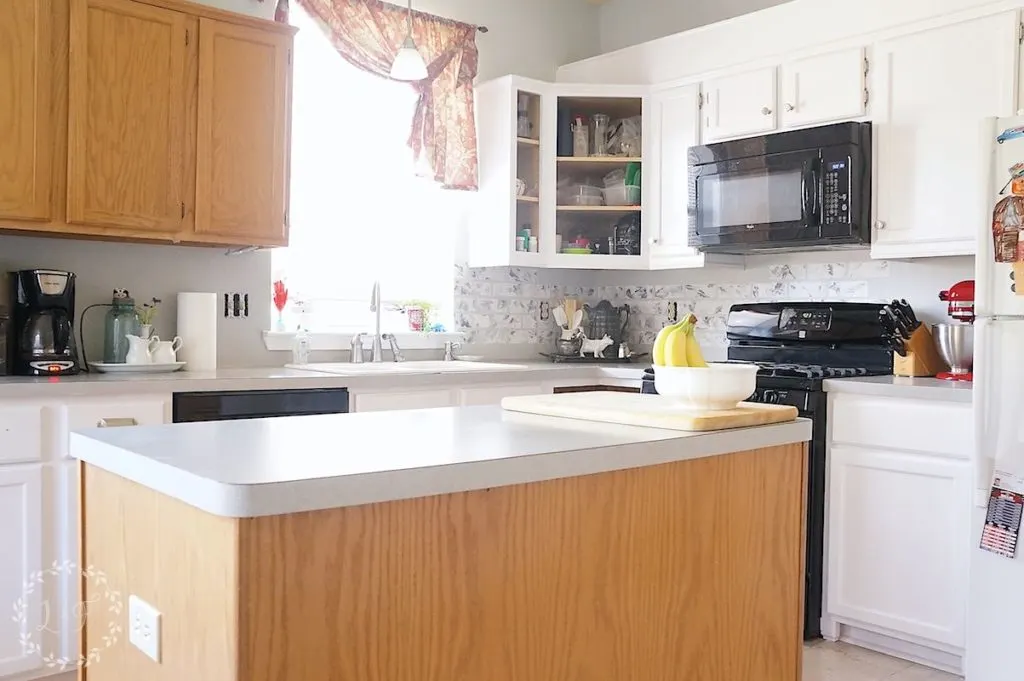
Is it just me, or when you start working on a home makeover project, does the list of to-do’s seem to get longer as you go? It’s like the room starts to enjoy all the extra attention it’s getting and so it finds ways to keep you in there for longer than you expected. It doesn’t want to be finished.
That’s probably not true, I don’t think rooms have intelligent consciences . . . but you get what I’m saying.
Since the start of the year, I decided it was time to kick this project into a higher gear and get it finished! We have made some progress, and I can finally see a light at the end of the tunnel.
So this is where we stand now–kitchen cabinets are 95% painted. I have 2 cabinet doors left and I am struggling to get excited about painting them. If I’m honest that will probably be the very last thing I do.
This section of cabinets is going to come down and open shelves are going in its place.
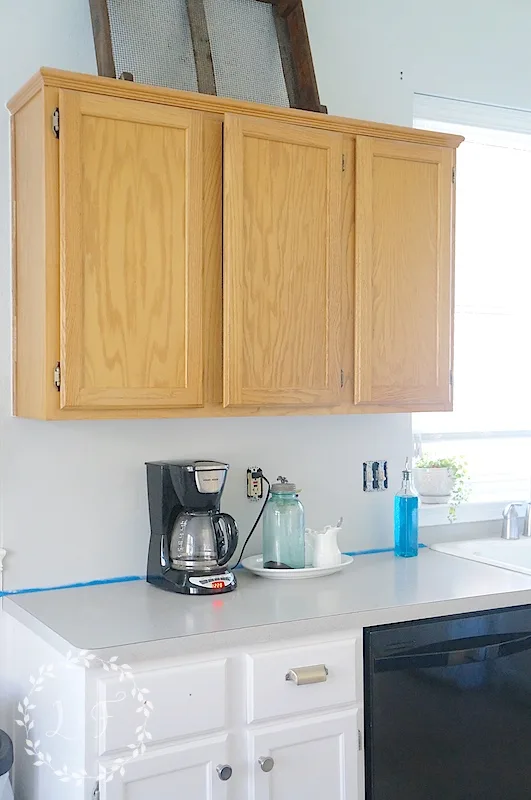
I think having the open shelves in this space will provide a nice contrast to the rest of the cabinetry, and lighten up the room too. But the best part of this plan is that I don’t have to paint this set of cabinets!
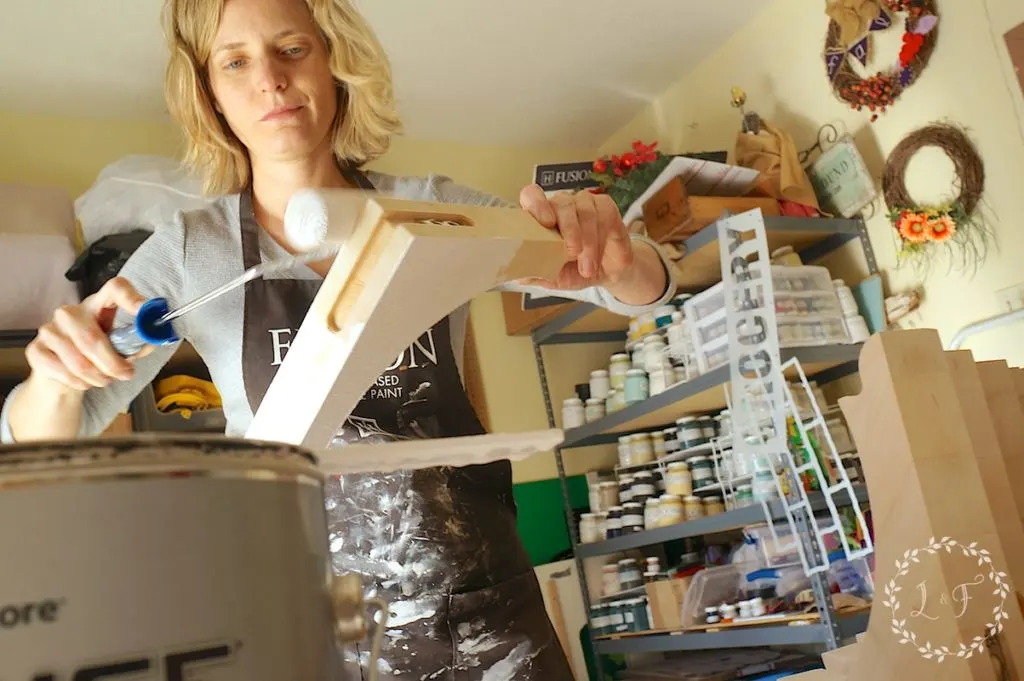
What I do get to paint though are these corbels (9 of them in total) for the 3 shelves we plan on installing.

These guys are in process of getting three coats of the same white paint that is on our cabinets.
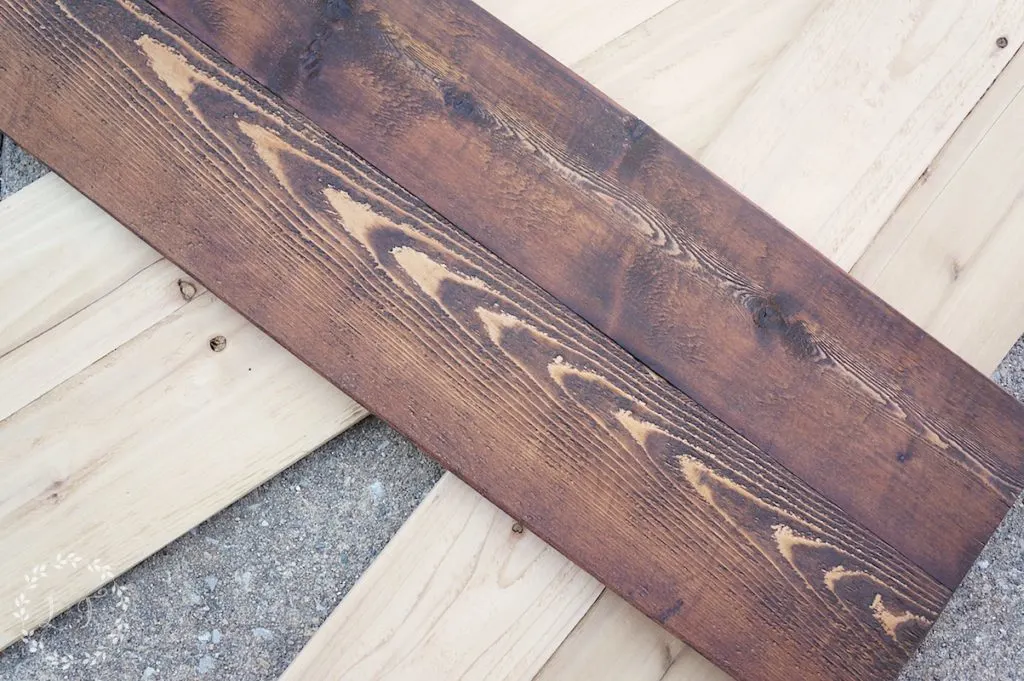
For the actual shelves, we wanted to bring in some wood tones to warm up the space and coordinate with the new island butcher block countertop, so we are using more of our leftover cedar fence pickets. This is third project (besides the actual fence) where we have used this cedar wood–if it ain’t broke, don’t fix it, right? (Projects 1 and 2 are here and here, if you’re interested).

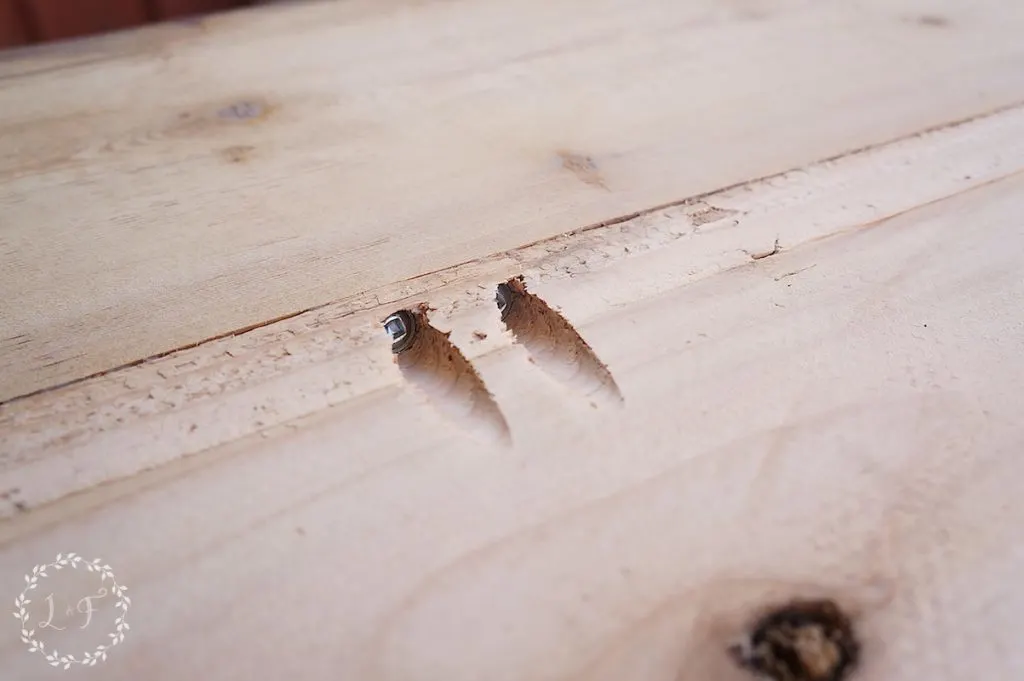
Isn’t our little helper cute? He and my husband did some Kreg Jig action to secure two of the 4 ft cedar planks together.
The cedar wood looks really beautiful once it’s stained.
Speaking of beautiful wood, I mentioned our new butcher block kitchen island countertop earlier– It’s really stunning.
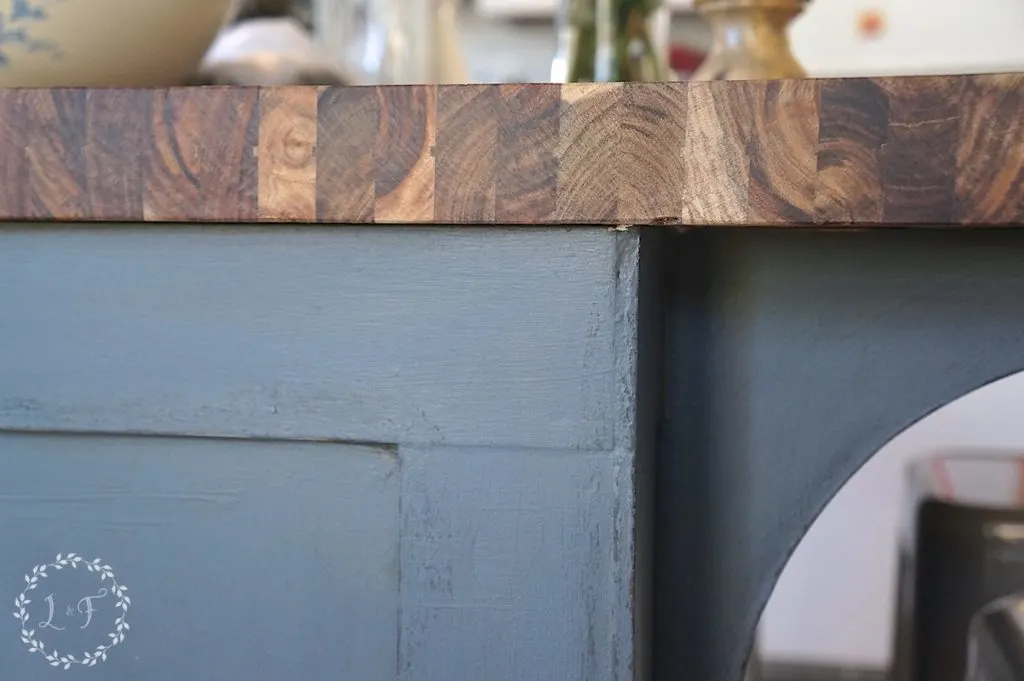
Unfortunately this is all I can show you at the moment 🙂 The island makeover is 99.9% complete, but it needs a few more touch-ups before it’s ready for its glamour shots.
Also on our list is adding some farmhouse style wood trim to our two, smaller windows.
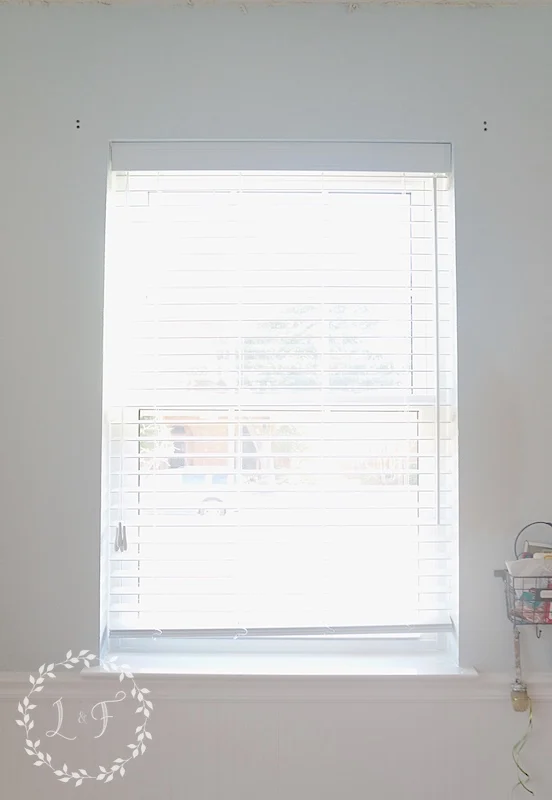
We have the wood waiting for us in the garage, just not the time to actually cut and install it. Hopefully soon.
And lastly, a project that wasn’t on our original list but managed to work its way in–scraping the popcorn ceiling and adding new paint to the walls.
I am not a fan of popcorn ceilings, but I can live with them. What I cannot live with however are dingy, light-yellow popcorn ceilings. For some unknown reason, the people who owned our home before us decided to hire a painter to come in and literally spray the entire house in this terrible, light-yellow color–every wall and every ceiling (except the bathroom where they chose to leave on the 90’s floral wallpaper).
Once the fresh, white paint got onto the cabinets and the island cabinetry was painted, it became obvious that we couldn’t hide our yellow ceiling anymore. And instead of just painting it, like a true overachiever I decided we might as well scrape the popcorn too.
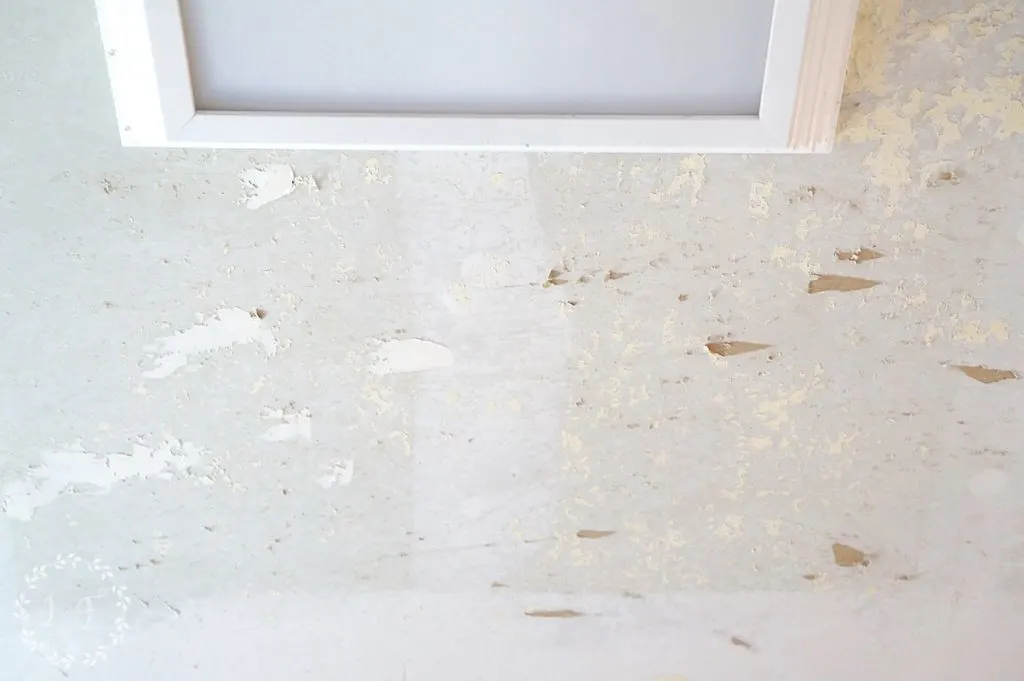
Several bloody knuckles and one dust-covered house later, here is what we have. We’ve started patching the drywall spots we dinged and that has made me feel better about this whole process. I can tell that it’s going to be worth it in the end.
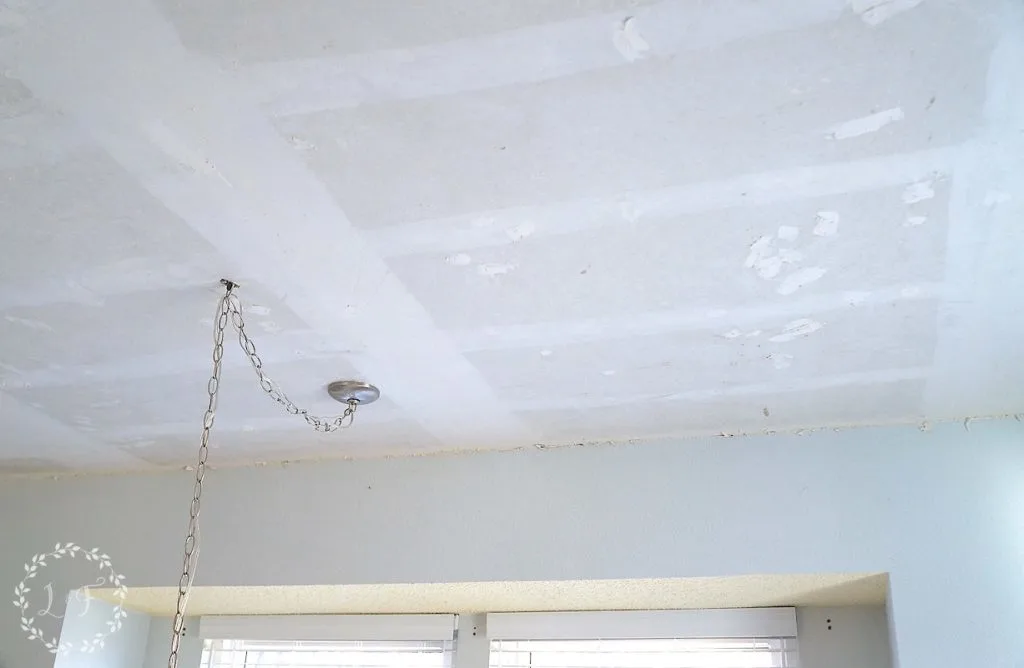
Just a side note–if anybody ever tells you that they have a super easy way to scrape popcorn ceilings where it comes right off and makes no mess, they might be overselling how easy it is. I tried every YouTube trick out there, and they didn’t work. Don’t say I didn’t warn you.
As for paint color, the light blue on the wall is now looking too light. I want something a little darker and a little more gray.
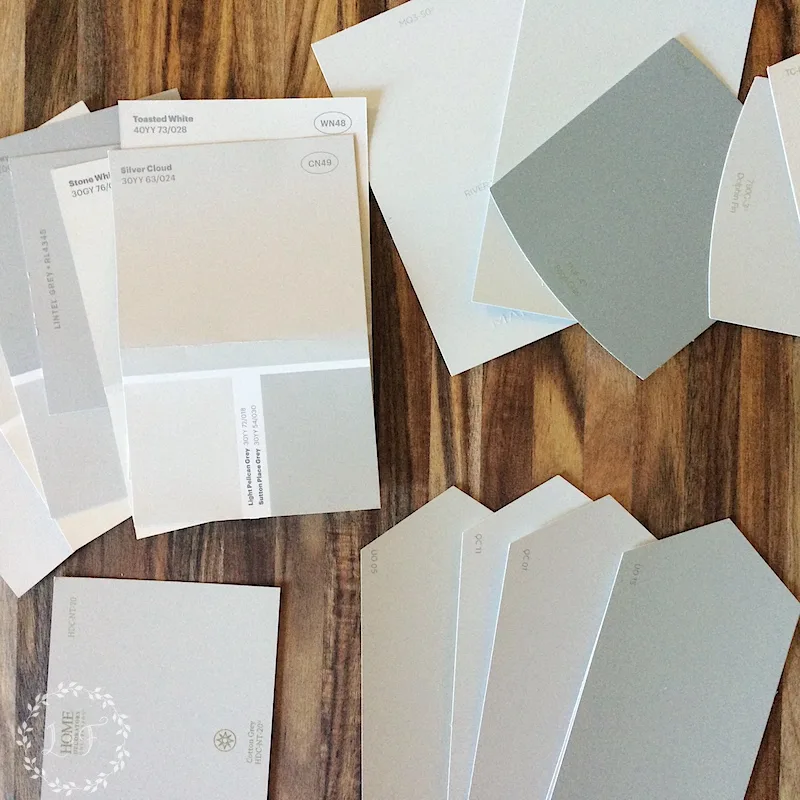
Do you know there are 6 million shades of gray though? Seriously, this was a tough decision. But after 4 sample pots painted in various locations all over the kitchen, I have settled on Silver Strand by Sherwin Williams.
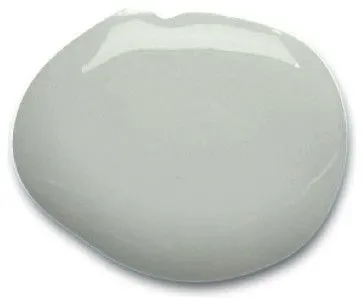
It’s not terribly different than what is on the walls now, but it is a more sophisticated color. I think it’s going to help my kitchen grow up.
A few other projects left are changing out our faucet, finishing installing cabinet hardware (a process held up by broken Pottery Barn screws that they refuse to replace), and finishing my faux marble backsplash. And maybe then we will be finished? Who knows, something could add itself to the list between now and then.
So as you stand in your lovely kitchen today, think about me in mine and say a prayer that we can wrap this up before too much longer. If not, I just might come take over your kitchen 🙂
This post contains affiliate links to websites outside of LostandFoundDecor.com. Links are provided for your convenience and meet all standards for affiliate programs and advertising.

Linking up to: Silver Pennies Sundays

DIY High End Patterned Tile Backsplash Look with Peel & Stick Tile
Sunday 9th of October 2016
[…] from that, with some DIY trim work and painting we made our way to white cabinets with a DIY-upgraded gray […]
Literal Trash Turned Treasure Vintage-Style Kitchen Wall Decor
Monday 4th of July 2016
[…] all know I’ve been working on renovating and redecorating my kitchen for awhile now, and I have this one bare, wall spot in need of something […]
Kitchen Tile Backsplash Change of Plans | Lost & Found
Tuesday 19th of April 2016
[…] DIY Kitchen renovation is chugging along! I’ve painted 95% of my kitchen cabinets (there are 2 final doors I just can’t get motivated to work on), scraped and re-painted the […]
Sharon
Wednesday 24th of February 2016
I'm glad you went with the open shelves. It's going to be much better on the eyes, and as you pointed out, less work for you. Are you unhappy with the Potter Barn hardware overall? I'm struggling with finding something I like for the kitchen--the Martha Stewart finish was totally off, which was odd because the sample I saw in the store when I returned them was the finish I was looking for, just the traditional cup pull style. To make my long story longer, I was going to order from PB next to see if that worked better. If you aren't pleased, that makes me hesitant (and still without cabinet hardware--we're pushing 18 months in the house now). I'm looking forward to seeing your finished kitchen and hope the ending stretch isn't too painful!
Melanie
Thursday 25th of February 2016
Have you looked at House of Antique Hardware (online)?
Melanie
Thursday 25th of February 2016
Sharon, I do like the PB pulls, but they were a paint to install. The screws actually screw directly into the drawer fronts and are flimsy. My husband broke 4 off inside the actual hole while they were in progress, which made us have to reposition the pull. And now I am 4 screws short, and PB won't replace them for me! The screw heads are visible, so I want them to match the finish of the pull. Ughh, I think I may have to just order more pulls to get the screws too. But, with all that said, once they are installed, they are lovely. I like the style I picked, they are more angular and a little more modern. Good luck on your hunt!
chris aka monkey
Sunday 21st of February 2016
i know exactly what you are talking about our tiny kitchen is taking me forever to get done also, i am very tired of working in there but keep putting one foot in front of the other and will get it done some day ha ha xx