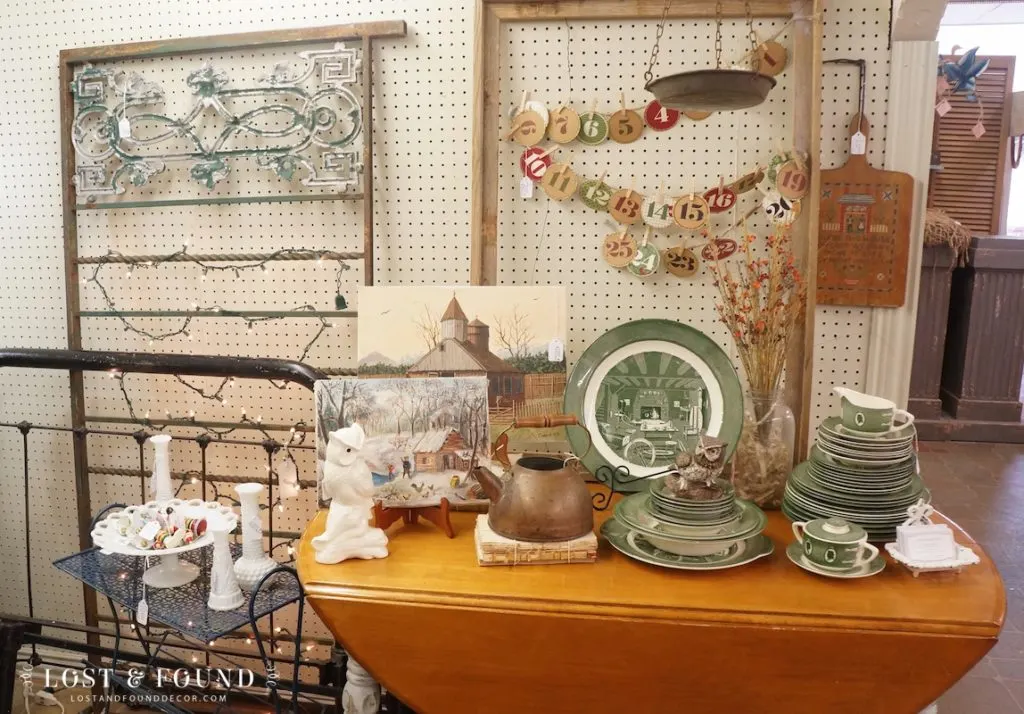
I shared earlier in January about my plans to makeover my booth space at Antique Company Mall. Like most everything, it has taken me a little longer than I would have liked to get it all done, and the progress has been slow going. That’s just life right now though–most projects get done in baby steps around here.
With my husband’s help I have repainted my one solid wall in a light gray/blue (patching the ridiculous amount of nail holes along the way) and repainted my trim in a nice white.
The bigger project is covering up my terrible pegboard wall . . .
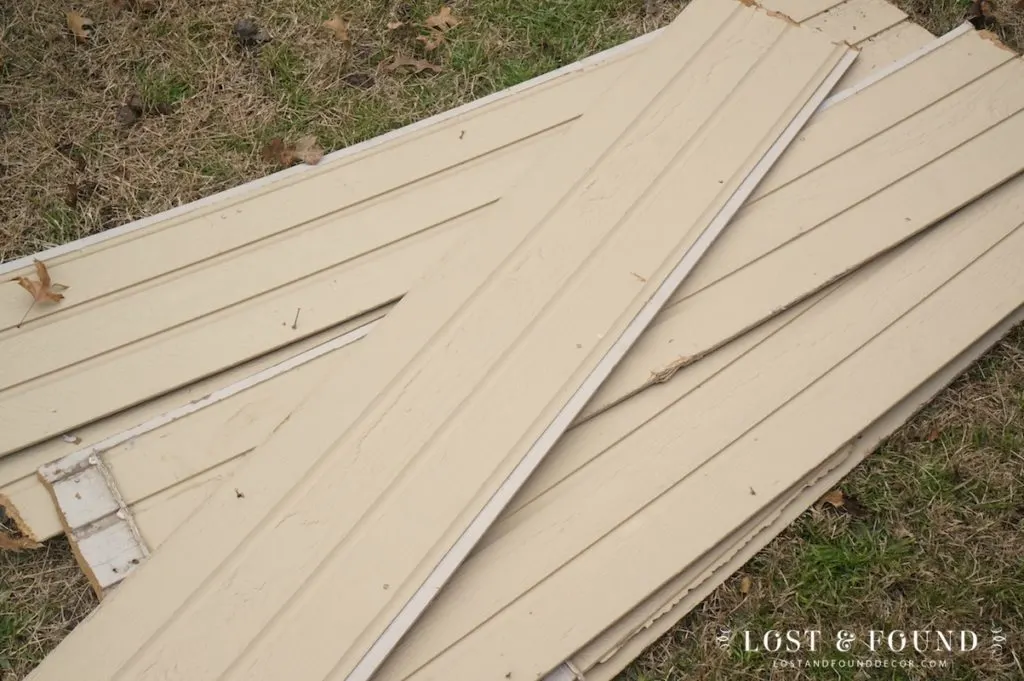
A month or so back I noticed my neighbor was working on re-siding his house. The siding that he took down was in a big pile in his driveway, and like any good junker, I asked him if I could take some off of his hands 🙂 He was a little surprised, but was glad to let me have some.
So this is my pile of salvaged siding that will cover up my pegboard wall:
I decided to prefabricate my new “wall” so that it would be all ready to install once I actually get it up into my space.
The first step was to lay out the pieces in a pattern that would be wide and tall enough to cover my wall.
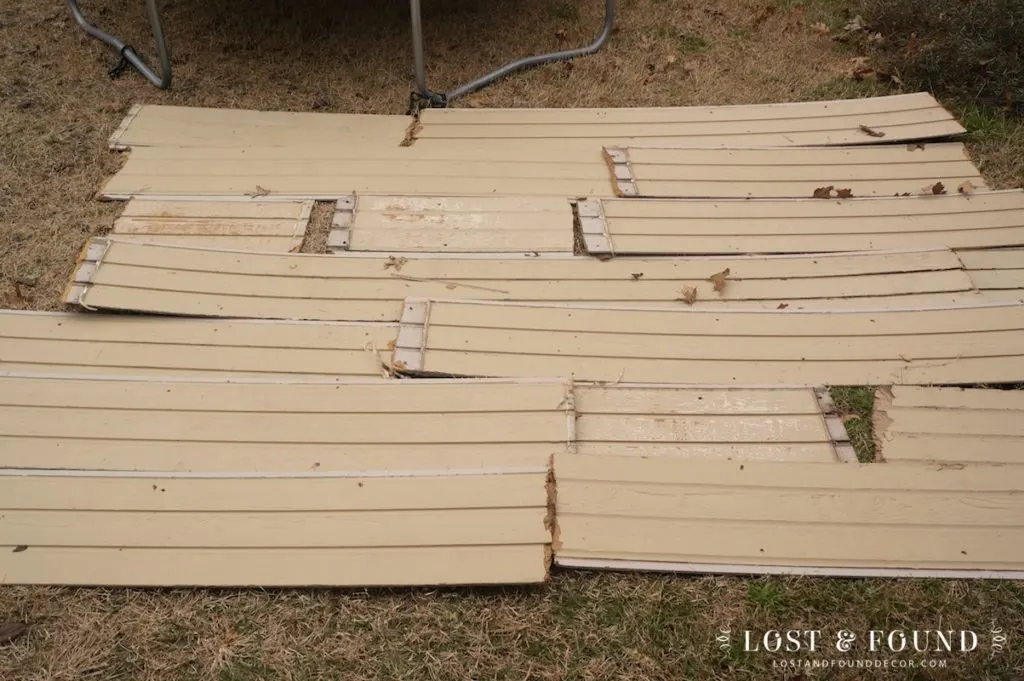
Once I got the general layout done, it was time to firm up the measurements and trim the pieces to fit my space more exactly. I made sure to number each piece on the back with a pencil so I could remember my pattern.
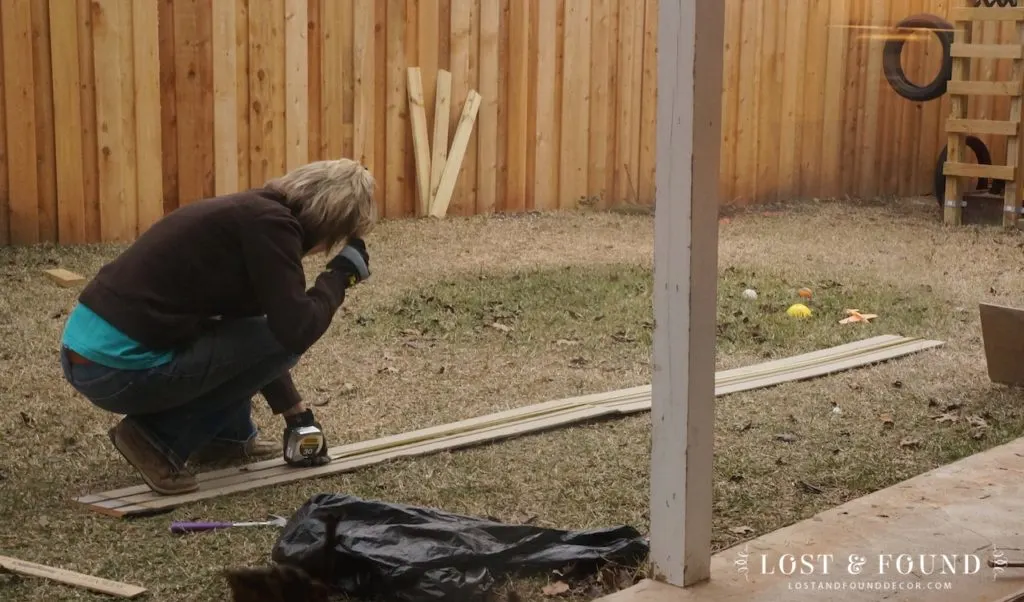
Before I could trim up the pieces, there were nails to be pulled and caulk to be chipped off of each piece.
With the pieces free of nails and caulk, I trimmed them to be the right size.
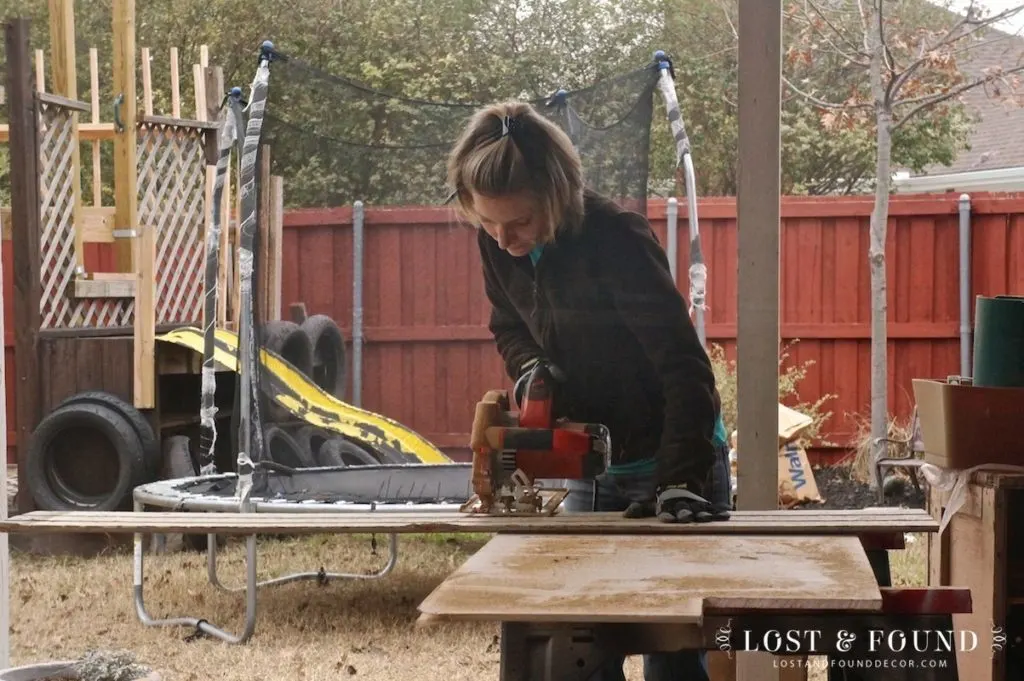
I also trimmed off the edge of each piece that was the exposed backboard of the siding. This was my first time using my husband’s power saw, and I have to admit it was pretty fun 🙂
That whole process took about two days . . . then when the weather perked up some I set about giving each board a rough sanding with my orbital sander.
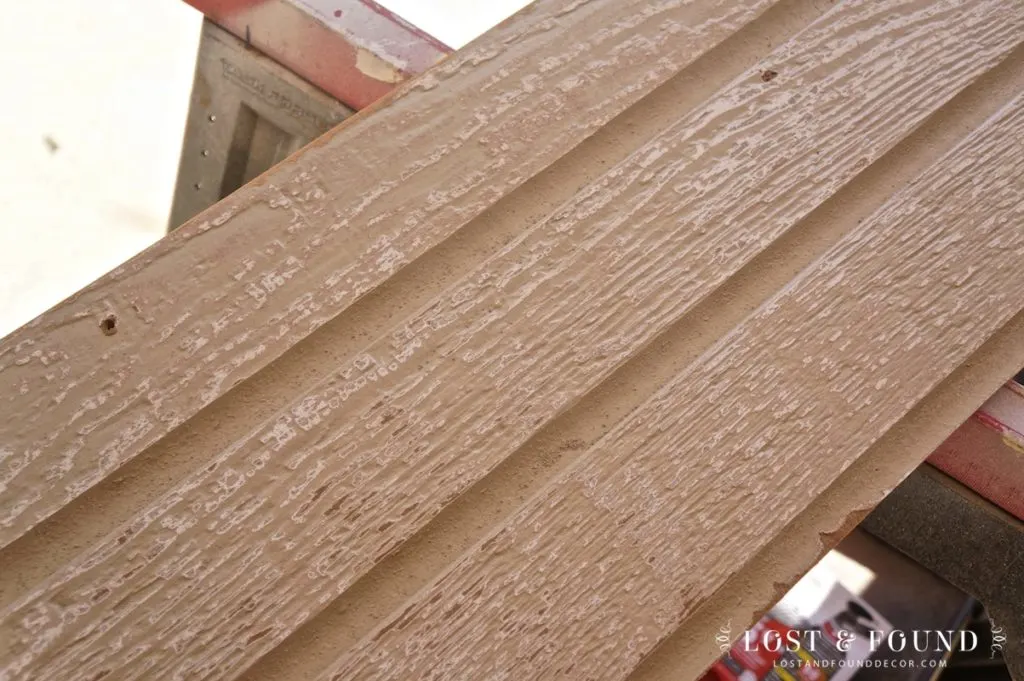
I am going for a barn-wood look, so I just wanted to sand enough to rough up the top layer of paint, as well as smooth out any really rough edges.
Then finally yesterday, all boards were sanded, the sun was shining, my kids were at school and the baby was napping . . . which meant it was finally time to paint the boards!
Using some leftover white latex trim paint I had on hand, I brushed a quick coat one each piece.
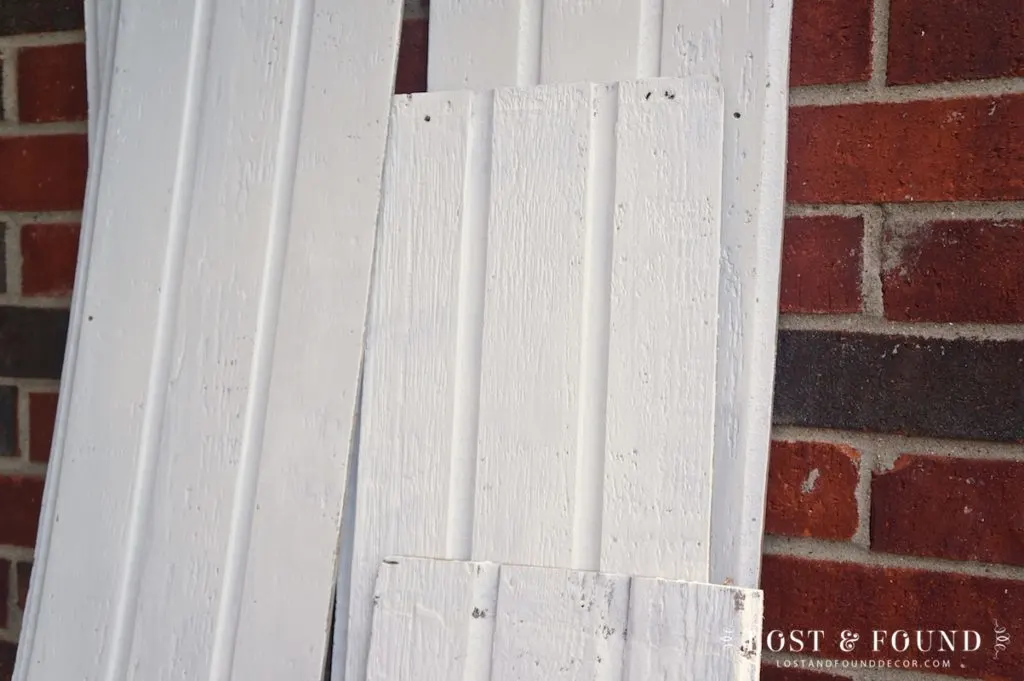
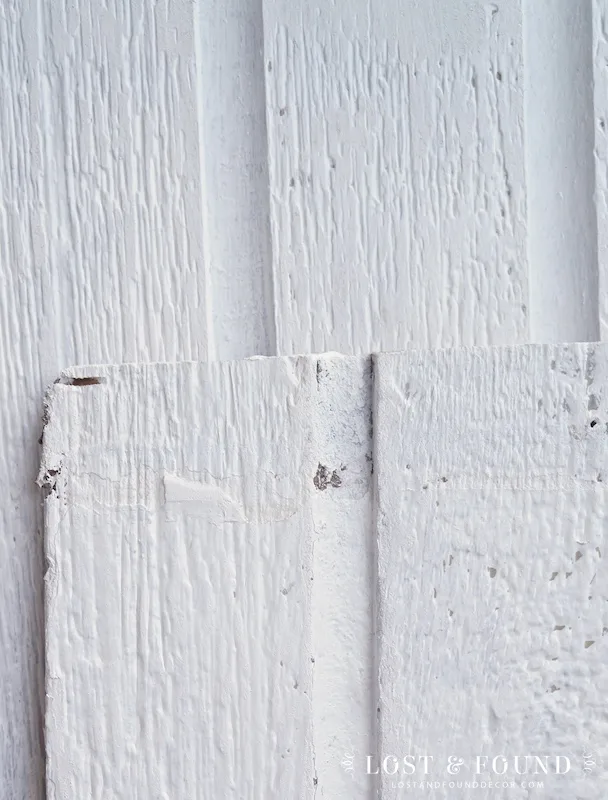
Every single nook and cranny isn’t painted, but that’s ok. I want the siding to look worn and primitive…like salvaged siding 🙂 I might even take my orbital sander back on them a bit more to take a little off the white off.
So what now? Well, the plan is tomorrow for my husband and I to install the siding over my pegboard wall. If I measured and cut them correctly, it should be a pretty straight forward process. We are planning on putting them right over the pegboard and screwing them into the wall studs.
The end result will hopefully look something like this:
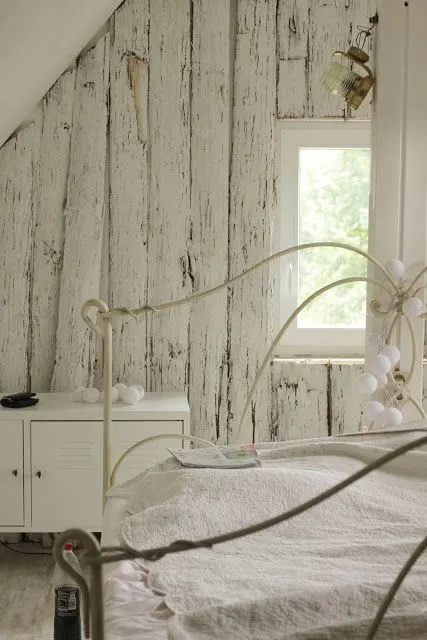
Except not quite as shabby, and with the planks horizontal and not vertical, and of course not a bedroom 🙂
Remember, the best part of all of this is that it was totally free! There is no shame in making use of things that are being thrown out.
The last step in my booth makeover plan is to install a stained plywood floor. Hopefully that will be ready to go by this weekend.
Thanks for following along with me!


chris aka monkey
Thursday 22nd of January 2015
mel there is never ever any shame with free, everyone loves free wish i lived on the other side i would have taken some also xx
Susie @ The Chelsea Project Blog
Thursday 22nd of January 2015
Looking good, Melanie... Keep on keeping on. Look forward to the reveal.
VICKI@More Powerful Beyond Measure
Thursday 22nd of January 2015
How exciting! I would love to have something like that for my booth! Really interested in your idea for your plywood floor!! Rugs and paint on mine are driving me crazy!! Nothing stays nice looking. Hope your wall goes up without any hitches! Can't wait to see it!
mary scott
Thursday 22nd of January 2015
I am going to have to make a trip to McKinney when you get your booth all gussied up!
Nancy O.
Thursday 22nd of January 2015
cant wait to see the finished project!