I have a quick oak washstand makeover to share with you today using milk paint.
I found a little oak washstand that was kinda tired looking and needed something to brighten it up a bit. Milk paint is my go-to paint for this type of piece!
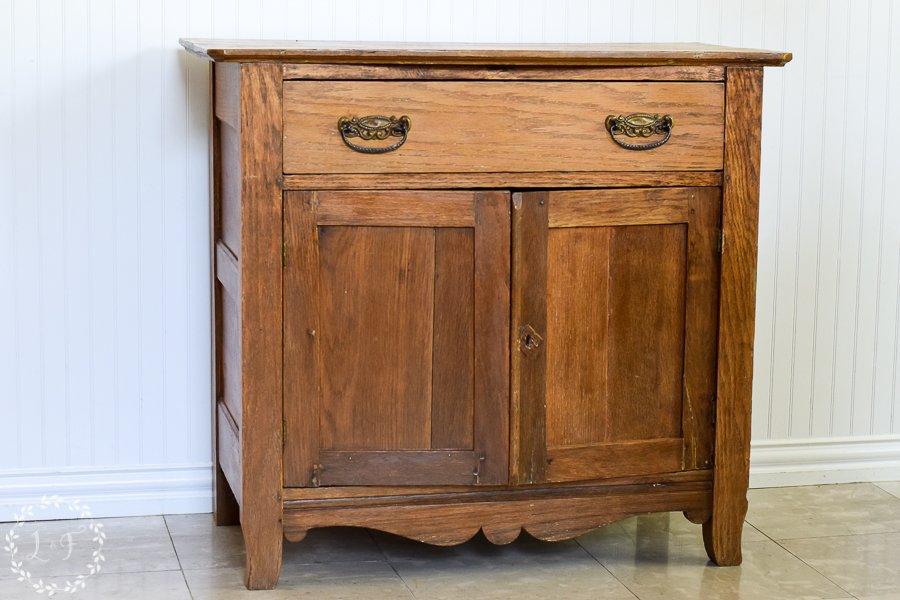
Milk Paint does a great job of letting some of the beautiful texture of oak show through the finish. And I like the dark wood, so if some of my milk paint chips and allows that pretty wood show up underneath, that’s a bonus!
If you would like to see some of the other oak pieces I’ve painted with milk paint, here’s a list: Bergere Washstand
Flow Blue and Artissimo Buffet
Prep
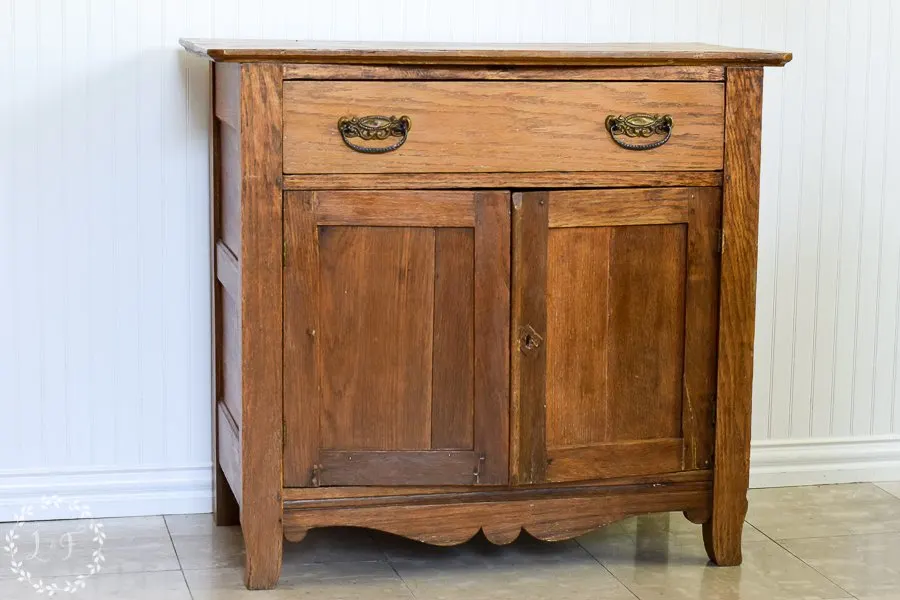
Your prep for milk paint always depends on the look you’re going for. If you’re working with a real wood surface and you want to let the milk paint chip and do its thing, then just give your piece a quick wipe down to get obvious dust and dirt off.
If you want to control the distressing or are concerned about the paint not adhering, then you can give the surface a quick scuff with some sandpaper. Oak has some good grip to it, generally, and I was ok with the milk paint chipping.
So for this piece I just wiped it down–that’s it!
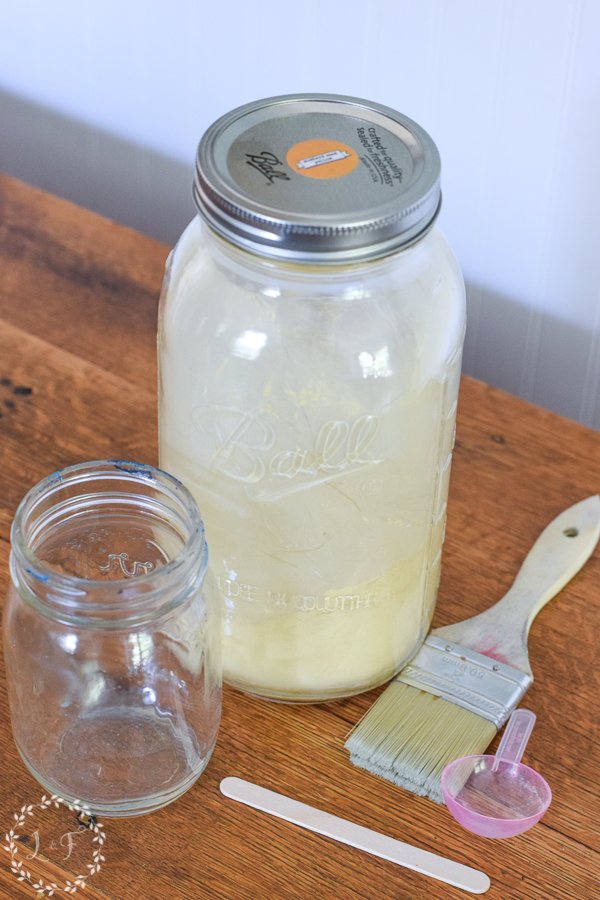
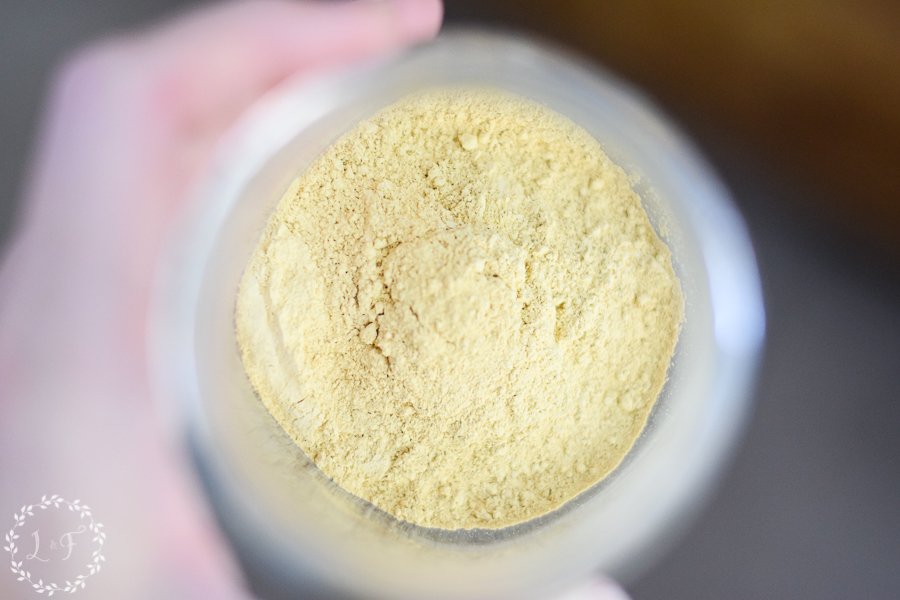
Mixing Milk Paint
I like to use a mason jar to mix my milk paint.
Measure up 1 part paint powder to 1 part water in your jar, close the lid tightly, then shake! Scrape the sides and bottom as well to make sure all the powder as dissolved.
Then I always recommend that you keep mixing your milk paint as you go, so it doesn’t begin to separate on you while you paint.
For this, piece, I chose Mustard Seed Yellow for my color.

The “Mildy Terrible” Coat
The first coat of milk paint always looks bad . . . So don’t freak out if you’re new to using it!
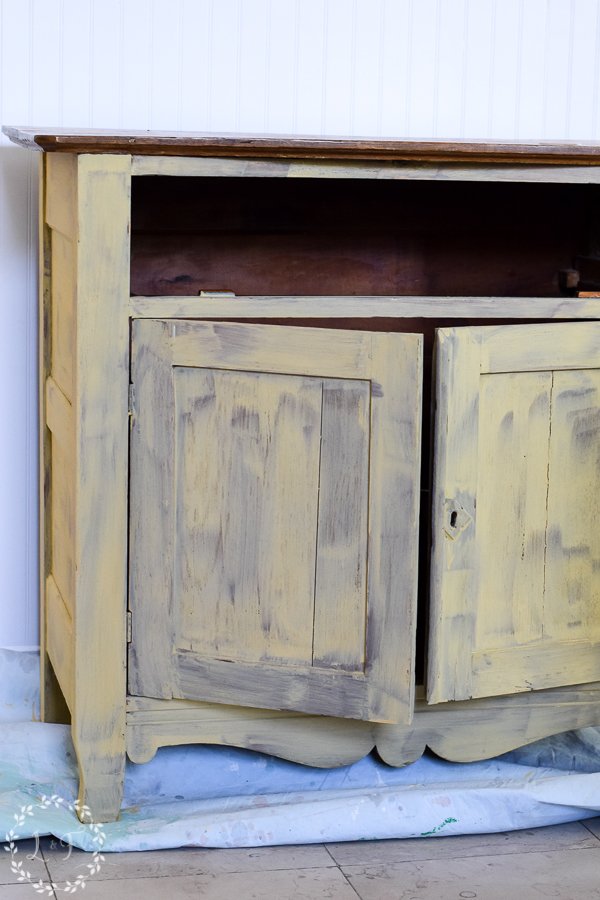

This was after the first coat of yellow. Some colors, of course, cover better than others.
But in general, your first coat always comes out mildly terrible.
Press on! Two more coats later, I distressed using a paint scraper and some sandpaper, then sealed up the finish by brushing on some Hemp Oil.
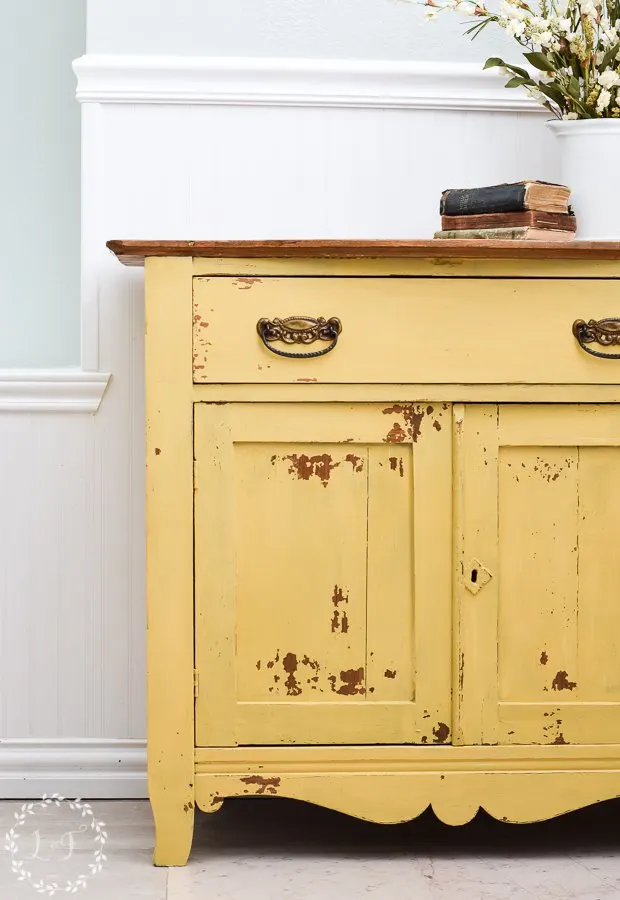
After Photos!

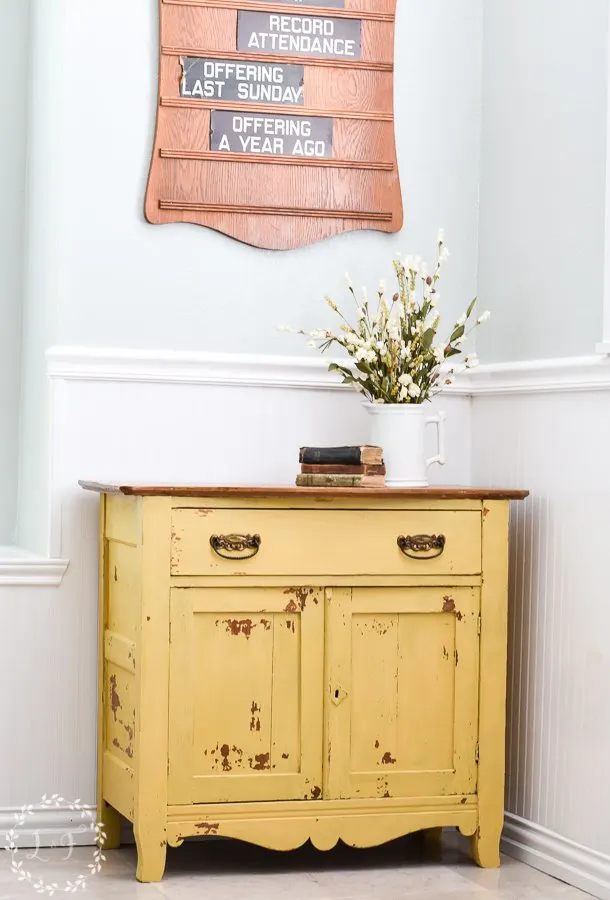
No more streaky yellow, nice full coverage! And look at all that great chipping!

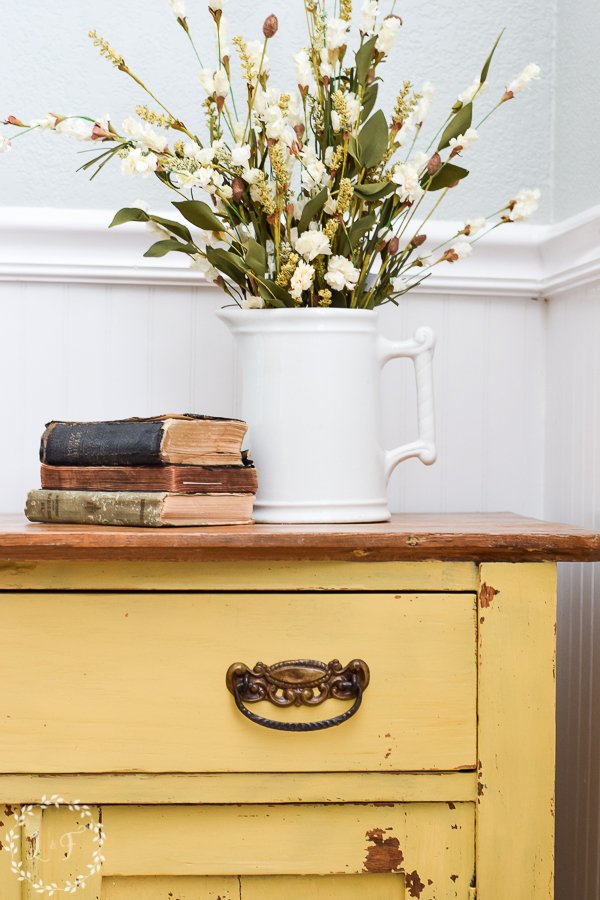

Because I didn’t have any prep to do and milk paint dries so quickly, this makeover took me less than 2 hours total (and that was with some breaks for coffee and laundry!).
That’s another thing I love about working with milk paint.
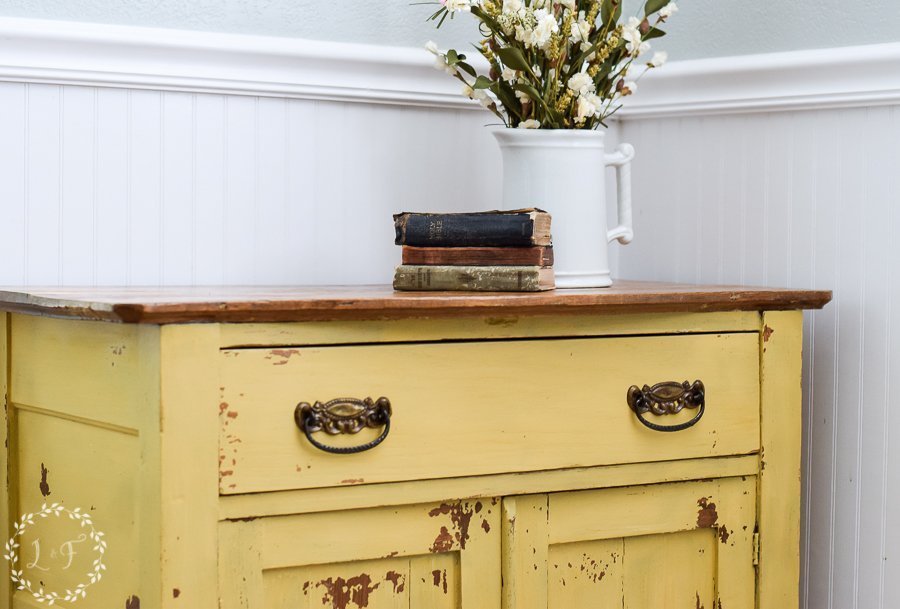
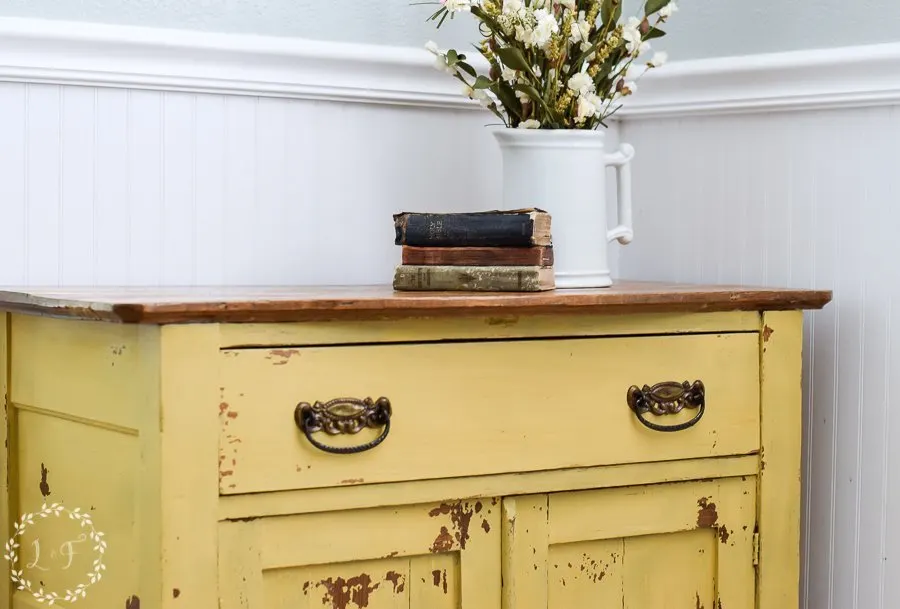
And actually, this piece has already sold in my Antique Company Mall retail space. 🙂


Thank you for joining me today!


Patsy
Wednesday 5th of December 2018
I did one that looks almost identical to yours ☺️