Last week I talked with you all about prep for painting furniture with Fusion, today I want to walk you through how to prep kitchen cabinets for Fusion Mineral Paint (have you heard of Fusion, yet?).
Kitchen cabinets (second to your kitchen table) are the hardest working pieces you have in your home, so you want to make sure and prep them the right way so your hard work of painting will have lasting durability and good results.
I’ve been working with my friend Caroline over the past few weeks on updating her kitchen some. I’ve already painted her kitchen table in Fusion Coal Black, and now I am starting to work on making over her kitchen island.
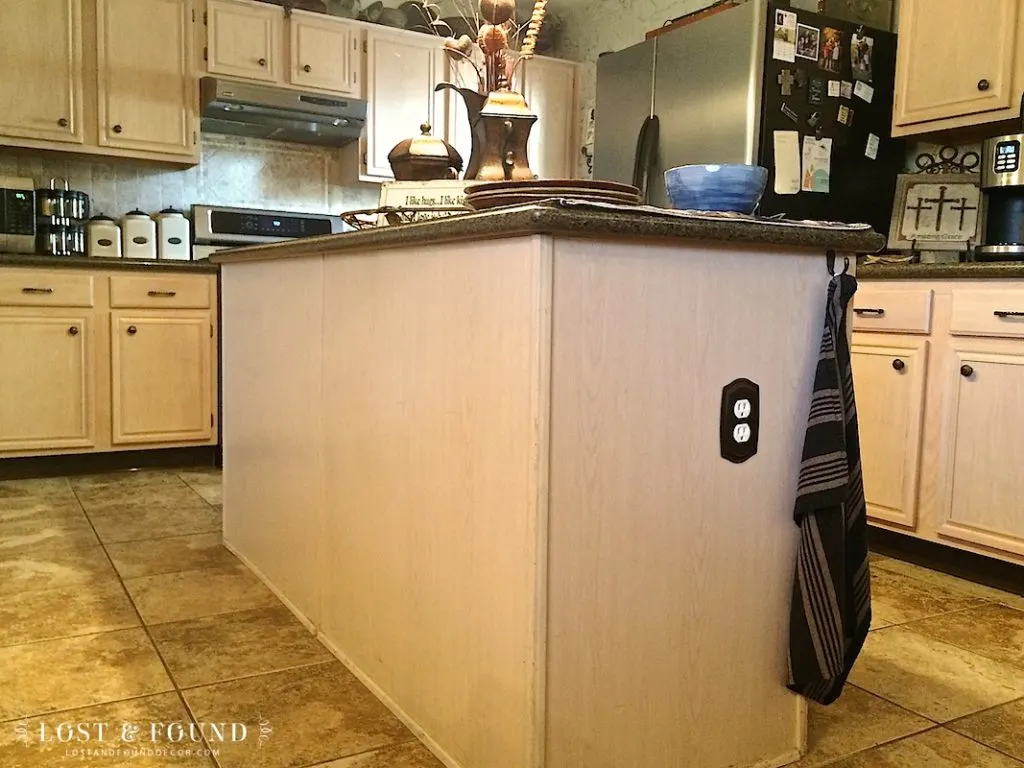
This island is huge and builder-grade boring. Caroline wants to beef it up some with custom moulding and add some contrast to her cabinetry by painting the island black.
So let’s walk through the steps I took to prep her island for its first coat of Fusion Coal Black paint.
Gather your Supplies
This post contains links to sites outside LostandFoundDecor.com. Product links are provided for your convenience and comply with all affiliate program regulations.
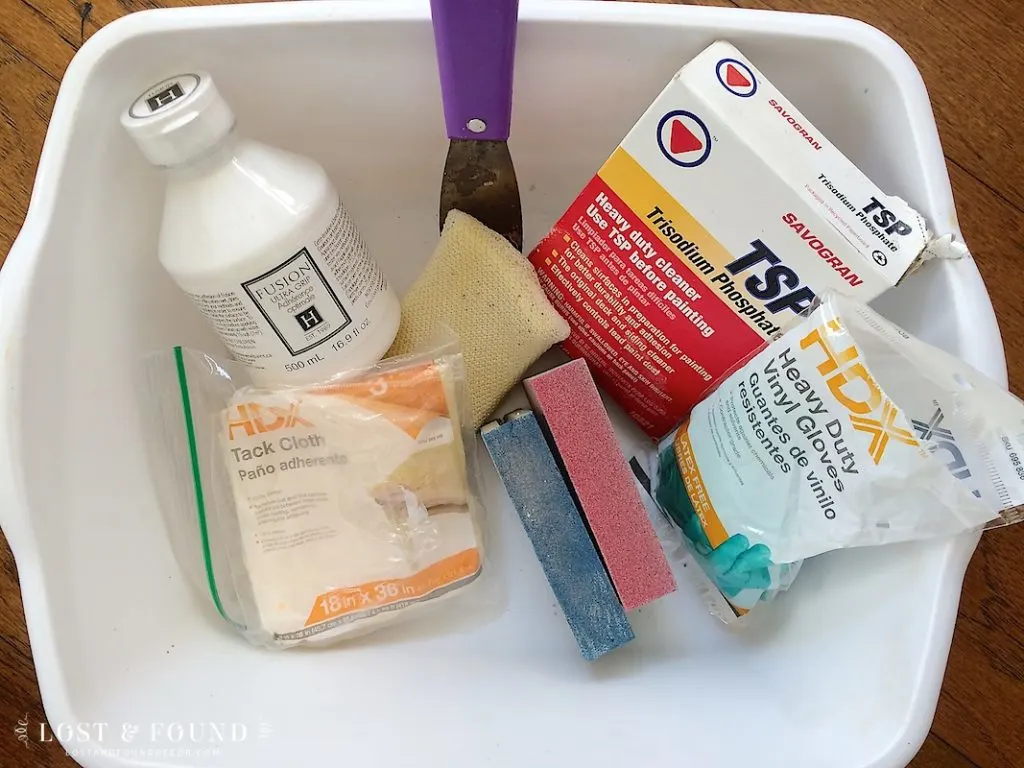
Here is my trusty plastic cleaning bucket filled with all my prep supplies:
Heavy duty cleaner (I’m using hardware store TSP, or try eco-friendly Fusion TSP )
Scrubbing sponge (These are my favorites to use!)
Vinyl gloves
Sanding blocks (or sandpaper) in a medium grit
Paint scraper
Clean Cabinet Surface
Even though you may wipe down your cabinets regularly, don’t be fooled into thinking they are clean! Grease, dust, and food remnants sneakily build up on your cabinetry over time and a quick wipe-down isn’t enough to get them squeaky clean.
Removing all traces of grease, dust, and food is a really important step in your prep process. For starters, any lumps of dried food will show up as lumps under your painted surface. And second, grease acts as a resist and will keep your paint from adhering properly to the cabinet surface–plus, it’s just gross!
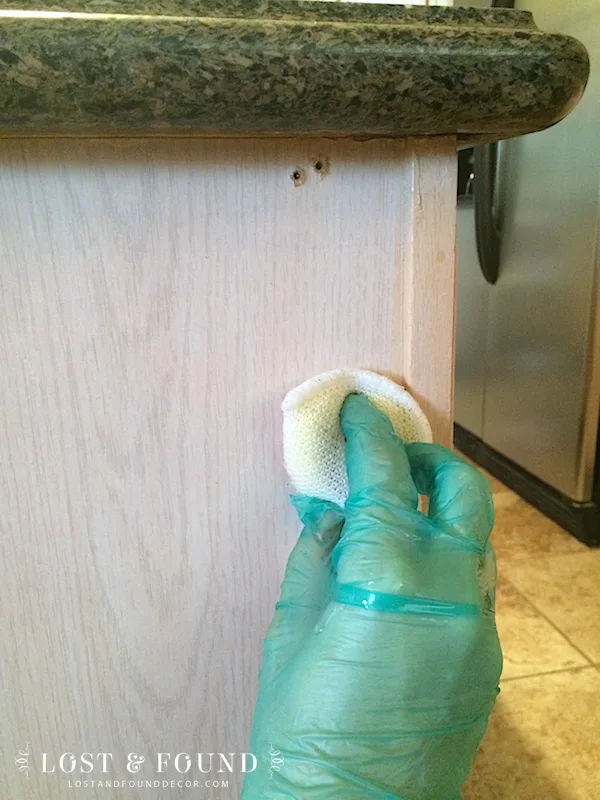
To clean the cabinets, mix up your cleaner according to the package directions, and scrub vigorously with a scrubbing sponge (I’m using a Dobi sponge, you can buy at any grocery store or Wal-Mart).
After scrubbing, I also scrape the whole surface with my paint scraper to remove extra grease and build-up the sponge doesn’t get. I promise, you will be amazed and how nasty your cabinets really are when you see that dark water dripping down after you scrape them!
Once your satisfied that they are all the way clean, wipe them down with a damp rag.
Sand Lightly
When I’m using Fusion to paint cabinets, I do not sand them near as much as when I am prepping to paint with a latex or ooil-basedpaint. Why? Simply because the Fusion adheres better.
A quick sanding is still important though to open up the surface of the cabinet and also remove any leftover grease buildup you may have missed while cleaning.
I use a medium grit sanding block (150) and sand quickly over the whole surface. If the cabinets are real wood, be sure to sand in direction of the wood grain. If they are laminate wood (like this kitchen island was), it really doesn’t matter what direction you sand–just be sure to get the whole surface.
Once sanded, wipe down the surface with a tack cloth to remove all sanding dust. I also find vacuuming off the surface with my brush vacuum attachment helpful in removing sanding dust that built up in the corners.
Apply Ultra Grip
Fusion Ultra Grip is 100% pure acrylic resin that you can apply to particularly tricky surfaces to help them grip paint better. It’s a product that I tend to save for my hardest to paint pieces (think IKEA furniture), but I often also use it on kitchen cabinets.
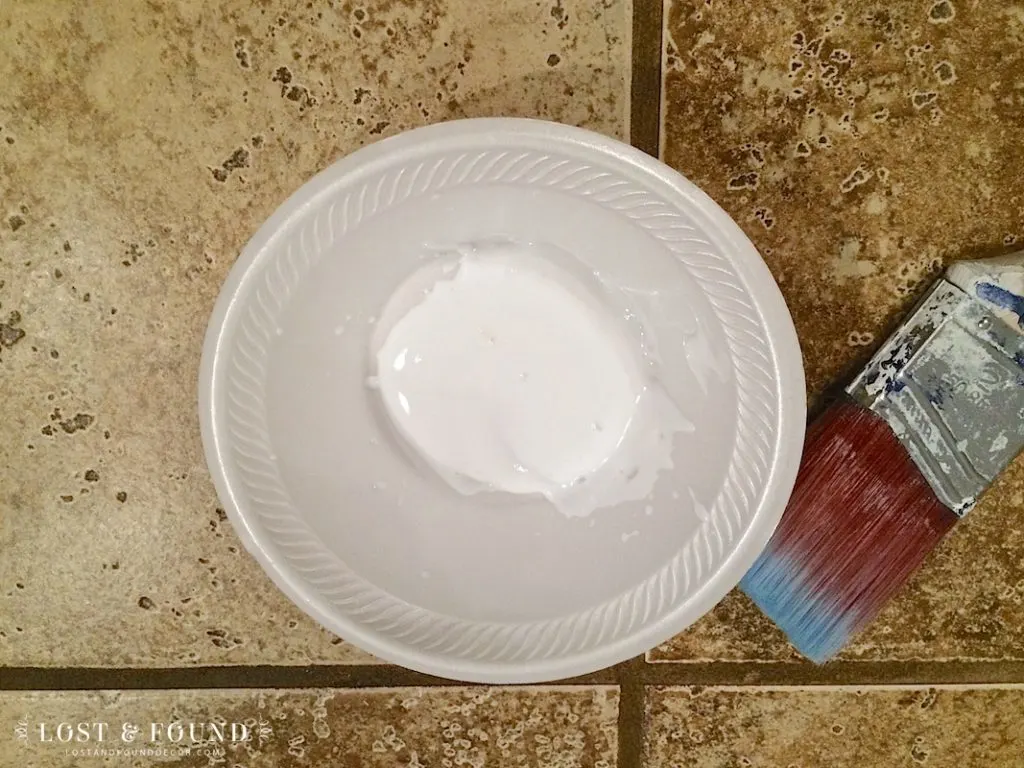
Most builder-grade cabinets are made like so: solid wood doors, drawers, and faces, but laminate sides and backs. Your wood surfaces are going to be just fine without the Ultra Grip, but you will need to apply it on any of the laminate surfaces.
For this project, I applied the Ultra Grip on the back and sides of the island. Those pieces were made of pressed wood with laminate sheeting on top–Ultra Grip would help the Fusion adhere to that super slick surface!
The Ultra Grip paints on a milky white and dries clear.
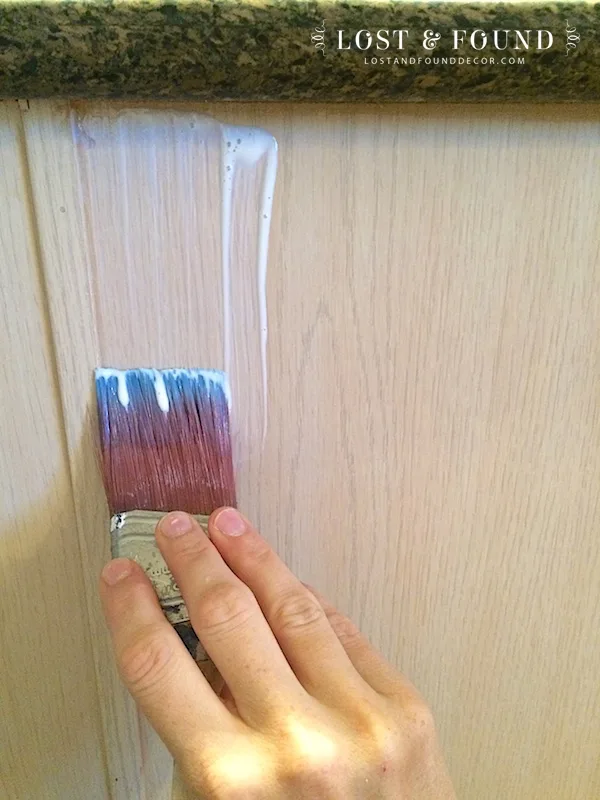
Paint it on just like you do your paint, and let it dry overnight. A thin coat is sufficient! Fusion has done time studies showing that the longer you let the Ultra Grip cure before painting on your paint makes a big difference in how much it helps with the paint’s durability.
And you’re finished with your prep!
For Caroline’s island, the prep took me about 30 minutes total. Of course, I’m only painting the back and the sides, so I don’t have doors to deal with (which considerably ups the amount of surface you have to prep). Half an hour on the front end though is going to result in a much better-finished product for Caroline, so it was time well spent!
I am waiting on some newel posts to be delivered from Home Depot in order to start working on adding the molding and trim to her cabinet. Hopefully, by the end of the week, they will be here and I can walk you through that process as well. Until then, Happy Painting 🙂
Wanna see the final photos of the makeover? Click here!
And as always you can shop for all the products I used here in my 2 Dallas area local shops, or with me in my fully stocked online shop for fast shipping right to your door!


Chalk Paint vs Fusion Mineral Paint | What's the Difference? | Lost & Found
Wednesday 31st of August 2016
[…] How to Prep Cabinetry for Painting with Fusion […]
Kelly
Sunday 14th of August 2016
I have white metal kitchen cabinets that need to be painted. I would like to keep the glossy look but I am open to any ideas.
Charlene
Thursday 4th of August 2016
I do not like all of the brush strokes fusion paint leaves!!!! Very disappointed with this product. I have tried 6 different techniques for applying and all left brush strokes. It is NOT self leveling!!!
Melanie
Sunday 7th of August 2016
I'm sorry to hear that Charlene. Some colors (because of the different amount/types of pigments in them) do tend to show strokes more than others. My favorites to use by far are the grays and blues of the line, I find they are very smooth.
Sandra
Tuesday 31st of May 2016
Are the steps to remove fission paint the same as removing other paint? I'm one for painting and changing color ever few years. Depending on the furniture piece and where I use it.
Melanie
Friday 3rd of June 2016
In general yes Sandra, you remove Fusion you can sand it off or use a chemical stripper.
Which Paint Works Best for Kitchen and Bath Cabinets? | Lost & Found
Sunday 8th of May 2016
[…] prep for painting cabinets with Fusion is similar to the prep for using the BM Advance, but slightly less […]