Hey friends!!
I’ve got a furniture makeover for you today!
I know it’s been a while…thanks for sticking around 🙂
The “Before”
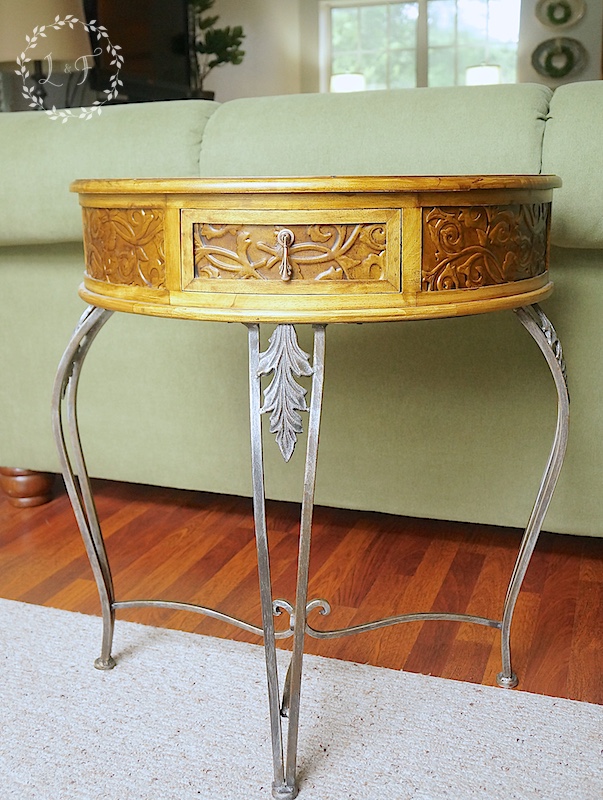

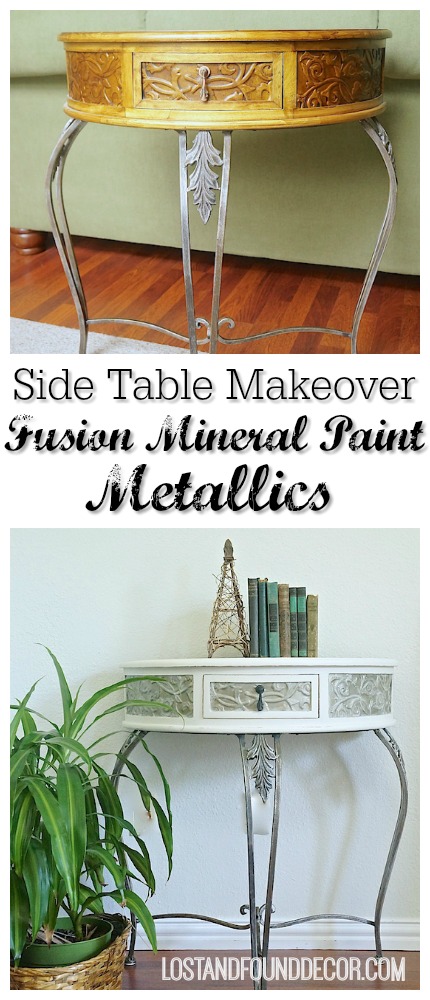
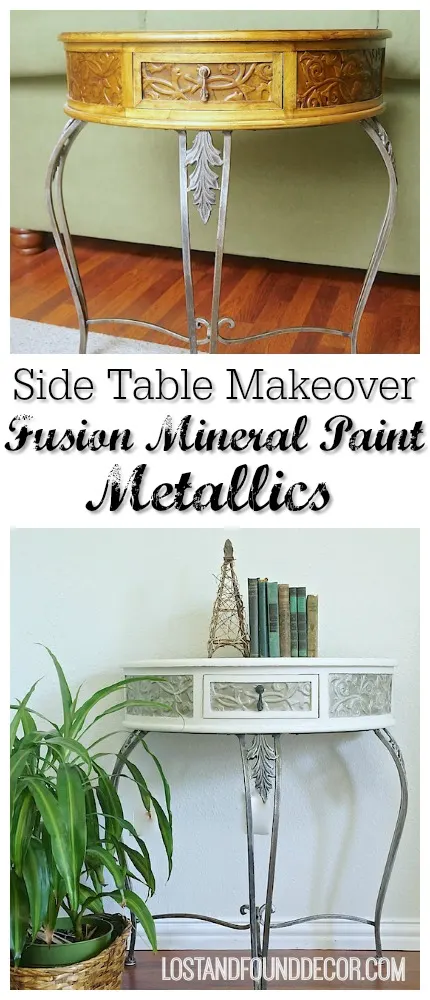
A custom work client of mine was interested in changing up the look of this small, side table she has in her hallway.
She was doing some re-decorating, and wanted the orangey-top on this piece to go away–which don’t you think it makes no sense in the first place?
That orange wood with the metallic legs?
Anyway . . . She wasn’t 100% sure what she wanted, but knew she wanted the wood top to be white and those panel insets along the side of the top to stand out more.
The two projects I’ve done in the past for her were the Champlain China Cabinet and the Faux Mirrored Nightstand. We decided to sort-of combine those two looks onto this one table.
Looking at it, you wouldn’t think this table needed much prep work, but looks can be deceiving!
This table is a great example of why I always say to clean and degrease your pieces before you ever apply any paint! It was likely that layers of dusting with pledge, built up over time, and left this table top with a nice layer of greasy wax.
I sprayed on some half vinegar/half water mix, and gave it a light scrub . . . All that yucky grease started rolling up on top of the wood’s surface.
Had I not taken the few minutes to wipe down the piece, that greasy wax would have resisted my paint and it would have scratched off easily.
So, lesson learned! Even if a piece looks nice and clean, always take a few minutes to de-grease it before you paint.
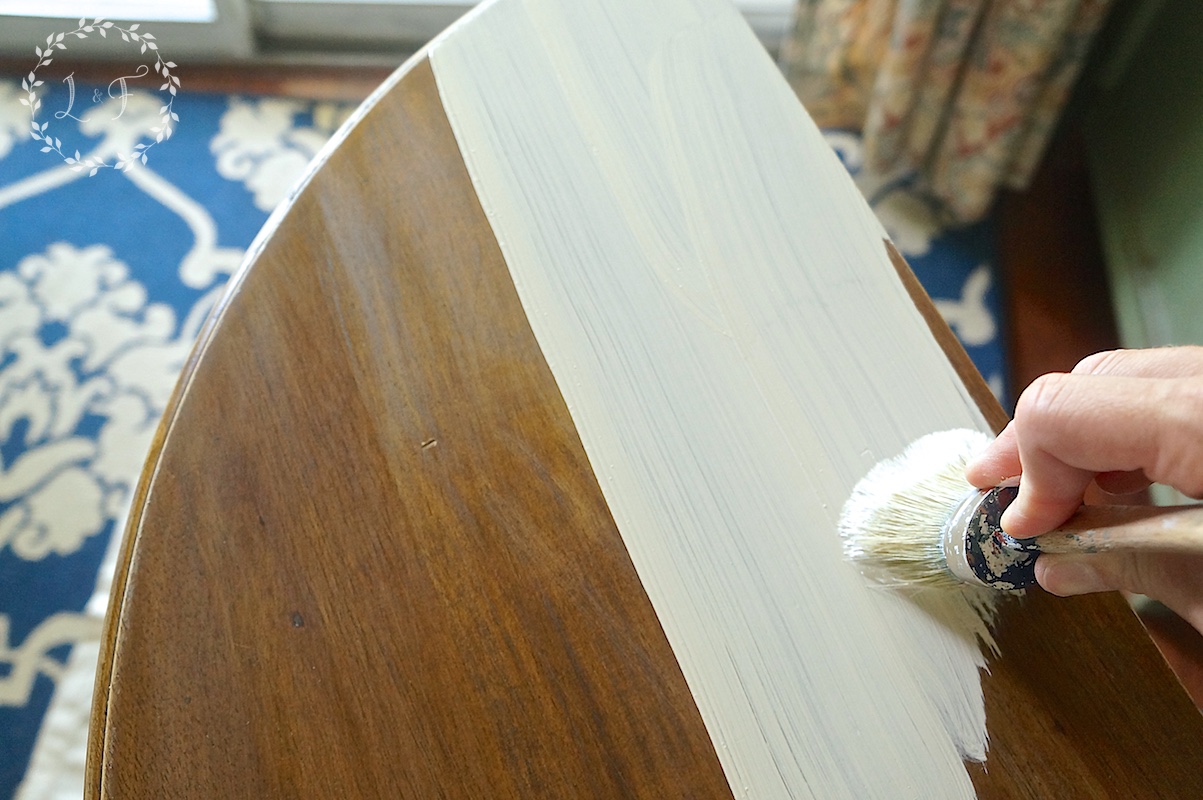

Once it was clean, I gave it a very quick, light sanding and then started with my Champlain–which by the way is my go-to white. It’s clean and crisp, but not too bright, and not too yellowy.
On those paneled inserts, for some contrast I painted on two coats of Fusion’s Bedford, using a small craft brush.
I love Bedford too . . . it’s a beautiful, warm gray.
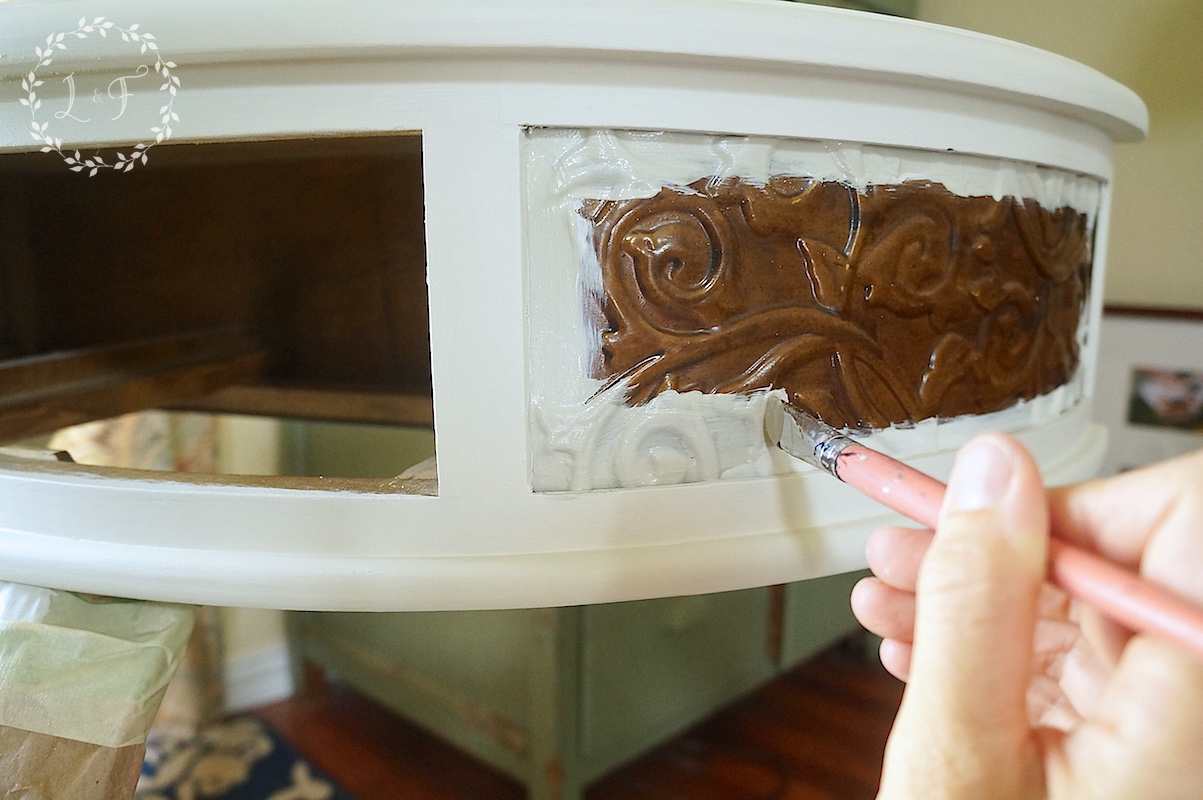

The contrast doesn’t look like much, but trust me–once it dries it’s a much darker color.
*Side note–I forgot to mention I did paint on a base coat of Ultra Grip on these panels, since they are metal, just to give the paint some more grip.
It probably wasn’t necessary since these panels won’t really ever touch anything, but I had some on hand, and I figured better safe than sorry.
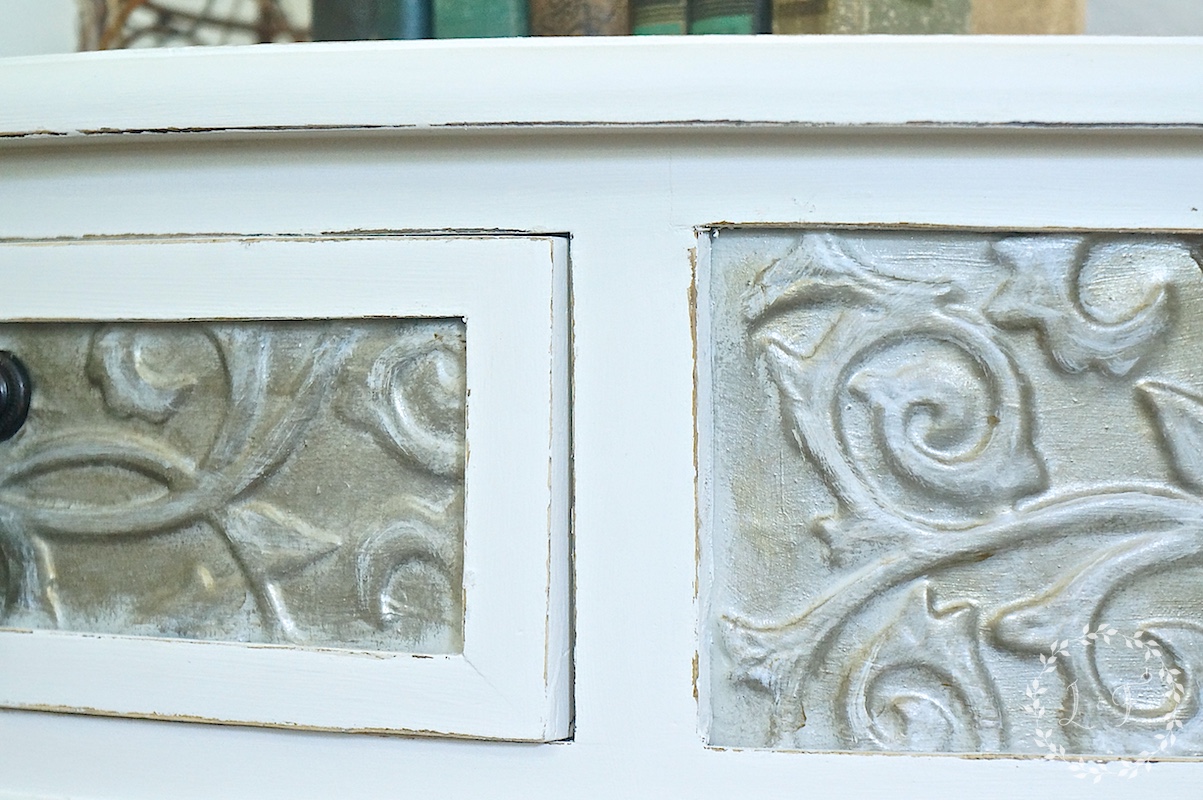
After the Bedford dried, it was time to add some visual depth with the metallics.
Step 1
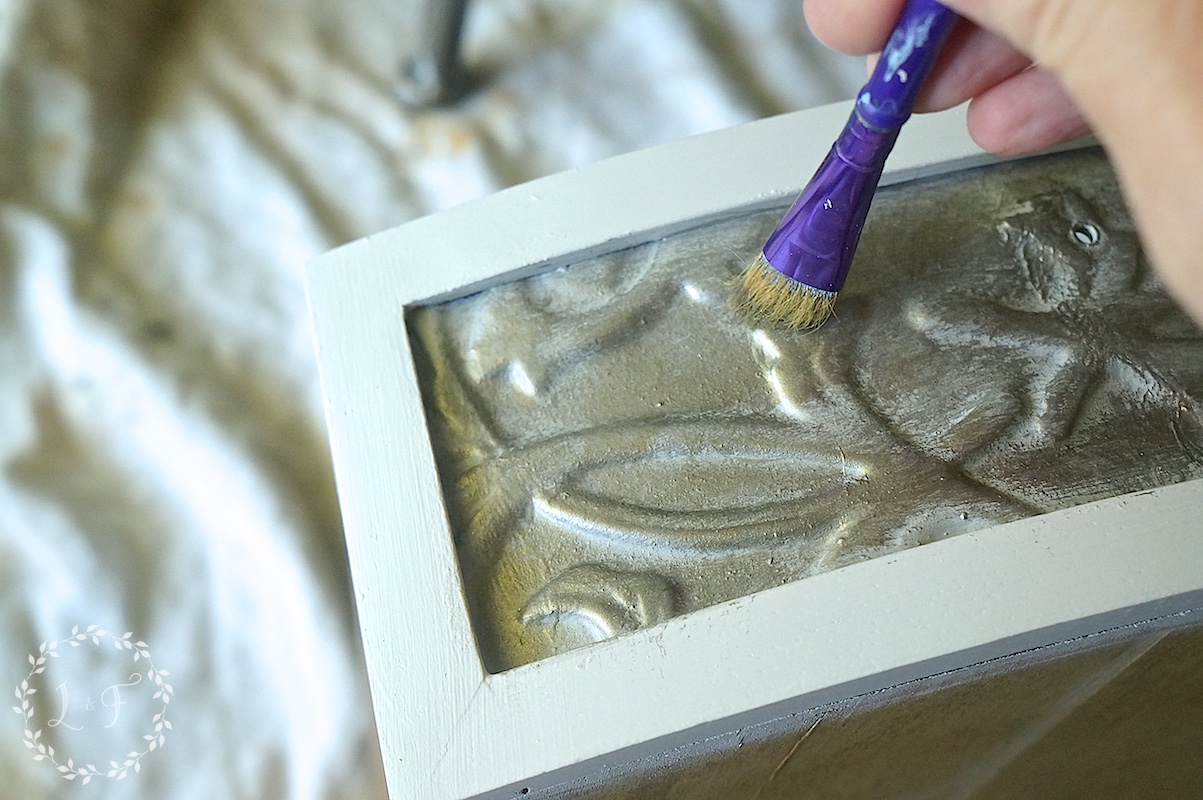
The first step was to dry brush on some metallic paint in Brushed Steel.

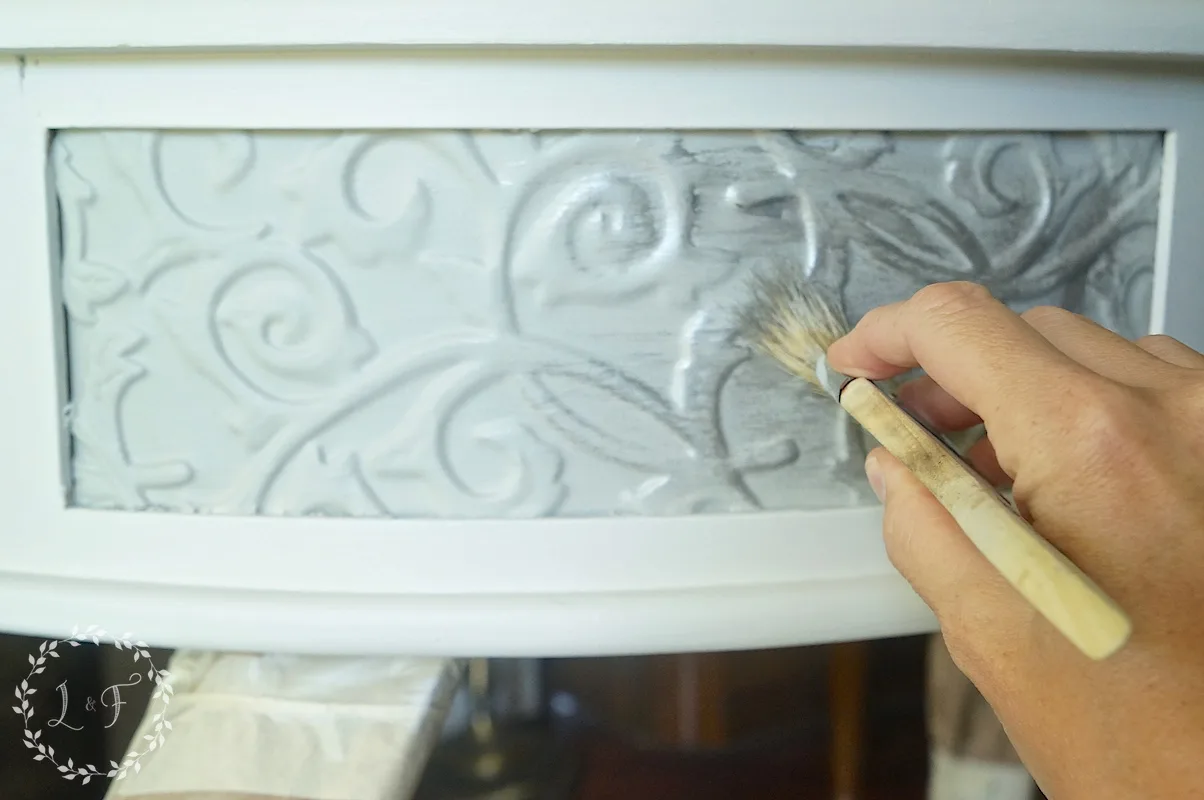
The Brushed Steel is a little bit darker than the plain Fusion Silver color, and I really like the tone it has. I worked it onto the panel a little at a time, until I got the coverage I was happy with.
Step 2
Then, with a small craft brush again, I went back and added in a tiny bit of the Fusion Bronze, again using a dry-brush technique to dab it onto random spots.

Step #3
I wanted to highlight the vine pattern a little more, so I went back with the tiniest of brushes and lightly painted the raised vines with Champlain.

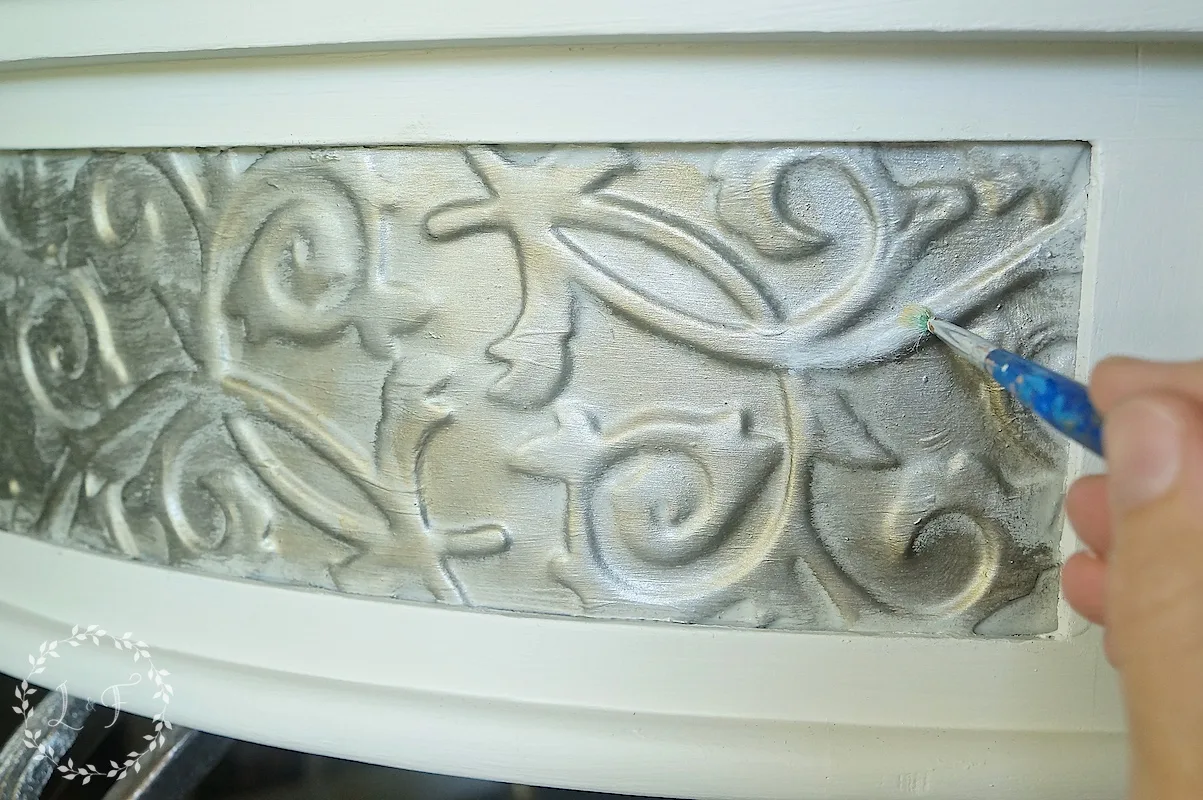
I kept a wet rag handy during this process, in case I needed to wipe off any paint that went on too heavy.
After these 3 layers were dry, I decided the panels needed to be a tad bit darker, overall, to better coordinate with the tone of the metal base legs.
So I rubbed some Antique Glaze over each panel to warm it up a bit.
With painting like this, you have to let it kind of evolve as you go . . . I don’t mean that in some weird, mystic way, like “let the paint speak to you” or “get in touch with the feelings of the piece”–haha!
It’s just that I usually start with a loose plan in my head, but then I always wind up tweaking it along the way as I see how the finish is turning out.
Don’t be afraid to play around with your pieces! I knew if it turned out terrible, I could just sand it and start over again 🙂
The “After”
So here is the finished table, once everything was dry, and I did some light distressing on the wood top:
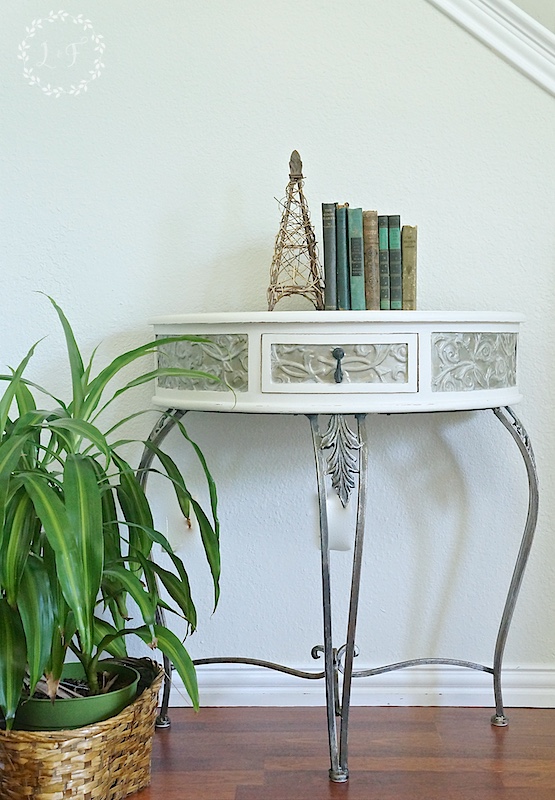

No more orange wood top! Don’t you think that this goes much better with those legs?


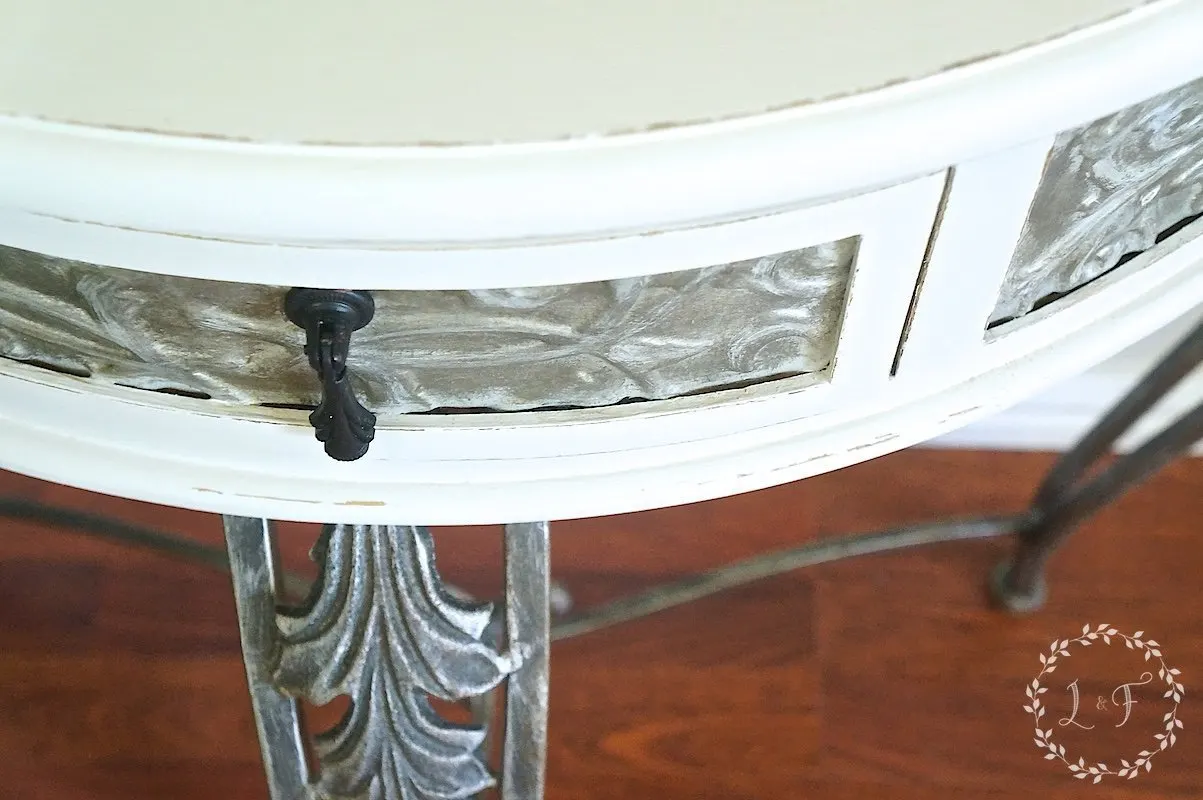
Look at that perfect, creamy, Champlain white . . . Love it!

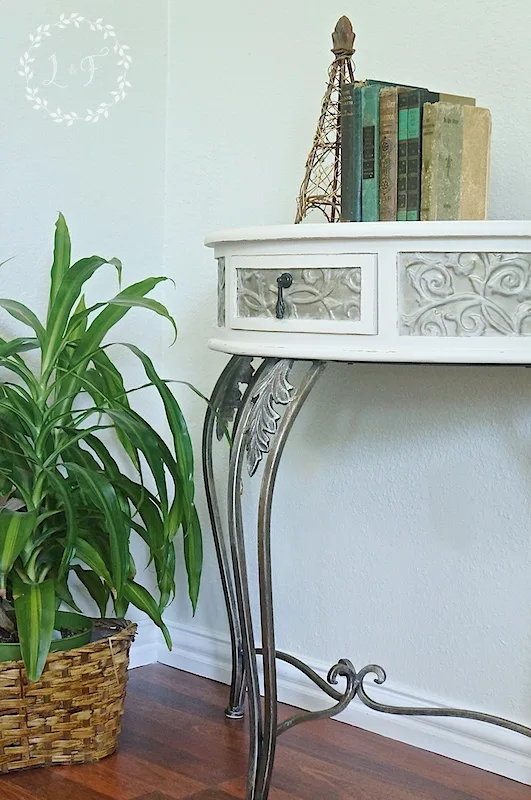
Just a little mild distressing along the edges was all this piece needed.
Don’t go overboard and start sanding big spots in the middle of your piece! Take it slow with the sandpaper 🙂
I staged this piece with a collection of books from my stash that I found at the abandoned house. I’m telling y’all . . . I have books coming out my ears!


My client is on her way to pick up this table as we speak . . . So I’m off! I hope you enjoyed this makeover though, and maybe that it has inspired you to play around with your paint a little bit more.
Happy Painting!


[/et_pb_text][/et_pb_column][/et_pb_row][/et_pb_section]

Jackie B
Thursday 21st of July 2016
It looks fabulous and much larger in the new color! Great job!
Melanie
Saturday 23rd of July 2016
Thanks Jackie!
Jackie B
Thursday 21st of July 2016
It looks fabulous and much larger in the new color! Great job!
Melanie
Saturday 23rd of July 2016
Thanks Jackie!
Jan
Thursday 21st of July 2016
Great job, very pretty!
Melanie
Thursday 21st of July 2016
Thanks so much Jan!
Jan
Thursday 21st of July 2016
Great job, very pretty!
Melanie
Thursday 21st of July 2016
Thanks so much Jan!
Lisa
Wednesday 20th of July 2016
Beautiful!!!!
Melanie
Thursday 21st of July 2016
Thank you Lisa. I appreciate you stopping by :)