A while back a friend posted on Facebook that she was giving away a vintage Dixie bedroom set–a full-size bed with headboard and footboard, along with a chest of drawers.
I waited for a bit (I think maybe a day) before I commented that I would gladly take it, to make sure I didn’t take it away from someone who truly needed a free set of furniture.
After 24 hours though I had no remorse taking it off her hands 🙂
As we were coordinating a time for me to come pick it up though, she told me about how the furniture had belonged to her grandmother and had been passed down from generation to generation.
She said she really was quite fond of the set, but just thought it looked too out of date.
Feeling that little nudge inside, I asked her had she considered having the set painted . . . Well, you can probably guess where this story goes next. My free bedroom set turned into a custom work project!
I sent her a few inspiration photos, and my friend quickly settled on a distressed red for the 2 pieces
She was so excited to be able to keep her grandmother’s furniture and have it feel more in style with the rest of her home–it was a win-win for everyone.
Today I want to show you just the dresser (a bed is just too darn hard to stage and photograph!) show you 3 tips for painting red furniture.
3 Tips for Painting Red Furniture
Red is just one of those colors that takes a little more work, and I learned a few things while painting this set I’d like to pass on.
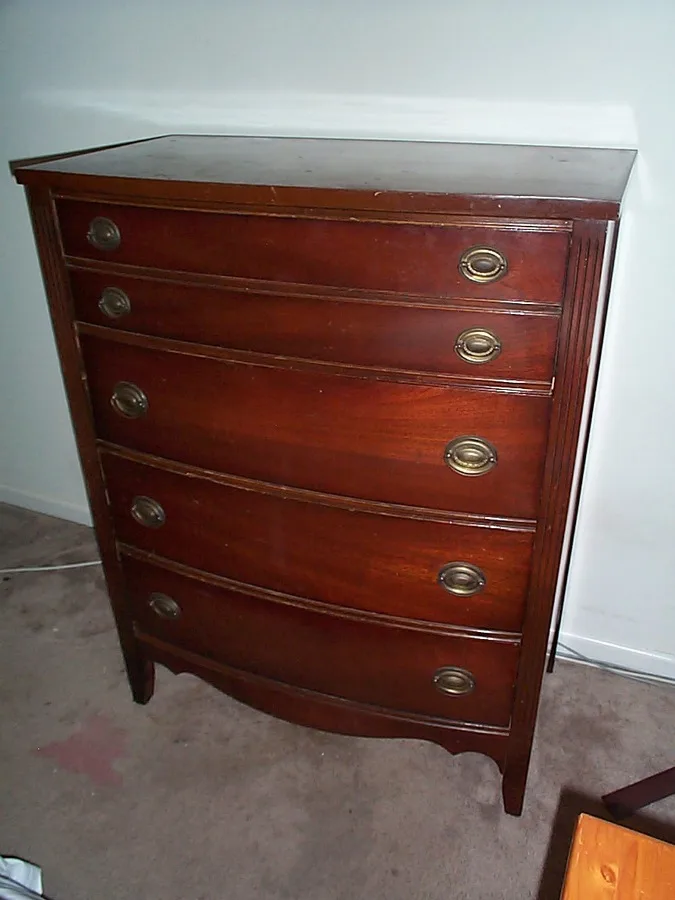
I don’t have a true before photo of the dresser, but it looked almost exactly like this one:

It needed a good cleaning, so I cleaned it thoroughly with Fusion’s TSP.
Some of the old varnish started rubbing off in the process of cleaning it, so I ended up giving the whole piece a good sanding to smooth out the original finish.
Sanding it exposed some of the reddish-tint wood underneath– Bleeder alert!!
That reddish wood tends to bleed through paint.
No worries though! Remember this piece was going red, so a little wood bleed through wouldn’t even show up.
Fusion’s Ft. York Red was a little brighter than my friend wanted, so I mixed in a little Fusion Chocolate to darken up the tone a bit.
So here is lesson 1 about painting red:
1: The brighter the red, the more coats involved. Darken the red tone to get better coverage.
A burgundy will be easier to paint than a firetruck red.
The darker pigments will help paint have better coverage.
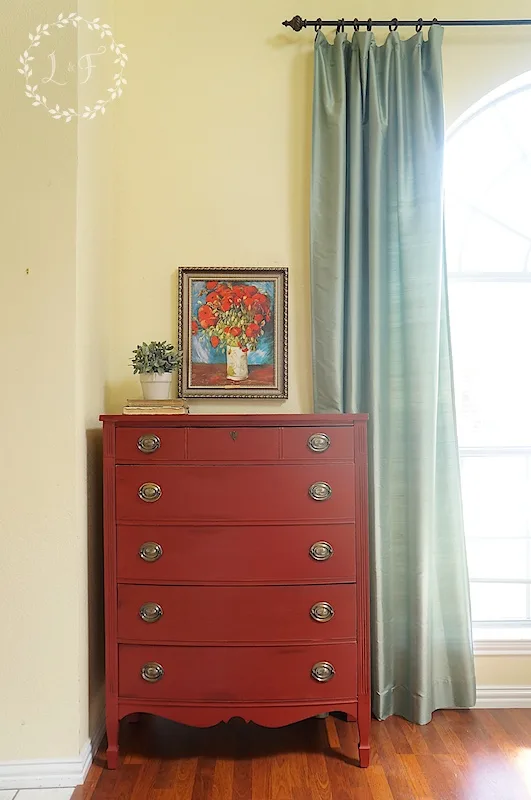
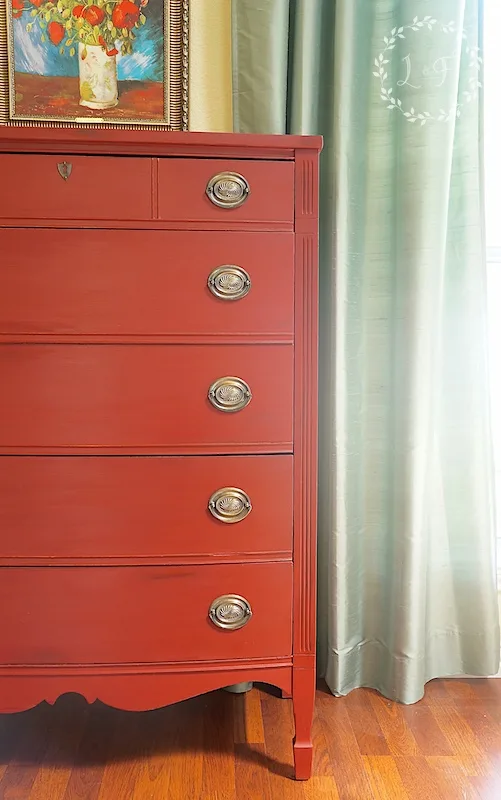
Despite darkening up the Ft. York Red a bit, both the bed and dresser still took 3 coats to get full coverage. Here is the dresser all finished:

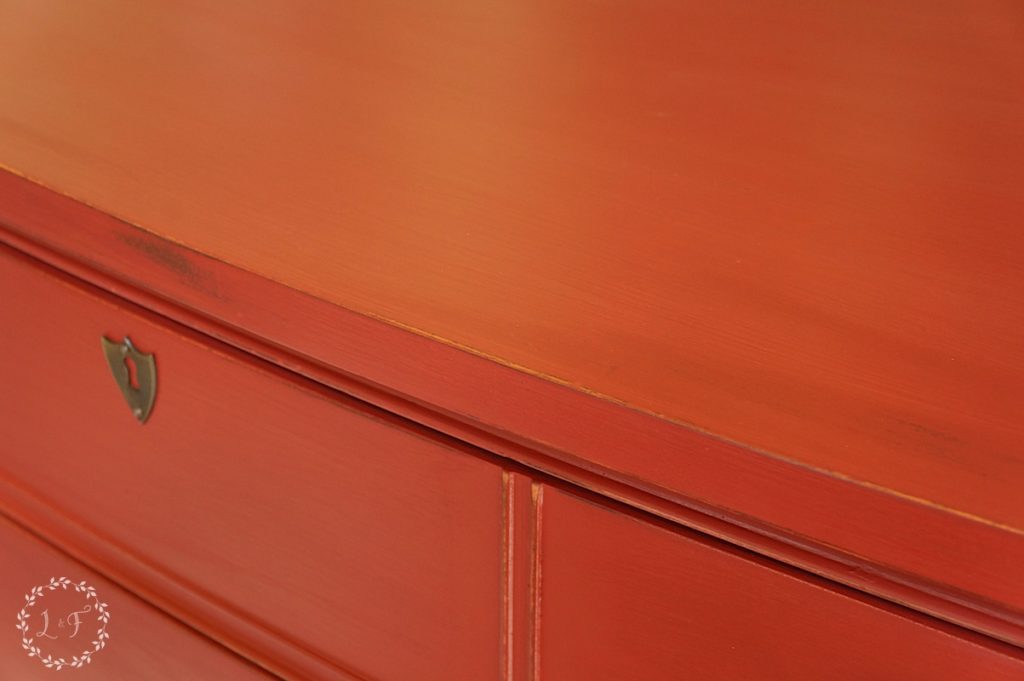
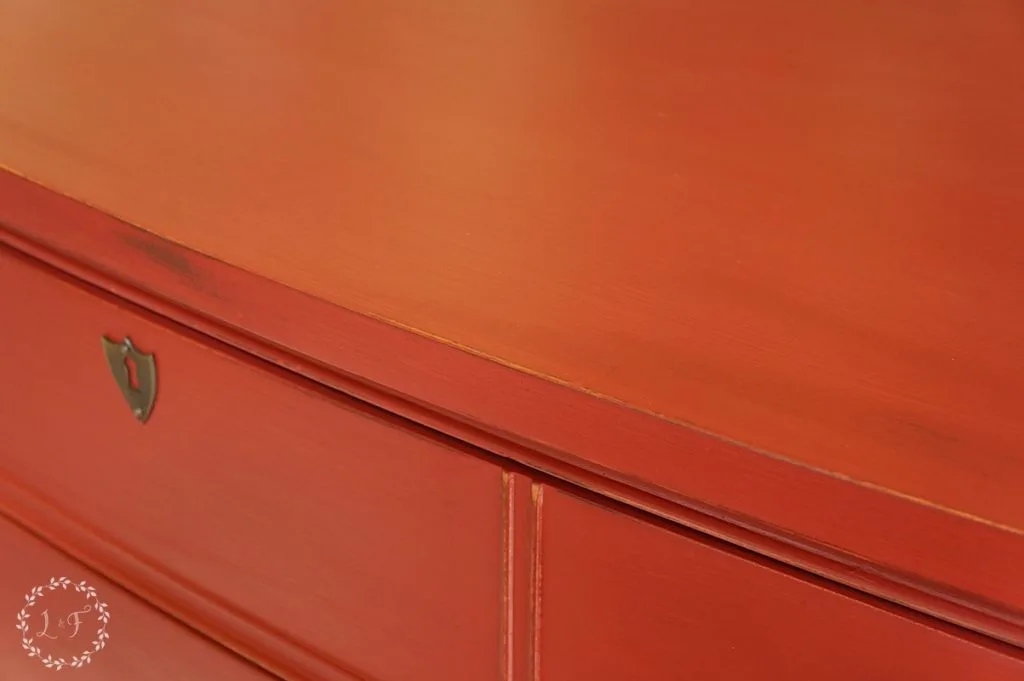
Can you see the places on the drawers that look kinda splotchy?
Up close, those are places where the finish is distressed and the wood shows up underneath, which leads me to my second lesson about painting red:
2. When distressing red, use more water and less sandpaper.
Bright colors (think anything with a neon-y tone to it) and reds tend to get streaky when you sand them.
It has to do with those bright pigments and the way they react to the friction.
The best way to combat this and not get a streaky finish is to use a fine-grit sandpaper that you have sprayed down with water.

If you are wanting to heavily distress a red painted piece, a “wet distress” method will work better than sanding.
When you wet distress, you want to begin to distress the piece right after the last coat of paint dries to the touch.
Use a wet rag and/or a spray bottle with water and rub vigorously until you start removing some of the paint.
You can still use fine-grit sandpaper when you wet distress also, just make sure it is a very wet piece.
Again, more water, less sandpaper.
This dresser got a pretty good soaking while I was working on distressing it.
I kept a spray bottle of water in one hand, a rough rag in another, and then a clean rag in my back pocket.
After I distressed an area I went back and wiped the area thoroughly with my clean rag to clean up the paint that had rubbed off along with any drip marks.
Even with wet distressing though and wet sanding, once you take anything to a red piece, your finish will be less smooth.
How to get that smooth look back is my lesson 3:
3. Topcoat red with wax.

Yes, Fusion is a no-wax furniture paint.
Since it’s an acrylic paint rather than a chalk-type paint, it doesn’t ever have to be sealed with a wax or other topcoat.
But, there are a few situations where a light layer of wax will really benefit your piece, and a distressed red is one of those.
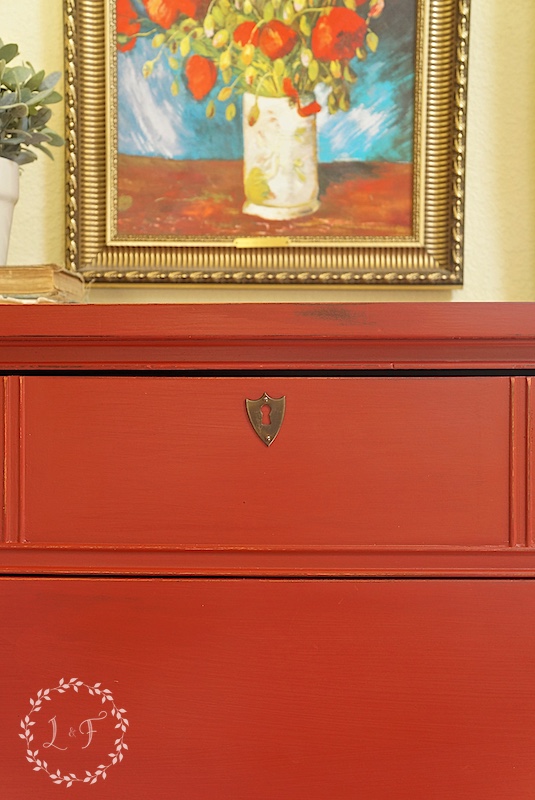
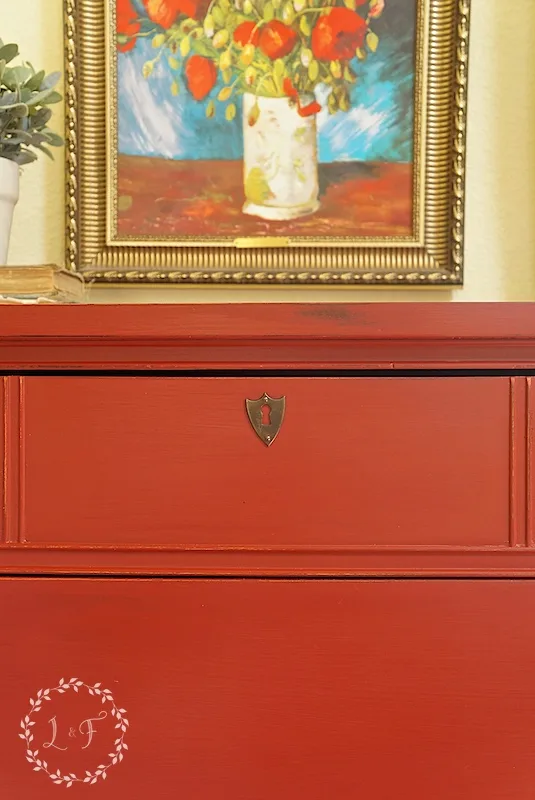
Rubbing on a light layer of the Fusion Beeswax Finish took away 99% of the red’s streakiness after I had worked it over to distress it. I’m ok with 99%, after all, this is a distressed piece!
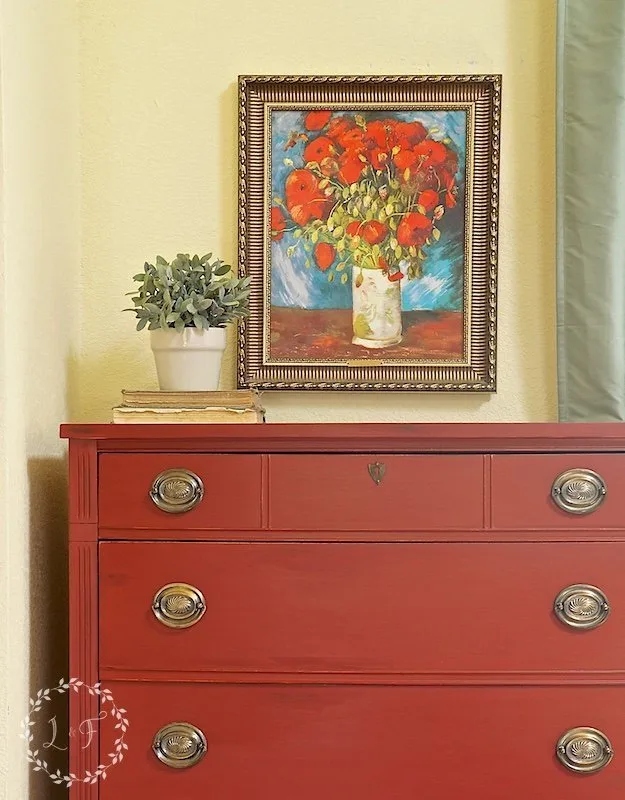
And with a little buffing, the finish is now super smooth.
I wish honestly you could reach through the screen and touch this dresser . . . It feels like a factory-finished painted piece, so buttery smooth.
So there you have it!
Red is a great color to use if you want to add some “punch” to your furniture, but it does take a little extra work.
If you take the time to give your painted red pieces a little more TLC using my tips above though, you’ll come out with an awesome finished piece.
Pin this as a Resource!


And if you want to try out any of the Fusion products mentioned above, please come visit me in downtown Springdale, Arkansas, or shop with me online for shipping throughout the US!


Rebecca
Tuesday 11th of October 2016
I have two small dressers I'm wanting to try this on...have you done anything with the cranberry fusion yet??? And how would the antiquing wax tone down a red vs mixing with brown...this is going to be a first project
Melanie
Thursday 13th of October 2016
Hi Rebecca! I haven't used Cranberry yet except to paint a small test stick. I can say though it has enough darker pigment in it though that it paints much easier than the Ft. York, and I am guessing it wouldn't have the streaking issues when sanding. If I was going to antique it, I would definitely use the Fusion Antique Glaze and not an antique wax though. Fusion doesn't soak up wax like a chalk paint does, so the wax sits on the surface more. And I have found the glaze to be so much easier to use than the wax. The glaze really looks great on everything, I would say it's a matter of your personal preference! You could always paint a small test board and try out both looks.
Susie from The Chelsea Project
Tuesday 12th of July 2016
So thrilled you linked this post about reds at Friday's Furniture Fix. I pinned it back in March, but am sending it out again. The lesson about working with red is epic. Thanks again. Susie from The Chelsea Project
Claire
Wednesday 23rd of March 2016
Love the colour it reminds me of the antique Chinese red lacquer furniture my parents have.
Claire
Wednesday 23rd of March 2016
Love the colour it reminds me of the antique Chinese red lacquer furniture my parents have.
Melanie
Thursday 24th of March 2016
Thanks Claire! Yes, I can picture that furniture in my mind right now :)