Have you ever been working on a piece of furniture and you find that your paint isn’t sticking?
I have! And it’s super frustrating.
I’ve got good news though! Usually it’s a pretty easy problem to fix.
Today I want to tackle one of the biggest reasons—in my experience—why your paint may not be sticking to a basic wood furniture piece.
And it is . . .
Dirt, grease, or grime that’s hiding on the surface of your furniture. Ick.
And I hate to be the bearer of bad news, but your furniture is probably dirtier than you think!
Years of oils from hands touching the finish, or grease in the air from cooking that settles onto the surface, or even hundreds of sprays of Pledge can leave a built-up layer of grime that you may not immediately notice.
And all of those things can keep your paint from adhering well.
So… one of the most important things you can do to help your painted furniture finish be durable and long lasting is to properly clean your furniture before you ever put your paintbrush to it.
I have found this to be especially important for any furniture that’s been in a kitchen or has come into lots of hand contact over the years (think kitchen tables, dining chairs, armrests, or areas around drawer pulls).
Today I want to share how I make sure my pieces are grime-free and a few of my favorite products that will help get your surface squeaky clean.


Get the Right Tools
My favorite scrubber to use for cleaning my pieces is a Dobie sponge.
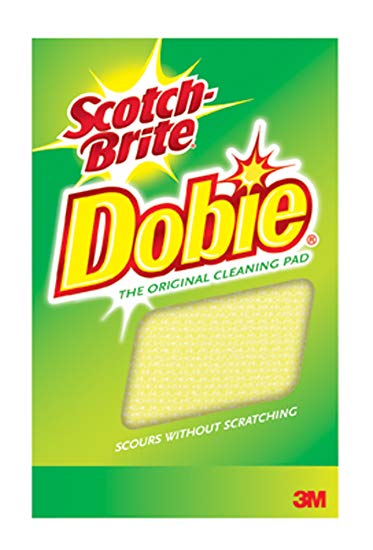

You can find these at any local grocery store, or here on Amazon. They have just enough grit to give the finish a good scrub, but not enough to leave scratches behind.
As for a cleaner, you want to be sure to use something that is a degreasing product.
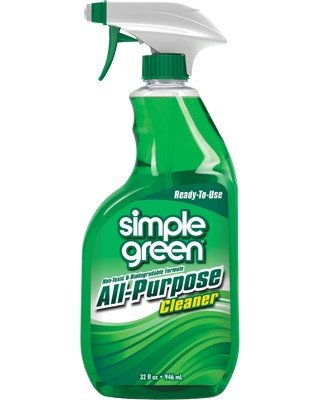
For less dirty projects, Simple Green All-Purpose is my cleaner of choice. It’s eco-friendly and affordable, and you can also buy it just about anywhere.

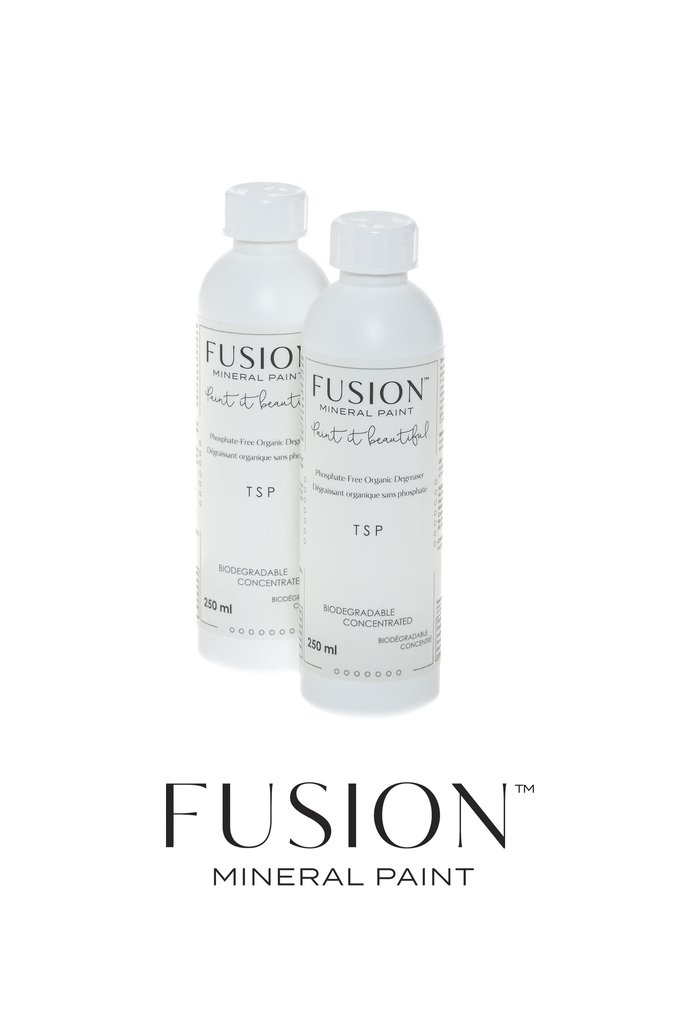
For pieces that seem to have a little extra grime on them or for anything that’s been exposed to kitchen grease, I’ve started using Fusion’s TSP.
Honestly, I held off on using this product for awhile because I thought it was the same as the TSP you can get at the hardware store, and I don’t like that stuff. You have to be very careful not to let it come into contact with your skin and it’s definitely not eco-friendly—plus it seemed like overkill for most of my projects.
But I read up on Fusion’s TSP and used it for the first time a while back and I love it!
It’s not the same as your hardware store TSP, but organic and phosphate free. It’s not toxic to your skin or to the environment and it does a fantastic job cleaning off built up grease. Basically it gives you the cleaning power of the hardware store TSP without the yucky toxic stuff.
It’s sold as a concentrate, so all you need to clean any piece is 2 capfuls mixed in with a liter of warm water.
So I’ve been converted—I’m now a Fusion TSP fan 🙂 And I have it stocked in my online shop if you want to try it yourself.
How to Clean
It’s a good idea to give the entire piece of furniture a once over with your cleaner of choice. If using Simple Green, I work in areas, spraying down each area then scrubbing with a Dobie sponge. Then I wipe off the cleaner residue with a rag damp with water (This is important! Any cleaner residue left can also keep your paint from adhering).
If I’m using Fusion’s TSP, I just soak a rag in the TSP/water mixture and wipe down the surface. If there are any extra grimy spots, I use the Dobie sponge to scrub those spots a little more. The great thing about using the TSP is that you do not have to rinse it off like you do the Simple Green, so it saves you that step.
What I want you to pay careful attention to are any areas where the wood looks darker or discolored–those are telltale marks of grease and grime buildup.
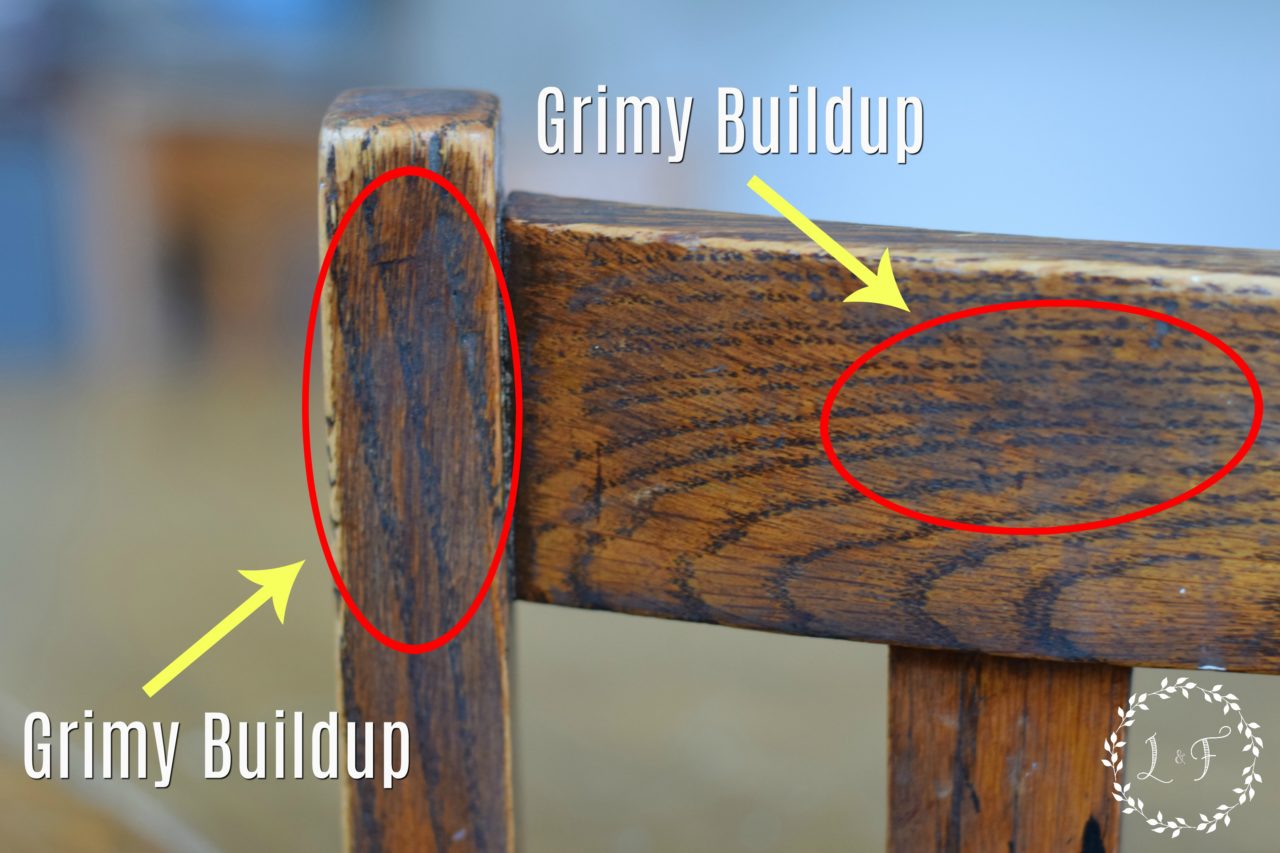

You want to scrub those spots really well, ideally until the wood looks like the regular color again and nothing comes off when you scrape the surface with your fingernail.
In extreme cases, I’ve even used a putty knife to help scrape off greasy buildup like this. Just be gentle–you don’t want to damage your wood!
These greasy spots are tricky–you can wipe them with a damp rag or even a soapy rag, then it will “feel” clean, but it’s not! That’s why carefully going over your piece and using a degreasing product is so important. The dirt can hide from you and will cause some major adherance problems with your paint!
Ready to Paint!
Once your piece has been wiped down, grease and grime scraped off, and any cleaner residue rinsed off, you’re ready to paint!
All in all, this process should take you maybe 5-10 minutes total (unless your piece is super grimy, then of course maybe a bit longer).
And I promise you that taking this prep step will really help your painted finish be more durable!
Happy Painting!


Shannon
Wednesday 18th of July 2018
Thanks Sue!! I’ll look for that! :)
Shannon
Wednesday 18th of July 2018
Thanks Sue!! I’ll look for that! :)
Shannon
Wednesday 18th of July 2018
Ok. Thanks Melanie!!
Shannon
Wednesday 18th of July 2018
Ok. Thanks Melanie!!
Ivory
Tuesday 17th of July 2018
I truly appreciate this post, very helpful and informative. Thanks!