It’s been awhile since I’ve messed around with some fabric. I have enjoyed teaching myself some basic reupholstery skills, but man, upholstery is a beating! My arms and fingers get so sore from pulling out staples and the pieces always take longer than I plan on them taking.
It was time though to take on this antique chair reupholstery project I’ve had in the waiting, so this past week I went to work.
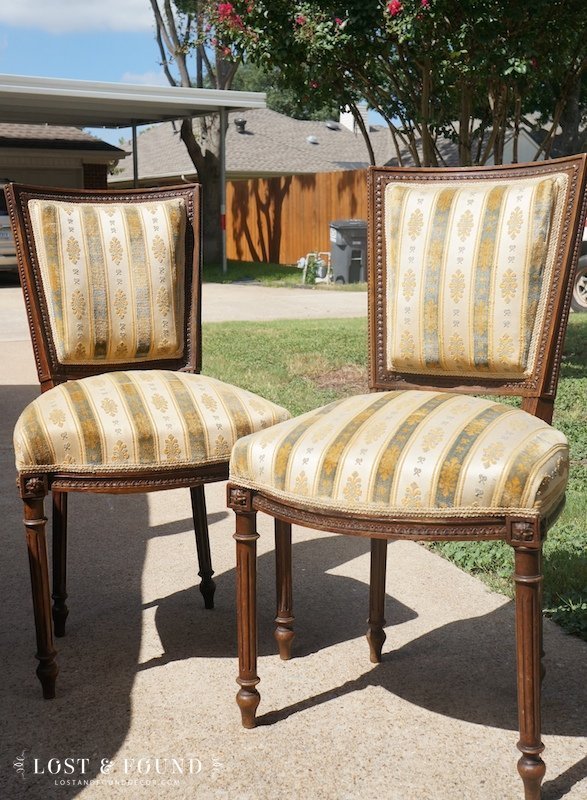
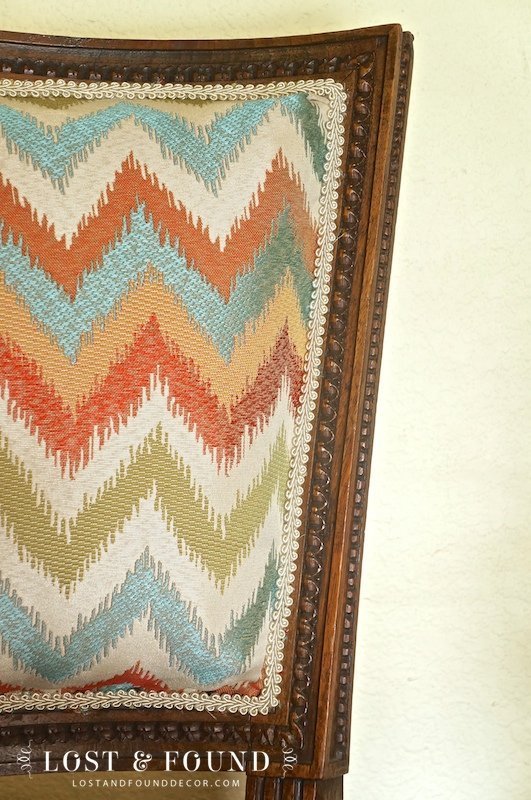
I decided the hand-carved details were better left un-painted (shocker, I know!), so it was just the fabric that needed to be redone.
I have gone through a step-by-step upholstery tutorial before (click here to read one), so I’m not going to repeat each bit of the process in this post. But I do want to share a new bit of information about reupholstering I learned while working on this project–wear a mask when you are removing the old fabric!
The 50+ year old dust that spewed out of these chairs when I pulled off the fabric and trim gave me terrible allergies for a week! Lesson learned.
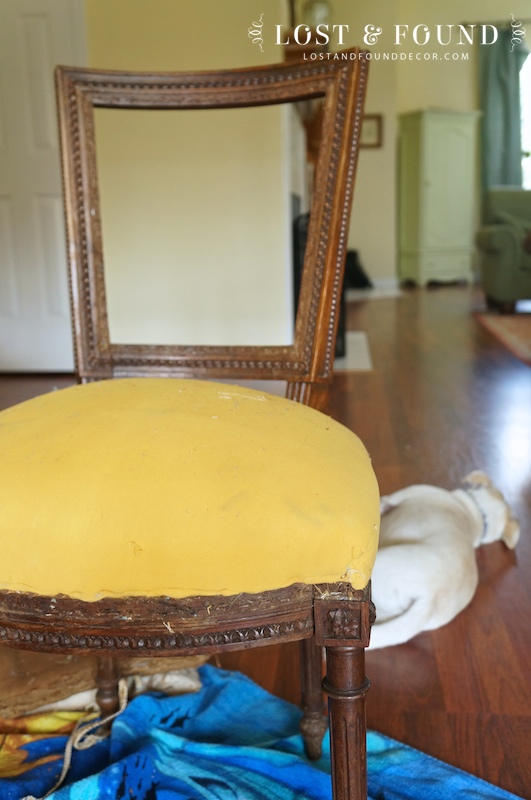
Here is one in her “undressed” state (thanks to our puppy for the photo bomb).
I love the story that this picture tells. All of those staple and nail holes . . . no telling how many different looks this chair has seen!
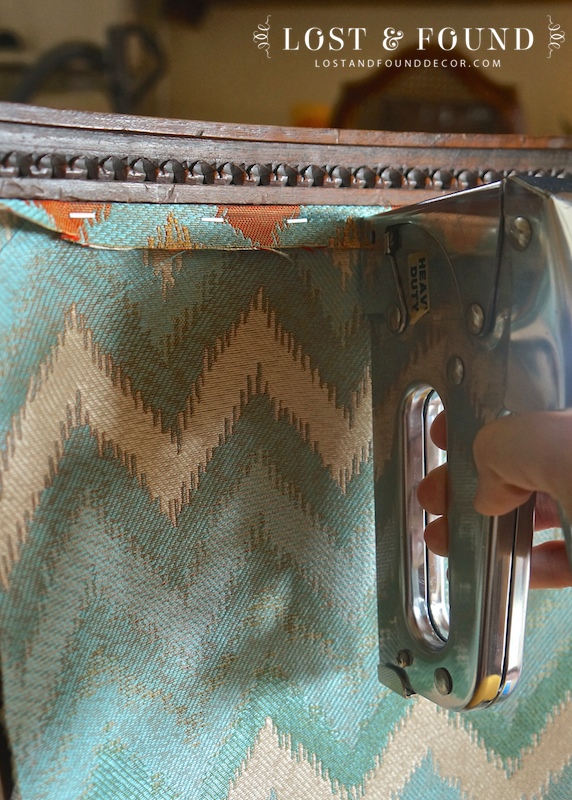
With the open back the area to staple into was pretty narrow, so I had to be careful. I have to re-learn a little bit with each reupholstery project I do–each piece has it’s own “issues.” Once I got the hang of where these staples needed to fit though, it was really a quick process.
Here is one updated with its new, fun chevron fabric:
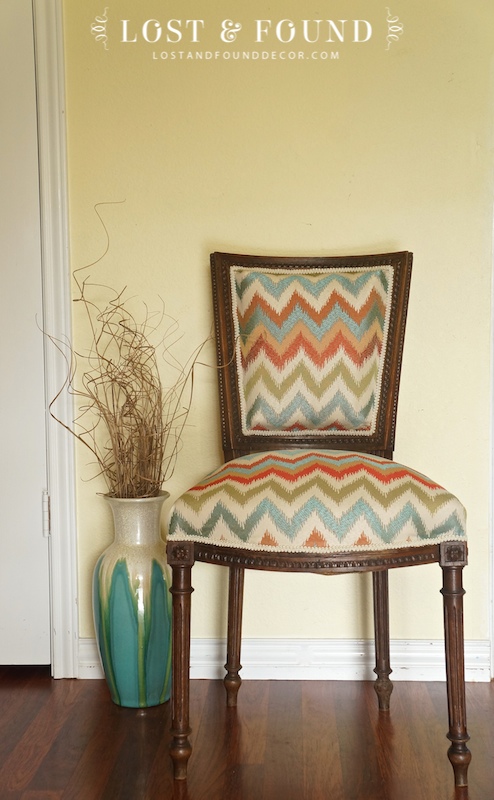
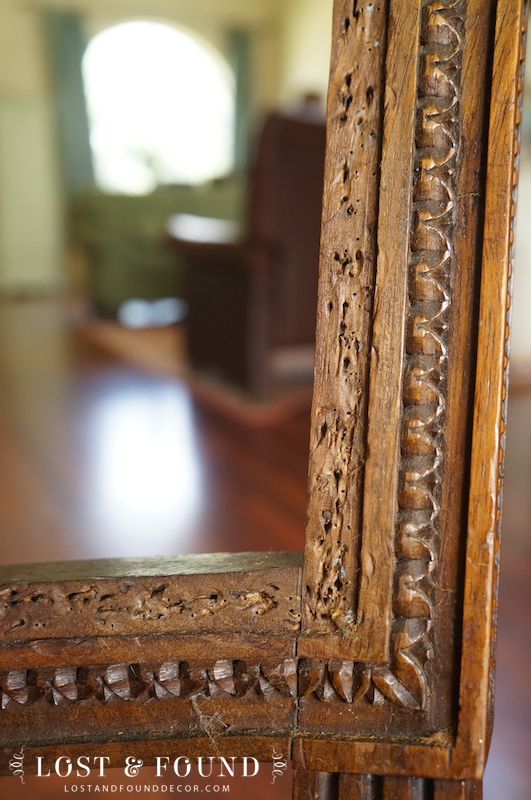
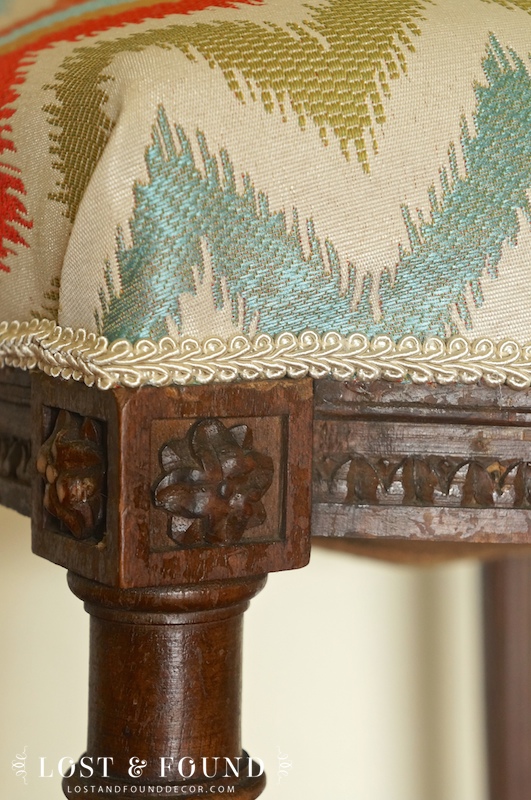
I’m so glad I decided to not paint them. I think the wood is just gorgeous and the carvings still show so well.
And she has a nice set of legs!
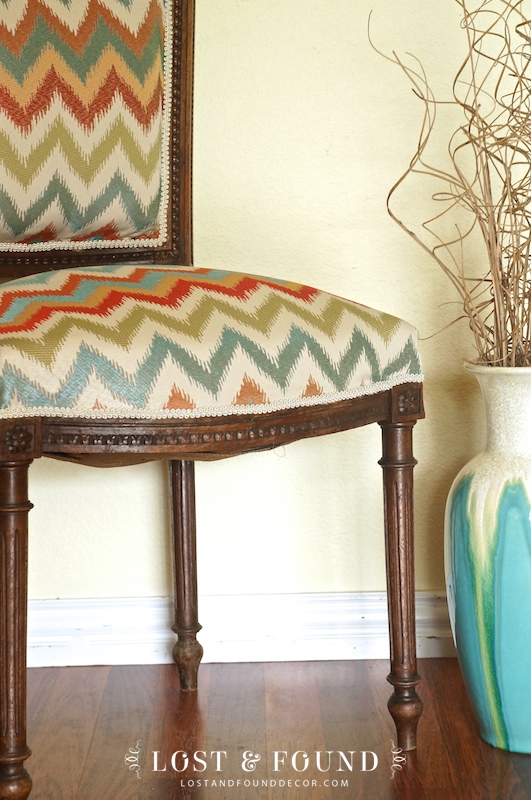
Despite their delicate look, they are quite sturdy. Whoever made these chairs many years ago made them well, and now they have a new look so they can be enjoyed for many more years to come.
I don’t have any other reupholstery projects in the waiting room, so it’s time to give my fingertips a break and go back to painting 🙂

Linking up to:
Metamorphosis Monday, Project Inspired, The Scoop Inspire Me Monday
Show & Share Party, Vintage Inspiration Party, Wow Us Wednesday
Before and After Wednesday Showcase Your Talent Thursday
Artsy Corner Thursday Thursday Favorite Things Thrifty Thursday
Friday Favorites The Handmade Hangout Furniture Feature Friday
Feathered Nest Friday Fridays Unfolded Super Saturday Be Different Act Normal
Skip the Housework Party
Linda Frey
Thursday 18th of September 2014
I love the traditional take on a contemporary chevron pattern. Looks great on the traditional chair. Enjoy your blog too. Was wondering if you would share where you got the large floor vase. I really like the "drippy" effect.
Katherines Corner
Thursday 18th of September 2014
Great transformation! Wonderful fabric too. Thank you for sharing and for linking up to the Thursday Favorite Things Blog Hop. Watch for your feature on Monday xo
Jennie
Thursday 18th of September 2014
The chair looks amazing!! I would love if you would stop by my Friday Favorites Linkup and share! http://thediaryofarealhousewife.blogspot.com
Bobbi Jo
Wednesday 17th of September 2014
Your chair turned out beautifully! Great job!
Melanie
Wednesday 17th of September 2014
Thanks so much Bobbi Jo :)
Angie @ Knick of Time
Tuesday 16th of September 2014
It looks beautiful - well done! I hope you'll come share this at the Vintage Inspiration Party at Knick of Time!
Melanie
Wednesday 17th of September 2014
Thank you Angie, I've already linked up :)