This is my FAV-orite time of year! I get all giddy when the temperatures start to warm up and all the plants start coming back to life. Each spring I catch the “I want to Have a Beautiful Cottage Garden” fever, spurred on my local hardware store commercials and Better Homes & Gardens Facebook ads.
My husband, thankfully though, tempers my spring planting fever by reminding me that we live in Texas. Here in Texas things just don’t grow . . . Not like they do in other places I’ve lived anyway. To get the most basic plant to grow here takes maximum effort. You can blame it on our hard clay soil, our hotter-than-you-know-what summer temperatures, or our general lack of rainfall–in fact, blame it on all 3!
After 6 years of living in Texas though, I refuse to give up my dream for a pretty, lush landscape. Of course I haven’t yet quite figured out how to make that dream a reality . . . But I’m still holding out hope.
One thing I have found helpful though is to add color to my landscape in container gardens, rather than through in-ground plants. Container gardens are easier to control and typically flourish with a few easy tricks.
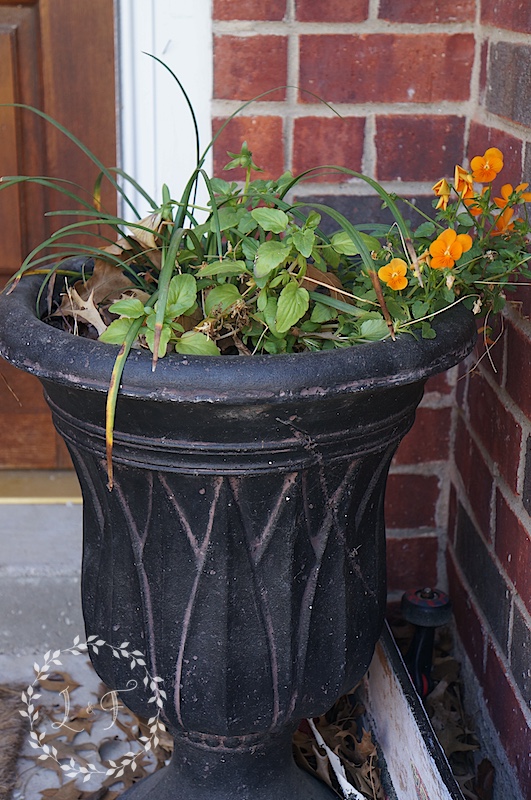

So this is the sad remainder of my fall and winter containers that stand next to my doorway. It’s definitely time to freshen these up!
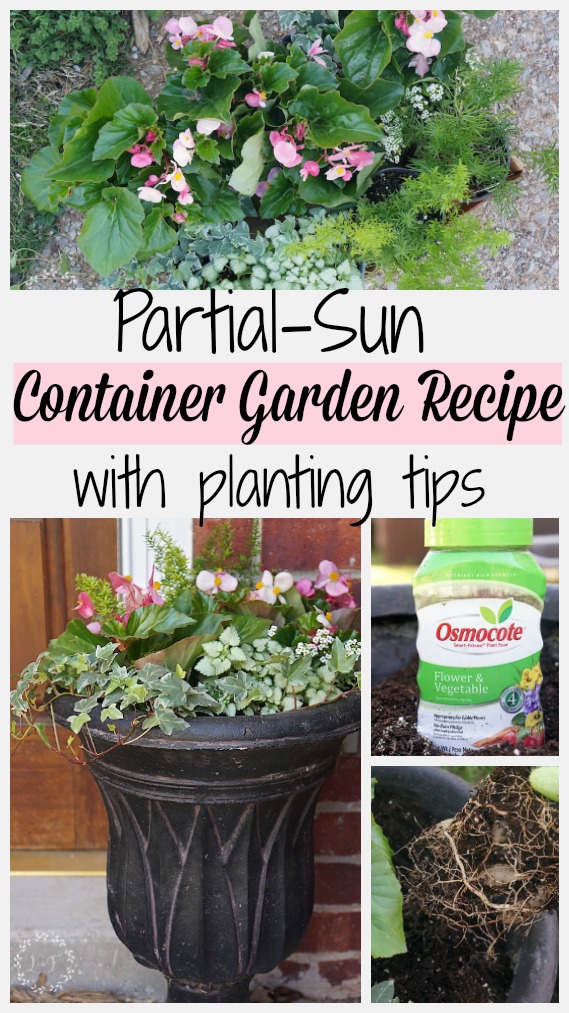
I want to walk you through my own partial sun container garden recipe, sharing a couple of tips along the way, and showing how I can add color and interest to my entryway for under $40.

Step 1: Determine the Sun/Shade Conditions of Your Container
These containers that stand in my front doorway are a little tricky because that space doesn’t fit neatly into an all sun or all shade category. You’ve seen on plant tags at the store that they say mostly either “Full Sun” –which means at least 6 hours of direct sunlight each day– or “Shade” –which means just what you would expect.
The problem with my front door is that it only gets about 3 hours of sun, but once the summer hits, the sun that it does get is really intense. I’ve tried planting full-sun plants in these containers before, and they don’t get enough sun to really thrive and bloom well. I’ve also planted all shade plants, and they burn up in the hot morning summer sun.
So, for this container I am going for a “Partial-Sun” plant recipe, meaning the plants can withstand 3-6 hours of sun and periods of shade as well.
Step 2: Pick Your Plants According to Your Sun/Shade Needs and in a Variety of Heights
You may have read elsewhere that the recipe for a good container involves 3 types of plants:
- A Thriller–A plant that will be the focal point for your container, usually because it is tall or has some vibrant color feature
- A Filler–A plant that will expand and fill in your container, both vertically and horizontally
- A Spiller–A plant that will trail over the sides of your container
I’m the kind of girl that likes directions to follow, so this guideline has always made sense to me. If you pay attention when you look at the container garden pictures you see in magazines, you typically see this pattern.
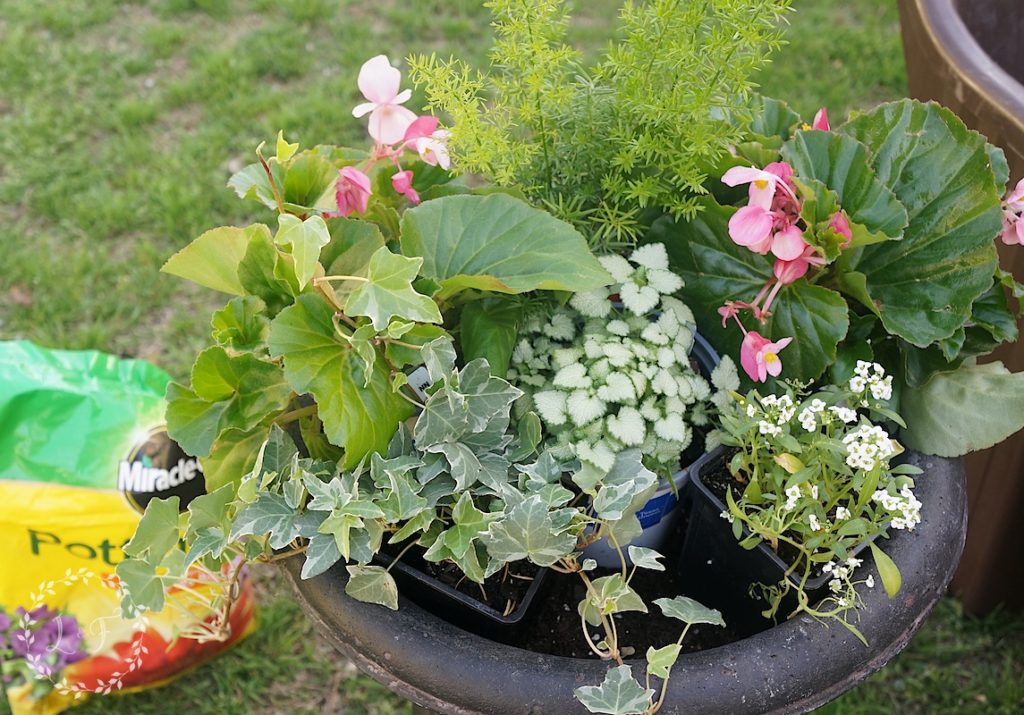
So here are the plants I purchased for my containers:

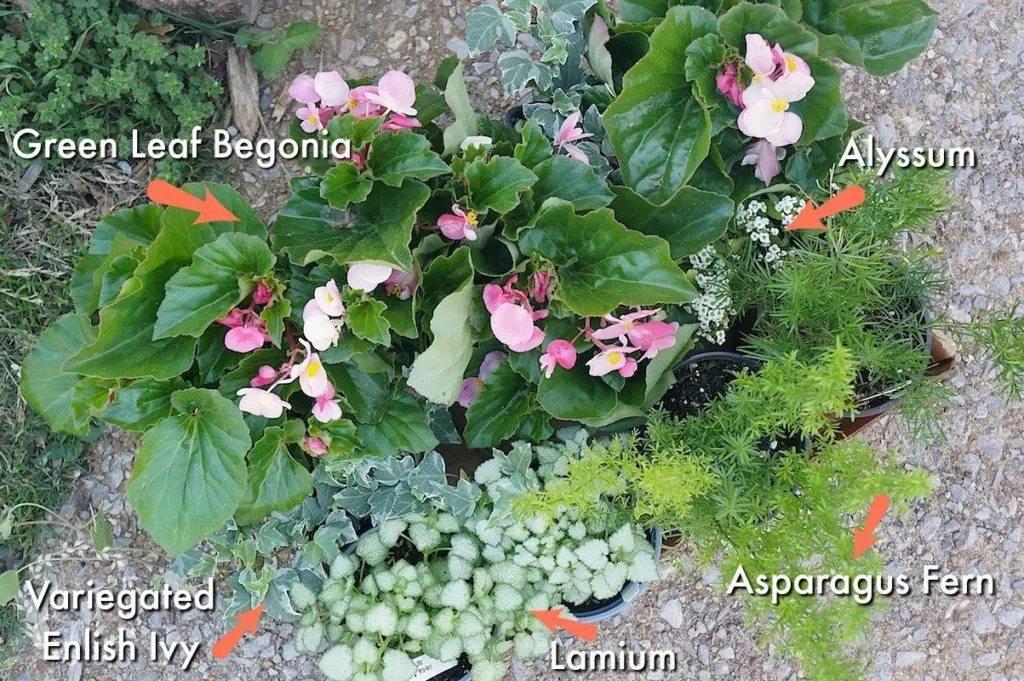
Each of these plants is a shade of partial-sun plant. The begonia and the asparagus fern are my thrillers, the Alyssum and Lamium are my fillers, and the English Ivy is the spiller.
Another tip–buy more plants than you think you may need. Containers look the best when they are packed to the brim with plants. This flat will fill my 2 containers and cost a little under $40.
Step 3: Prepare your Containers
If you’re starting with a new container, fill it 3/4 of the way with potting mix. If you have a container that is already planted, you want to remove the old plants, making sure you get most of the roots too.


It’s best to toss out your old dirt because previous plants have usually taken all of the nutrients out, and it also could carry disease. I am pretty frugal though, and I knew none of my fall/winter plants were diseased, so I kept about half of the old dirt for my new plantings.
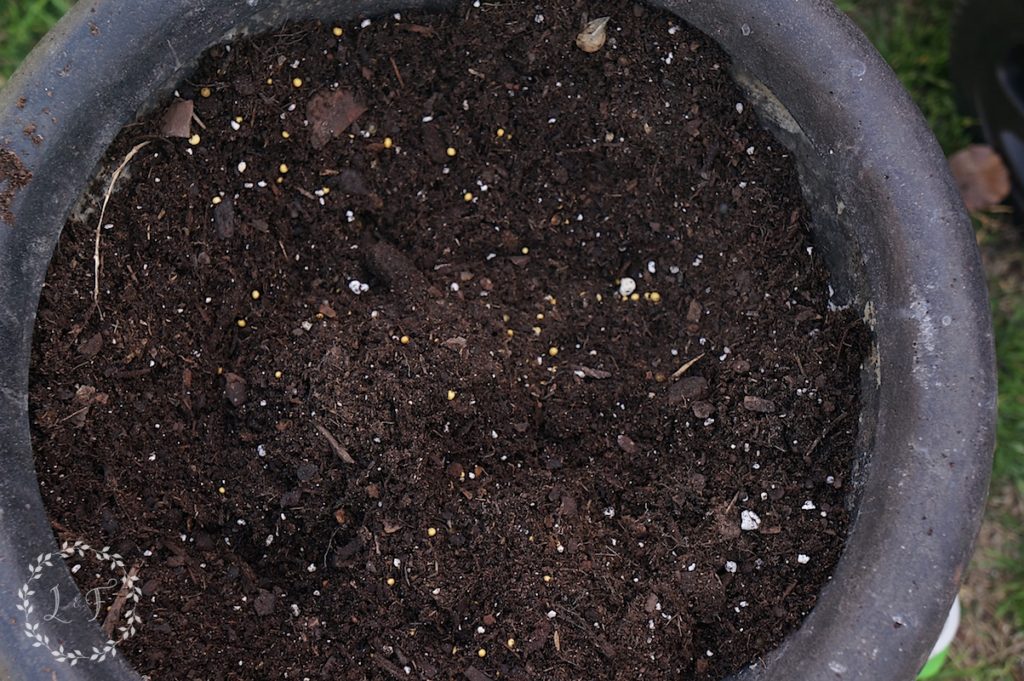
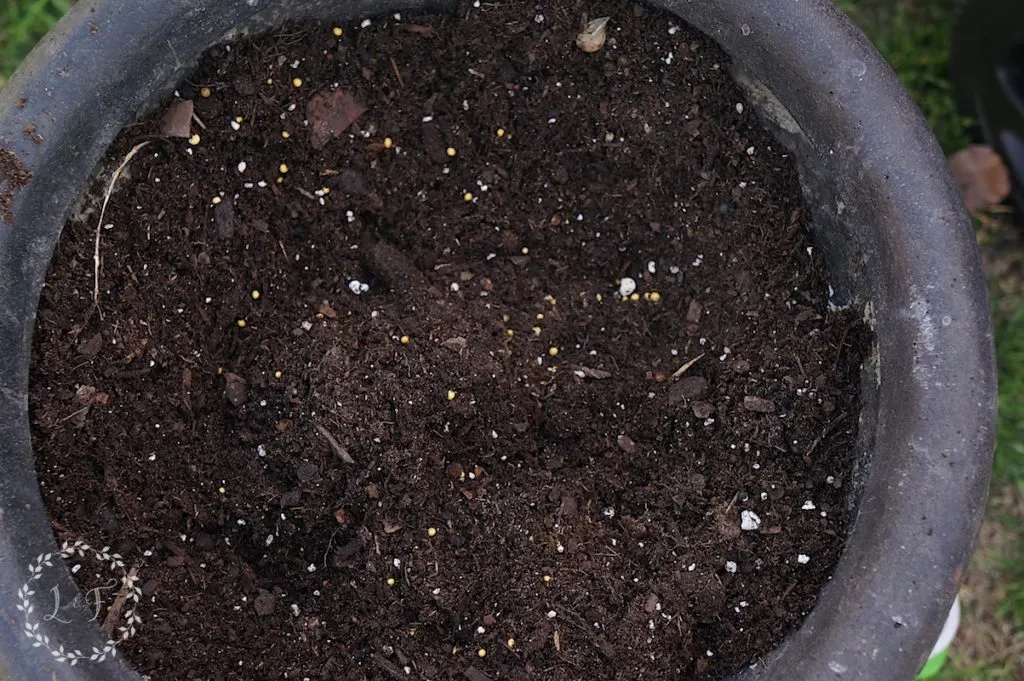
I filled in the rest with a bag of new potting soil I had and mixed it together. You can see how much more rich the soil looks now that some fresh potting soil has been added.
Also, this is the time to add your container garden secret weapon–Osmocote.
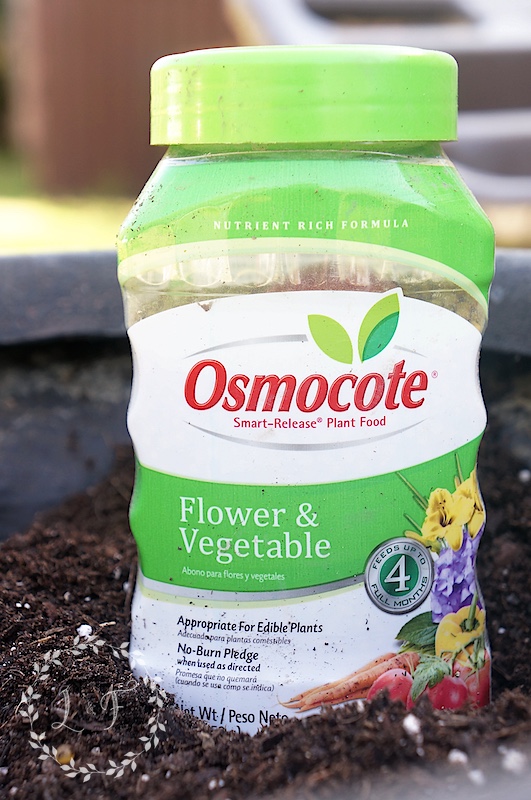

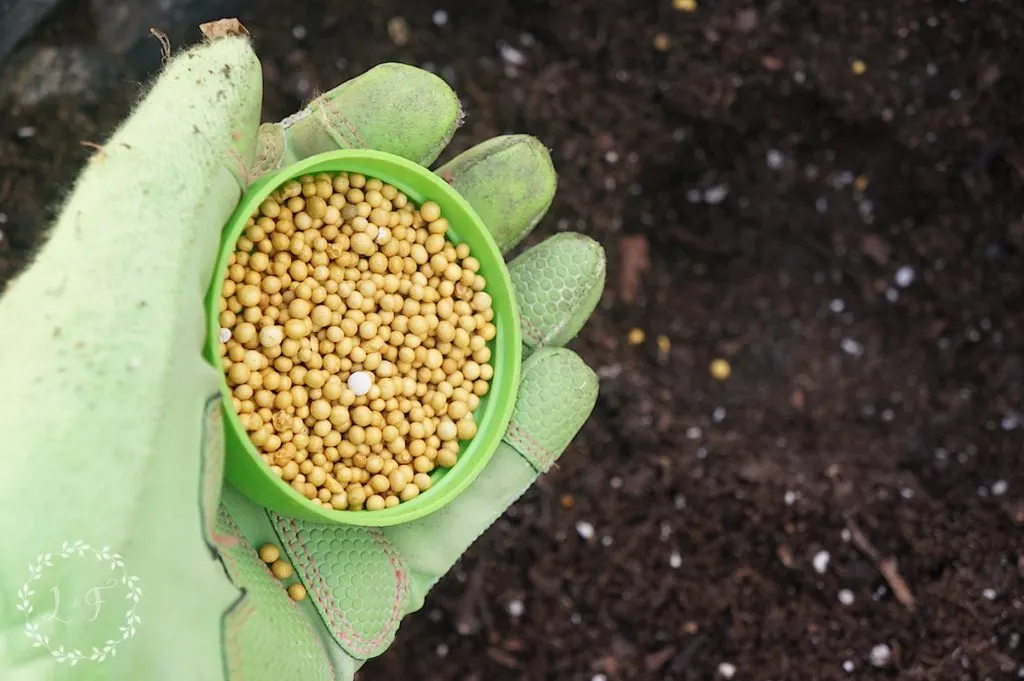
This plant food will do wonders for helping your container plants grow big and beautiful all season long. I sprinkled about half a capful into my soil and lightly mixed it in.

Step 4: Plan Your Arrangement
I like to make a dry-run on my container arrangement by trying out my plants in the containers while they are still potted. This way you can shuffle them around and figure out just how many plants you may want or need without making a bigger mess.

I decided to put the Asparagus Fern in the back center, since it would be the tallest element, then a begonia on each side. I filled in the front with the Lamium, Ivy, and Allyssum.
This is the container that will go on the right side of my front door. For the container that will go on the left, I swapped the side where I planted the Ivy, so that it would also trail towards the door. You want to have things moving towards the center of your doorway to help focus the eye on the entryway.
Step 5: Break up the Roots and Plant
Working one plant at a time, remove the plant from the store pot. When you take a plant out of it’s pot, the roots are often in the shape of the pot, like this:

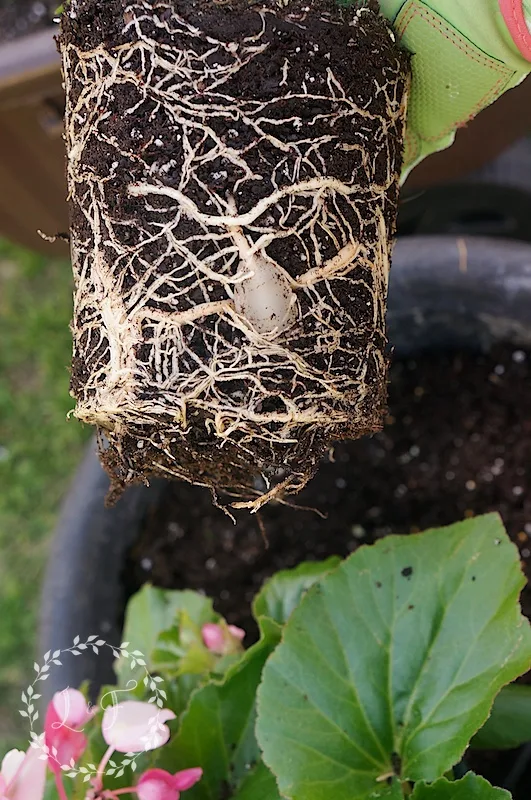
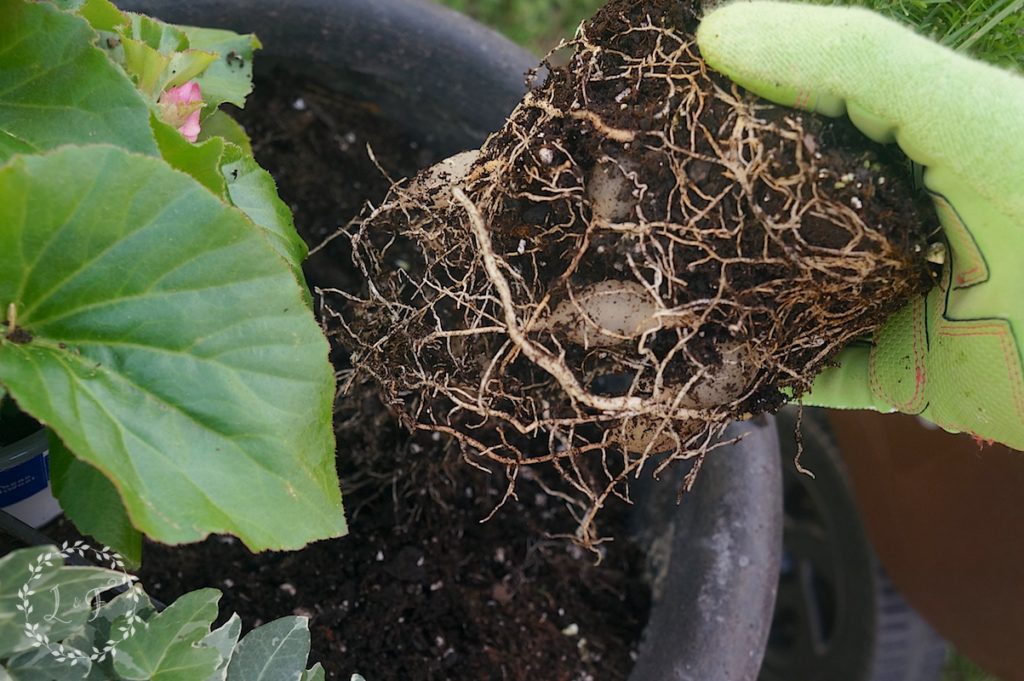
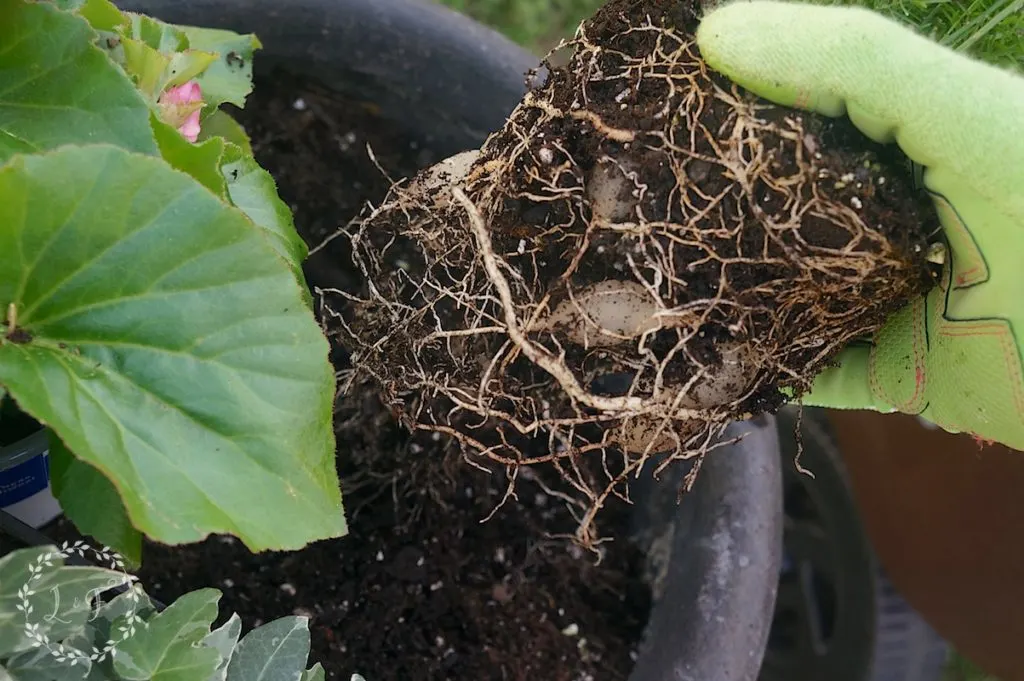
To stimulate the growth of the roots, you want to take your fingers and pry apart that root ball at the very bottom, opening up the roots so they will start growing outward and not just back inward on themselves. Sometimes it takes ripping some of the roots, but that’s ok. You don’t want to mangle the plant, but use enough force to make sure you untangle those roots.
Keeping your other plants still in the container for reference, make a small hole and drop in your plant. Remember when I said to only have the container 3/4 full of dirt? This is when you will start to see why.
As you fill up the container, the dirt on each plant rootball will fill up that extra space and you will find your container filled to the brim! Now you can go back and fill in dirt around each plant, give it a light press down to make sure it’s secure. If you start with a planter 100% full of dirt, you will wind up with soil overflowing. The less mess the better 🙂
Again, cram your container full!! Remember these plants are only going to be there for probably one season, so they don’t have to have prime growing conditions.


Here is mine all planted, and there is literally not room for one more plant!
Step 6: Water thoroughly and Enjoy!
Give your new container garden a nice, soaking drink of water, tap down each plant gently again at the roots, and then water every other day for a week or two (depending upon your weather conditions).

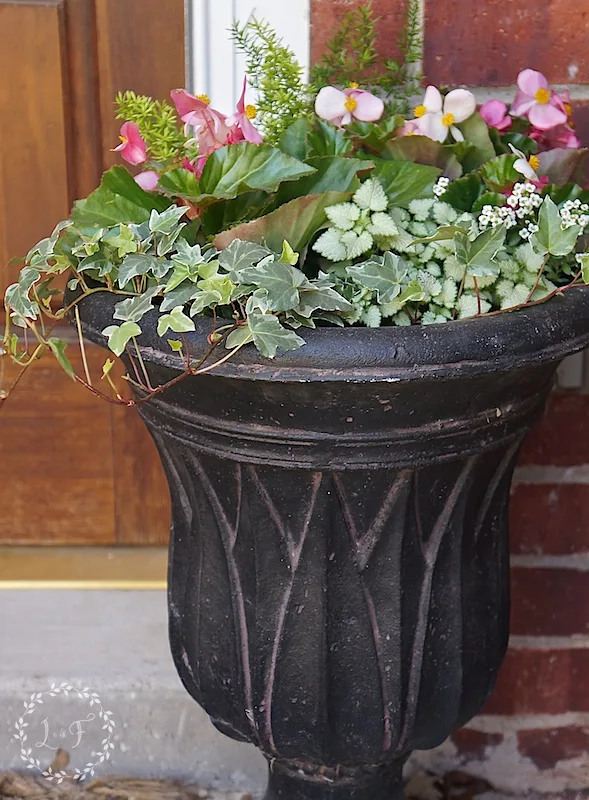
These plants will continue to grow, filling up the container, and hopefully create a nice, partial-sun container garden to brighten up my front entry. If you have a space in your landscape that is neither full sun or full shade, try out some of these plants and see how they work for you.
Happy Spring!


Linking up to: Wow Us Wednesday
How Many Plants Should You Put In A Container? 5 Must Know Tips For Texas Gardeners - Positivebloom
Friday 27th of March 2026
[…] © Lost & Found Decor […]
48 Plant Combination Ideas for Container Gardens | Potted Plant Arrangements – Delicedcook
Tuesday 24th of March 2026
[…] Want to add some visual appeal and character with plant combination ideas for container gardens? How about this assortment of Alyssum, Begonia, and Lamiums? Bring the texture game higher with English Ivy as the spiller. Learn more about it here. […]
Sue
Sunday 1st of May 2016
I live in Perth Western Australia and would like to say how much I enjoyed your blog and the front door Reno also the planting and instructions all extremely interesting especially as I have the same problem here with the hot sun etc I will be checking out the paint as well I have not heard of that one must do some research Thank you again for the very interesting blog Regards Sue
Melanie
Thursday 5th of May 2016
Thank you Sue! There are actually several Fusion Mineral Paint dealers in Australia, so you shouldn't have too much trouble finding one. I bet you do get some hot sun there too! So glad you stopped in :)
Front Door Refresh with Fusion Mineral Paint and a Giveaway! | Lost & Found
Monday 25th of April 2016
[…] remember my part-sun containers I shared a few weeks back? They are really filling in, and the pink begonias especially are going […]