Today I want to do a little “Milk Paint Education” here on the blog.
Milk Paint is such an amazing and fun paint to work with! I would love to help you become more familiar with it so you can start experimenting with milk paint on your own.
If you have never heard of milk paint before and want to understand the basics, I’ve got that all in this article here.
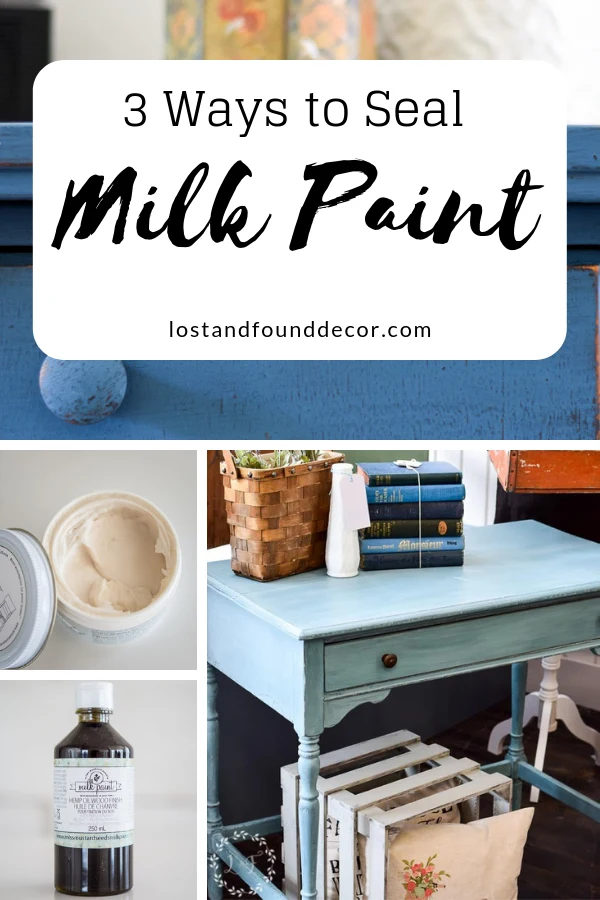
3 Ways to Seal Milk Paint
So I have a few tips on how to finish out your milk paint projects so that they will be sealed and durable.
This post contains links to websites outside of LostandFoundDecor.com. These links are referred to as “affiliate links,” and are provided for your shopping convenience. It does not cost you any more to shop through these links, but I will earn a small commission. Thanks for helping support this blog!
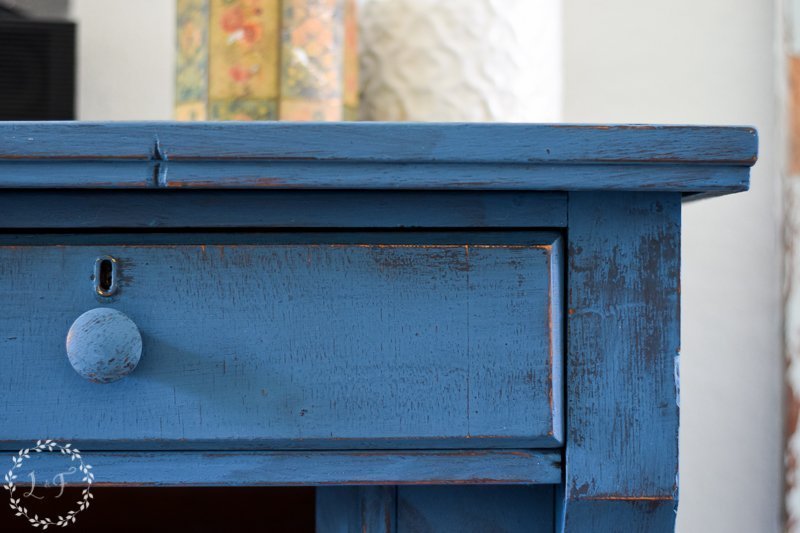
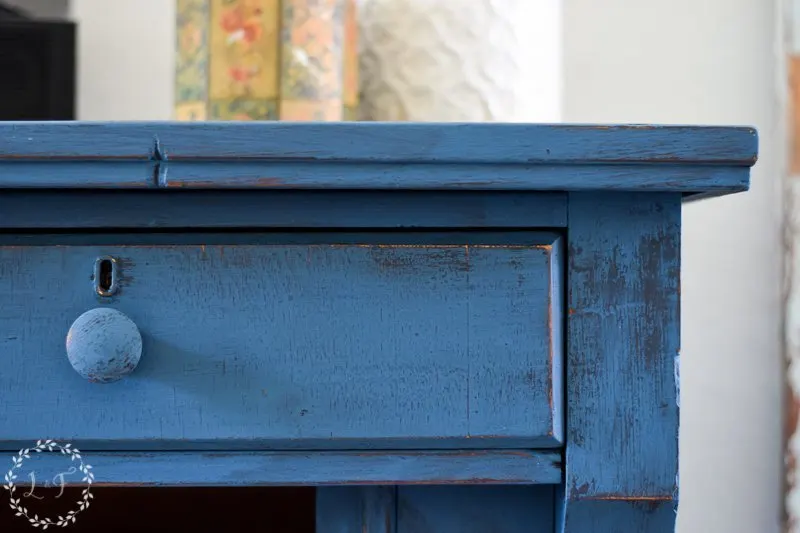
Milk Paint is a porous paint, which means that if you do not seal it, water, dirt, and other contaminants can get down into your painted finish and stain or damage it.
Sealing milk paint though is really very easy!
There are 3 main top coats I use to seal milk paint, each for different reasons. Let’s dive in!

1. Furniture Wax

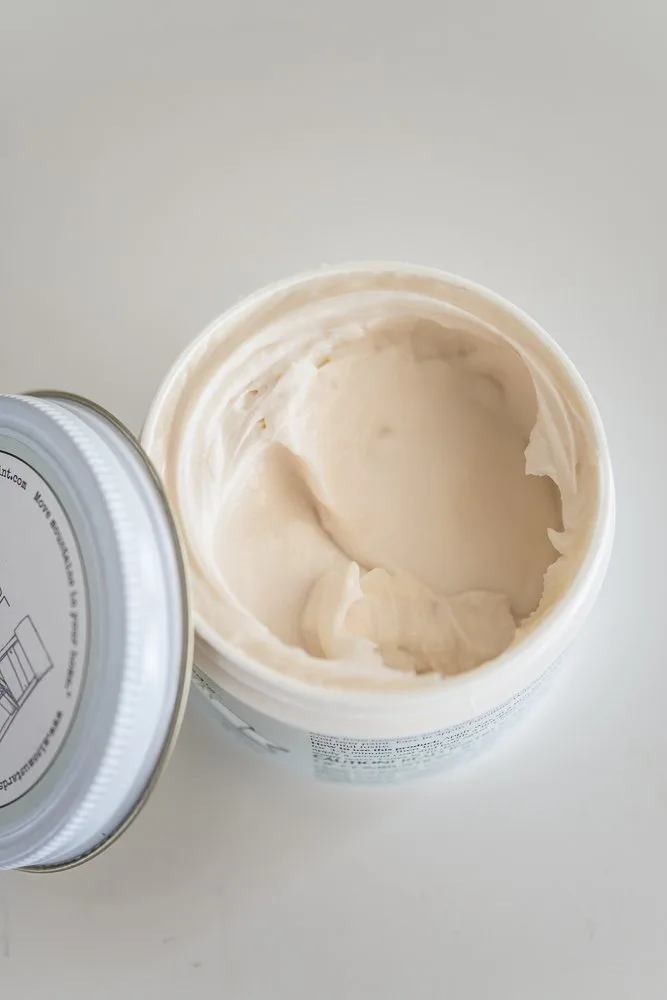
Using Furniture Wax to seal your milk paint works really well.
I find it’s easiest to brush it on using a good wax brush, then just wipe off any excess using a lint-free rag.
The wax works by soaking down into the pores of the milk paint, then hardening over time, which creates what’s called a soft finish.
Don’t let the name fool you though! A soft finish doesn’t mean it’s not durable, just that the finish does not have a solid, hard surface on top.
Currently, my favorite wax comes from a Canadian wax company, and is a lovely, soft wax. It has the consistency of room temperature butter–you can’t go wrong with it!
Pros of Sealing with Furniture Wax
A waxed surface is very easy to touch up–if you ever need to fix a scratch in your paint, just lightly sand, repaint the spot, then wax again. The old finish and new finish will blend together really well.
There is the possibility that after a period of time, you may see the need to apply more wax if your wax finish seems to be drying out too much.
In my experience though, I have never felt the need to reapply, even after having a waxed piece in my home for over 3 years.
Another benefit to using wax is you can customize your finish a bit more by using a tinted wax.
My favorite wax company has several different options– an antiquing wax, white wax, and even a metallic tinted wax.
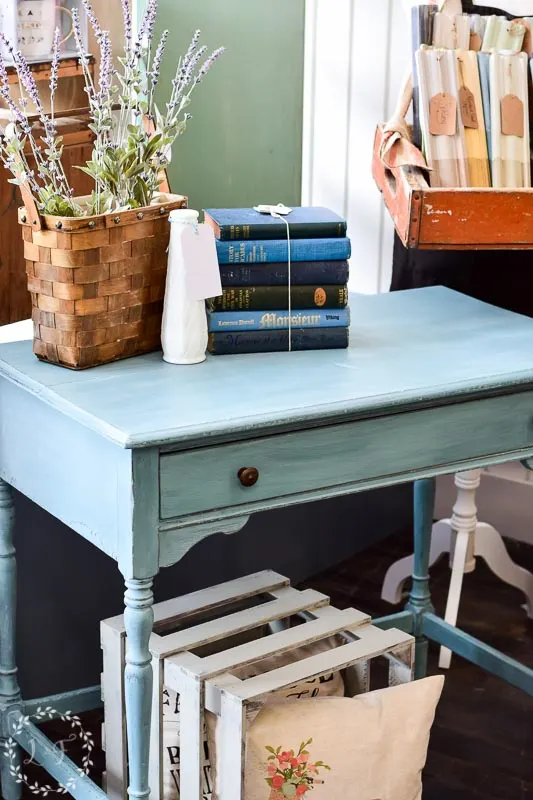
One of my favorites is the White Wax, which I used over this desk I painted with a color called Kitchen Scale (this color is no longer in production, you can try the color Teal Ocean for a similar look)

A few things to remember when choosing wax . . .
Wax and water don’t work well together–so if you’re painting something that will be exposed to wetness (i.e. outdoor furniture, cabinets) you will probably do better picking a different top coat that will provide a more water-permanent finish.
Also, a wax finish won’t harden up well if exposed to high heat. If you’re painting pieces then for outside, or pieces to sell that may sit outside for a while at a flea market tent, wax isn’t your best choice for a top coat.
2. Hemp Oil

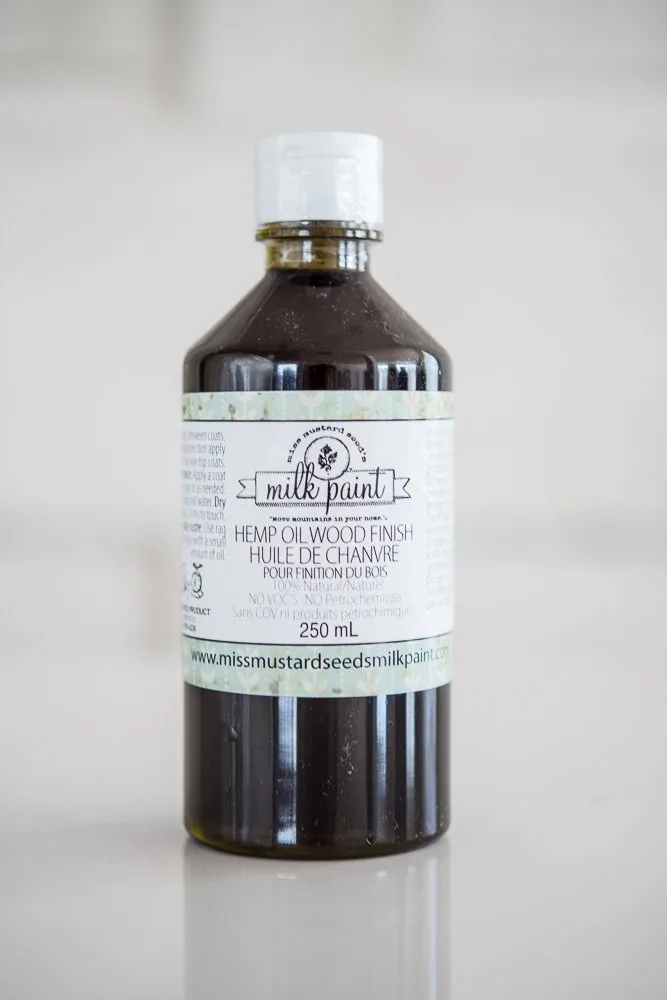
Hemp Oil is an organic, all-natural product that you can use for about a million different things–including as a topcoat for your milk paint.
Pros of Using Hemp Oil
This is probably my favorite product to use because it is sooooo easy! You just brush it on, then wipe back the excess with a cloth.
You can also use hemp oil to wet sand your milk paint piece–after brushing on your oil, sand with a fine grit (320+) sandpaper and then wipe off all the excess oil and dust. Your finish will not only then be sealed, but also incredibly soft and smooth!
I actually have a short video using hemp oil, so you can see for yourself how easy it is:
Hemp Oil performs better in the heat than does wax, so it’s a better option if you’re working in the hot outdoors.
A few things to remember when using Hemp Oil . . .
A Hemp Oil topcoat does tend to deepen the color of your paint a bit. So if you’re wanting the purest representation of the milk paint color you used, be aware that hemp oil may alter that a bit.
It also could yellow a bit over the white colors in the line and/or take away some of their crisp brightness.
You also want to give your hemp oiled piece about a week to harden up before you start sitting things on top of it.
Like with wax, using hemp oil will give you a soft finish, so touching up any damaged spots is easy.
3. Polyacrylic
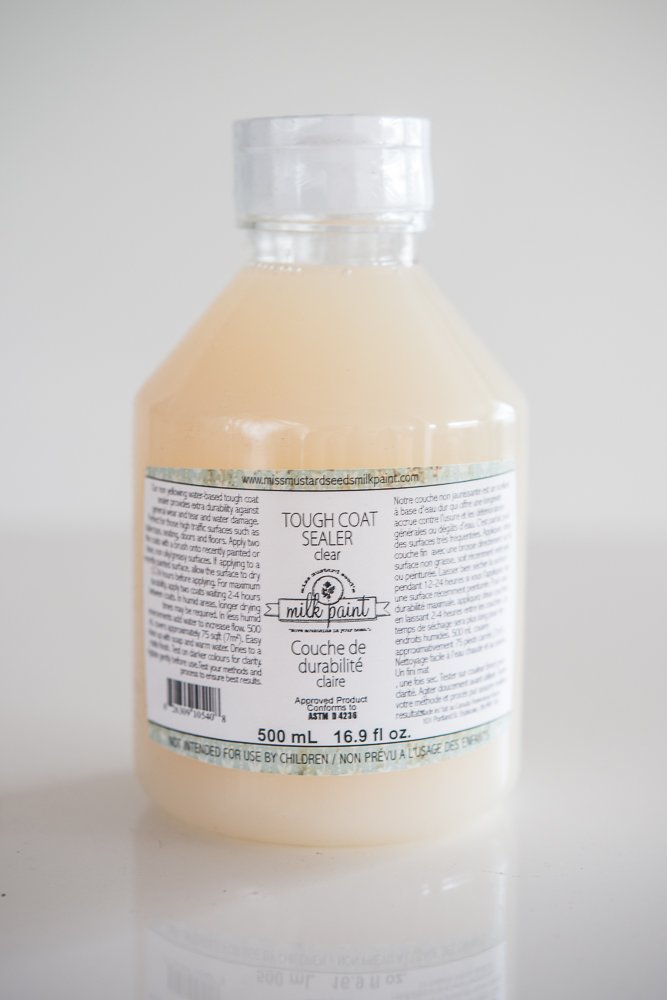
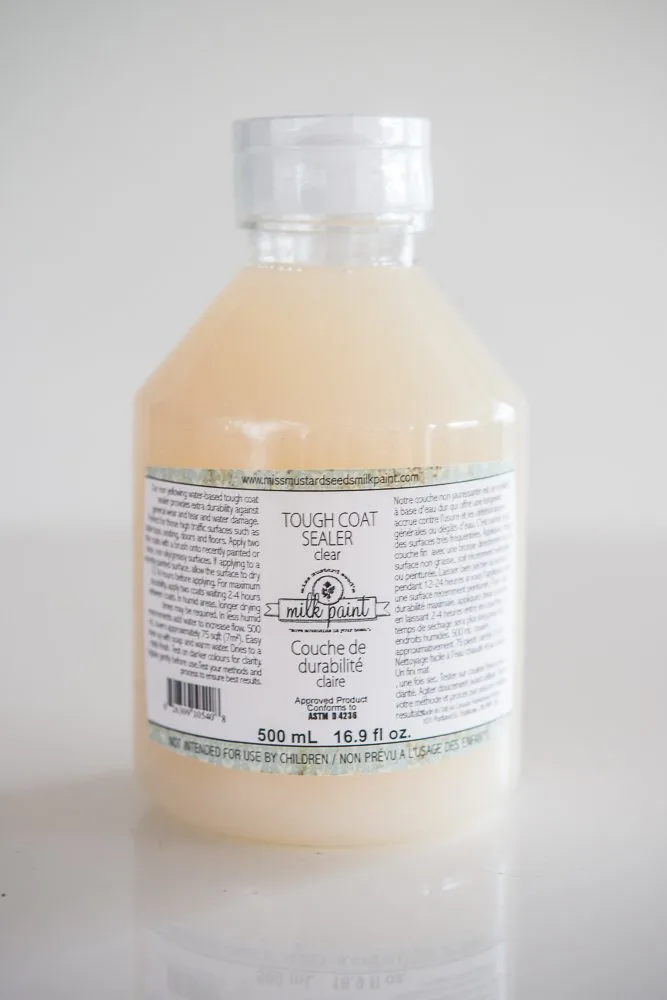
A hard polyacrylic is the final of the 3 topcoat choices for milk paint. It works very differently than the other two and has its own benefits, as well as drawbacks.
Pros of Using Polyacrylic
With a polyacrylic, instead of settling down into the pores of milk paint, it will sit on top of it–think nail polish, instead of lotion (which would be the wax or hemp oil).
This means though that a polyacrylic is a great option for areas that may get wet because it will repel all of that water right off the finish.
So if you’re painting cabinets, outdoor furniture, or even kitchen furniture, polyacrylic is a great choice for your topcoat.
It also works well as a topcoat for those pieces where you get a lot of chipping with your milk paint. If you want to be 100% sure that no more paint chips off of your finish, sealing it with a polyacrylic t is the way to go.
Side note– I have sealed several very chippy milk paint pieces with both wax and hemp oil, and it has worked just fine! No more paint has chipped off . . .But if you’re concerned at all about the durability of a super chippy finish, then go with the poly option.
Something to remember when using Polyacrylic . . .
Unlike the wax and hemp oil, a polyacrylic is going to give you a hard finish on your piece. This means it will be a bit more difficult to touch up if you ever have a spot that needs it.
It’s also not quite as easy to apply as the other topcoats. Applying the any hard topcoat requires a little bit of finesse–too thick and it may get cloudy, too thin and it may streak.
I always recommend practicing with different techniques (using a brush to apply, or a rag, or a sponge) on a practice board first before applying to your actual piece.
So there you have it!
Now you know how to finish out your milk paint pieces so they will be durable and stay beautiful for a long, long time!
If you want a more thorough walkthrough of how to use Miss Mustard Seed’s Milk Paint, check out my Milk Paint 101 Online Workshop.

It’s an hour and a half of video demo of everything you need to know–start to finish–for how to work with this amazing paint!
My friend Jenny over at Refresh Living, also has an amazing post with more info all about working with milk paint. She also has some beautiful painted pieces to share on her blog for inspiration!
Interested in seeing some furniture painted in milk paint?
Painted Washstand with Red Milk Paint
Hoosier Cabinet Makeover with Lucketts Green Milk Paint
Painted Oak Washstand Makeover with Eulalie’s Sky Milk Paint
French Provincial Buffet Makeover with Aviary Milk Paint
Thanks for joining me today and Happy Painting!


Valerie Peli
Friday 9th of November 2018
Does the wax soak into fusion mineral paint as well? I painted a bench with lamp white leftover from my kitchen cabinets and was thinking of putting the pearl wax over it. Just wondering if that's a bad idea for a surface on which people will sit. Who wants a waxy butt!?
Melanie
Friday 16th of November 2018
Hi Valerie! It won't soak in the same, but you can do it! Make sure to not apply too much wax and let it dry for several days. I actually talk about applying wax onto a sealed surface in this post--maybe it will be helpful! How to Use Liming Wax